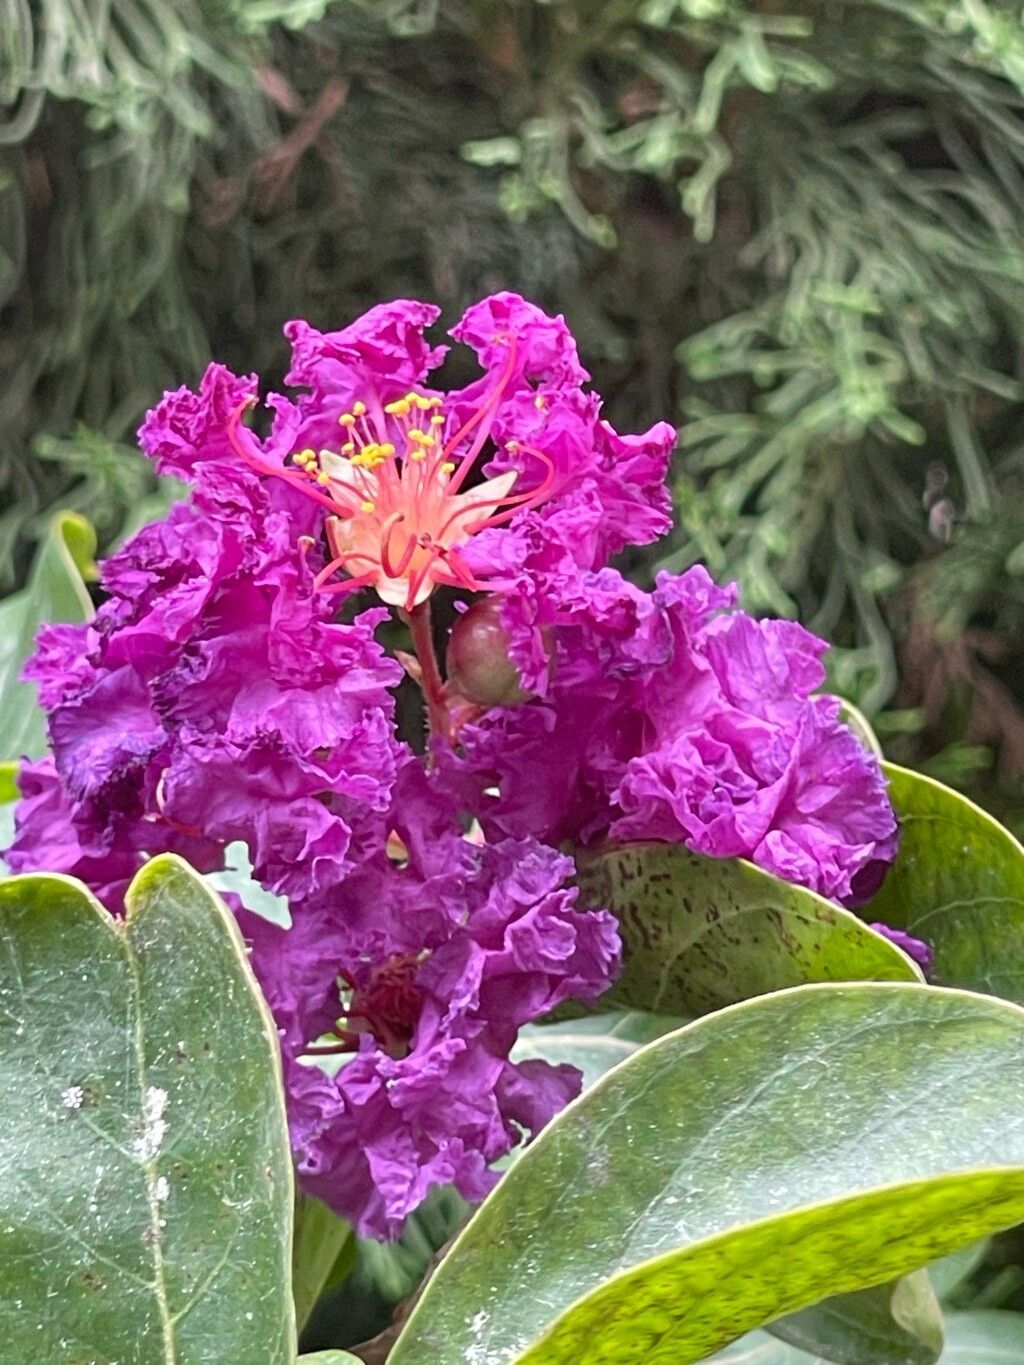
Oh, the Queen Crape Myrtle, Lagerstroemia speciosa! What a magnificent tree. I’ve spent years marveling at its vibrant, almost shockingly pink or purple blooms, not to mention the beautiful peeling bark. If you’ve ever admired one of these beauties and wished you had a little piece of that magic for yourself, I’m here to tell you it’s absolutely possible! Propagating these trees can be incredibly rewarding, giving you a chance to grow something truly special from scratch.
Now, I’ll be honest with you, Lagerstroemia speciosa isn’t the easiest plant for a complete beginner to propagate. It takes a little patience and the right approach. But don’t let that deter you! With a bit of care and these tips, you’ll be well on your way to success.
The Best Time to Start
For the highest success rate, I find late spring to early summer is the sweet spot. This is when the plant is actively growing and has plenty of energy to put into developing new roots. You’ll want to take cuttings from current year’s growth that has started to firm up a bit, but isn’t completely woody yet. Think of it as “softwood” cuttings.
Supplies You’ll Need
Here’s a little kit to get you started:
- Sharp, clean pruning shears or a craft knife: For making clean cuts.
- Rooting hormone (powder or gel): This is really helpful for encouraging root development.
- Dipping container for the rooting hormone: A small cup or even a bottle cap.
- Potting mix: A well-draining mix is crucial. Something like a blend of peat moss and perlite (about 50/50) or a commercial seed-starting mix works wonderfully.
- Small pots or containers: 3-4 inch pots are usually a good size. Make sure they have drainage holes!
- Plastic bag or propagation dome: To create a humid environment.
- Watering can with a fine rose: For gentle watering.
- Labels and a permanent marker: To keep track of your cuttings.
Propagation Methods
My go-to method for Lagerstroemia speciosa is stem cuttings. It’s reliable and gives you a good chance of success.
Here’s how I do it:
-
Take Your Cuttings: On a nice day in late spring or early summer, select healthy, vigorous stems from your mother plant. You’re looking for stems that have grown this year and feel slightly firm but can still be bent without snapping. Using your clean shears, cut pieces that are about 6-8 inches long. Try to make each cutting have at least two sets of leaves. Remove the lower leaves, leaving just one or two sets at the top. This helps prevent rot and reduces water loss.
-
Prepare the Cuttings: If you’re using rooting hormone, prepare it according to the package directions. Lightly dampen the bottom 1-2 inches of your cuttings. Then, dip the cut end into the rooting hormone, tapping off any excess. Alternatively, you can just dip directly into the powder or gel.
-
Plant Your Cuttings: Fill your small pots with your prepared potting mix. Make a hole in the center of the soil with your finger or a pencil. Carefully insert the treated end of the cutting into the hole, making sure the bottom leaf nodes are below the soil surface. Gently firm the soil around the cutting.
-
Create a Humid Environment: Water the soil gently but thoroughly. To create that essential humidity, I like to place the potted cuttings inside a clear plastic bag that’s supported by stakes so it doesn’t touch the leaves, or cover them with a propagation dome. This traps moisture and keeps the leaves from drying out before they can form roots.
-
Place in a Suitable Location: Find a bright spot that gets indirect light. Avoid direct, hot sun, which can scorch the leaves and dry out the cuttings too quickly. Keep the soil consistently moist, but not waterlogged.
The “Secret Sauce” (Pro Tips)
Over the years, I’ve learned a few tricks that really boost my propagation success:
- Bottom Heat is Your Friend: If you can, place your pots on a heated propagation mat. This provides gentle warmth to the base of the cuttings, which is fantastic for encouraging root formation. It really makes a difference!
- The “Wiggle Test” is Key: Don’t be tempted to yank on your cuttings to see if they’ve rooted! Wait until you see new leaf growth emerge at the top. Then, very gently, give a tiny tug. If you feel resistance, it’s a good sign roots have formed. If it pulls out easily, it hasn’t rooted yet.
- Cleanliness Prevents Calamity: I can’t stress this enough: always use clean tools and pots. Any lingering disease or mold on your equipment can quickly spread to your precious cuttings and sabotage your efforts. I usually give my shears a quick wipe with rubbing alcohol between cuts.
Aftercare & Troubleshooting
Once your cuttings have developed a good root system (you’ll often see roots peeking out of the drainage holes, or they’ll resist the wiggle test), it’s time to introduce them to a slightly less humid environment. Gradually acclimate them to normal room humidity over a few days by opening the plastic bag a little more each day.
Water them regularly, allowing the top inch of soil to dry out slightly between waterings. Continue to provide bright, indirect light. You can also start feeding them with a diluted liquid fertilizer, about half strength, every few weeks.
The most common issue you’ll encounter is rot. If a cutting turns black and mushy, it’s usually a sign of too much moisture and not enough airflow. Unfortunately, a rotting cutting is usually a lost cause. If you see signs of wilting and the soil is dry, it might just need a good watering.
A Encouraging Closing
Propagating your own Lagerstroemia speciosa is a journey, and like any good gardening project, it requires a little patience. Don’t get discouraged if not every cutting takes. Celebrate the successes, learn from the ones that don’t, and enjoy the incredibly rewarding process of nurturing new life. Happy propagating!
Resource:
https://identify.plantnet.org/k-world-flora/species/Lagerstroemia%20speciosa%20(L.)%20Pers./data