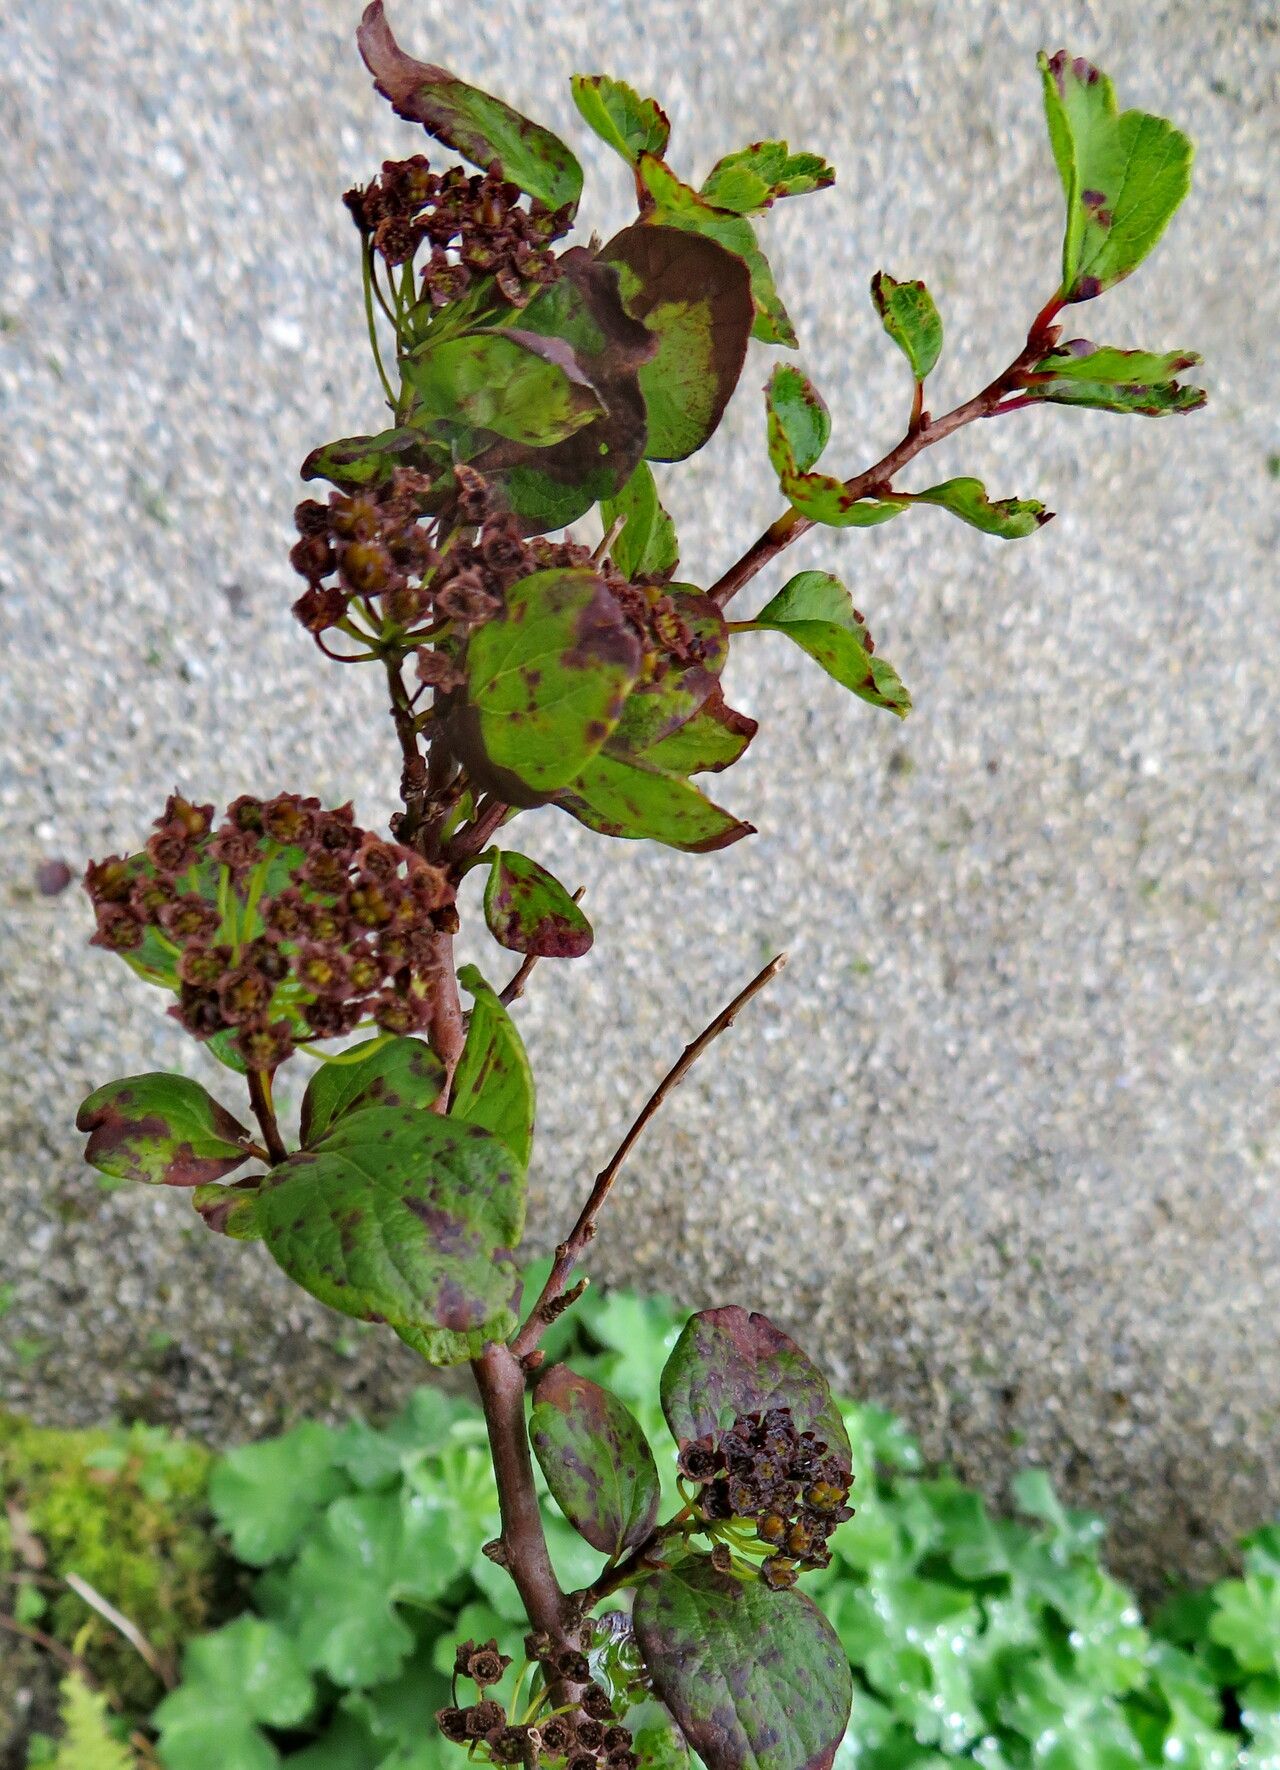
Oh, Spiraea nervosa! If you’re looking for a plant that brings a delightful splash of color and texture to your garden with minimal fuss, you’ve found a winner. I’ve spent years with these beauties, and trust me, they’re just as rewarding to grow from a tiny cutting as they are to admire in full bloom. The best part? Propagating them is totally within reach, even if you’re just dipping your toes into the world of plant magic.
The Best Time to Start
Generally, spring is your golden ticket for propagating Spiraea nervosa. When the plants are actively pushing out new growth, they have the energy to put towards rooting. Aim for early to mid-spring, just as things are waking up, but before the summer heat really kicks in. This gives the new cuttings plenty of time to establish themselves before things get too stressful.
Supplies You’ll Need
Here’s what I keep handy when I’m looking to multiply my Spiraea stock:
- Sharp Pruning Shears or a Clean Knife: For taking precise cuttings.
- Rooting Hormone (Optional but Recommended): A dusty pink powder or liquid that gives cuttings a helpful boost.
- Seed Starting Mix or a Light, Well-Draining Potting Mix: I like to mix equal parts perlite and peat moss for excellent aeration.
- Small Pots or Propagation Trays: Clean pots are key to avoiding disease.
- Plastic Bags or a Clear Plastic Dome: To create a humid environment for your cuttings.
- Watering Can with a Fine Rose: For gentle watering.
- Labels and a Marker: Because trust me, you will forget what you planted where!
Propagation Methods
Spiraea nervosa is quite obliging, and stem cuttings are my go-to method.
1. Taking Stem Cuttings:
- Select Your Cuttings: Look for healthy, non-flowering shoots from your mature plant. You want stems that are semi-hardwood – they’ll bend a bit but won’t snap easily. They should be about 4-6 inches long.
- Make the Cut: Using your clean shears or knife, make a clean cut just below a leaf node (where a leaf attaches to the stem). This is where rooting hormones are most effective.
- Prepare the Cutting: Remove the lower leaves, leaving just the top two or three. This prevents them from rotting in the soil and reduces moisture loss.
- Dip in Rooting Hormone (Optional): If you’re using it, lightly dip the cut end of the stem into the rooting hormone. Tap off any excess.
- Plant Your Cuttings: Fill your small pots or trays with your prepared soil mix. Gently insert the prepared cuttings into the soil, spacing them a few inches apart. Make sure the leaf nodes you removed are buried beneath the soil surface.
- Water Gently: Water the soil thoroughly but gently.
2. Water Propagation (A Fun Alternative!):
- Follow steps 1-3 for taking stem cuttings.
- Instead of potting them, place the prepared cuttings in a clean jar or vase of water.
- Ensure that no leaves are submerged underwater. This is crucial to prevent rot.
- Place the jar in a bright spot with indirect light.
The “Secret Sauce”
Over the years, I’ve learned a few things that make a real difference:
- Cleanliness is King: I cannot stress this enough. Sterilize your tools with rubbing alcohol before you start. Even a tiny bit of disease can spell doom for your precious cuttings.
- The Humidity Tent is Your Friend: Once your cuttings are in pots, cover them with a clear plastic bag (propped up with stakes so it doesn’t touch the leaves) or a clear plastic dome. This creates a mini-greenhouse, keeping the humidity high, which is vital for cuttings that haven’t developed roots yet.
- Bottom Heat is a Game Changer (Especially for earlier cuttings): If you’re propagating a bit earlier in the season, a heating mat placed underneath your propagation trays can significantly speed up root development. It mimics the warmth of late spring and encourages faster root growth.
Aftercare & Troubleshooting
Once your cuttings are potted, place them in a brightlocation with indirect sunlight. Keep the soil consistently moist but not soggy. You’ll know your cuttings are rooting when you see new leaf growth or feel a gentle tug when you carefully try to pull them out of the soil. This usually takes about 4-8 weeks.
The most common problem you’ll face is rot. If you see stems turning mushy or darkening, it’s a sign of too much moisture and not enough air circulation. It’s a tough lesson, but sometimes you have to discard the rotted ones and try again, ensuring better drainage and more airflow next time. If your cuttings wilt and dry out, they likely didn’t get enough humidity, or the soil dried out too much.
A Encouraging Closing
Don’t get discouraged if your first few attempts aren’t perfect. Gardening is a journey, and propagation is a wonderful skill to hone. Be patient, observe your plants, and enjoy the process of nurturing new life. Soon, you’ll have a whole garden of Spiraea nervosa to enjoy – or to share with fellow garden enthusiasts! Happy propagating!
Resource:
https://identify.plantnet.org/k-world-flora/species/Spiraea%20nervosa%20Franch.%20&%20Sav./data