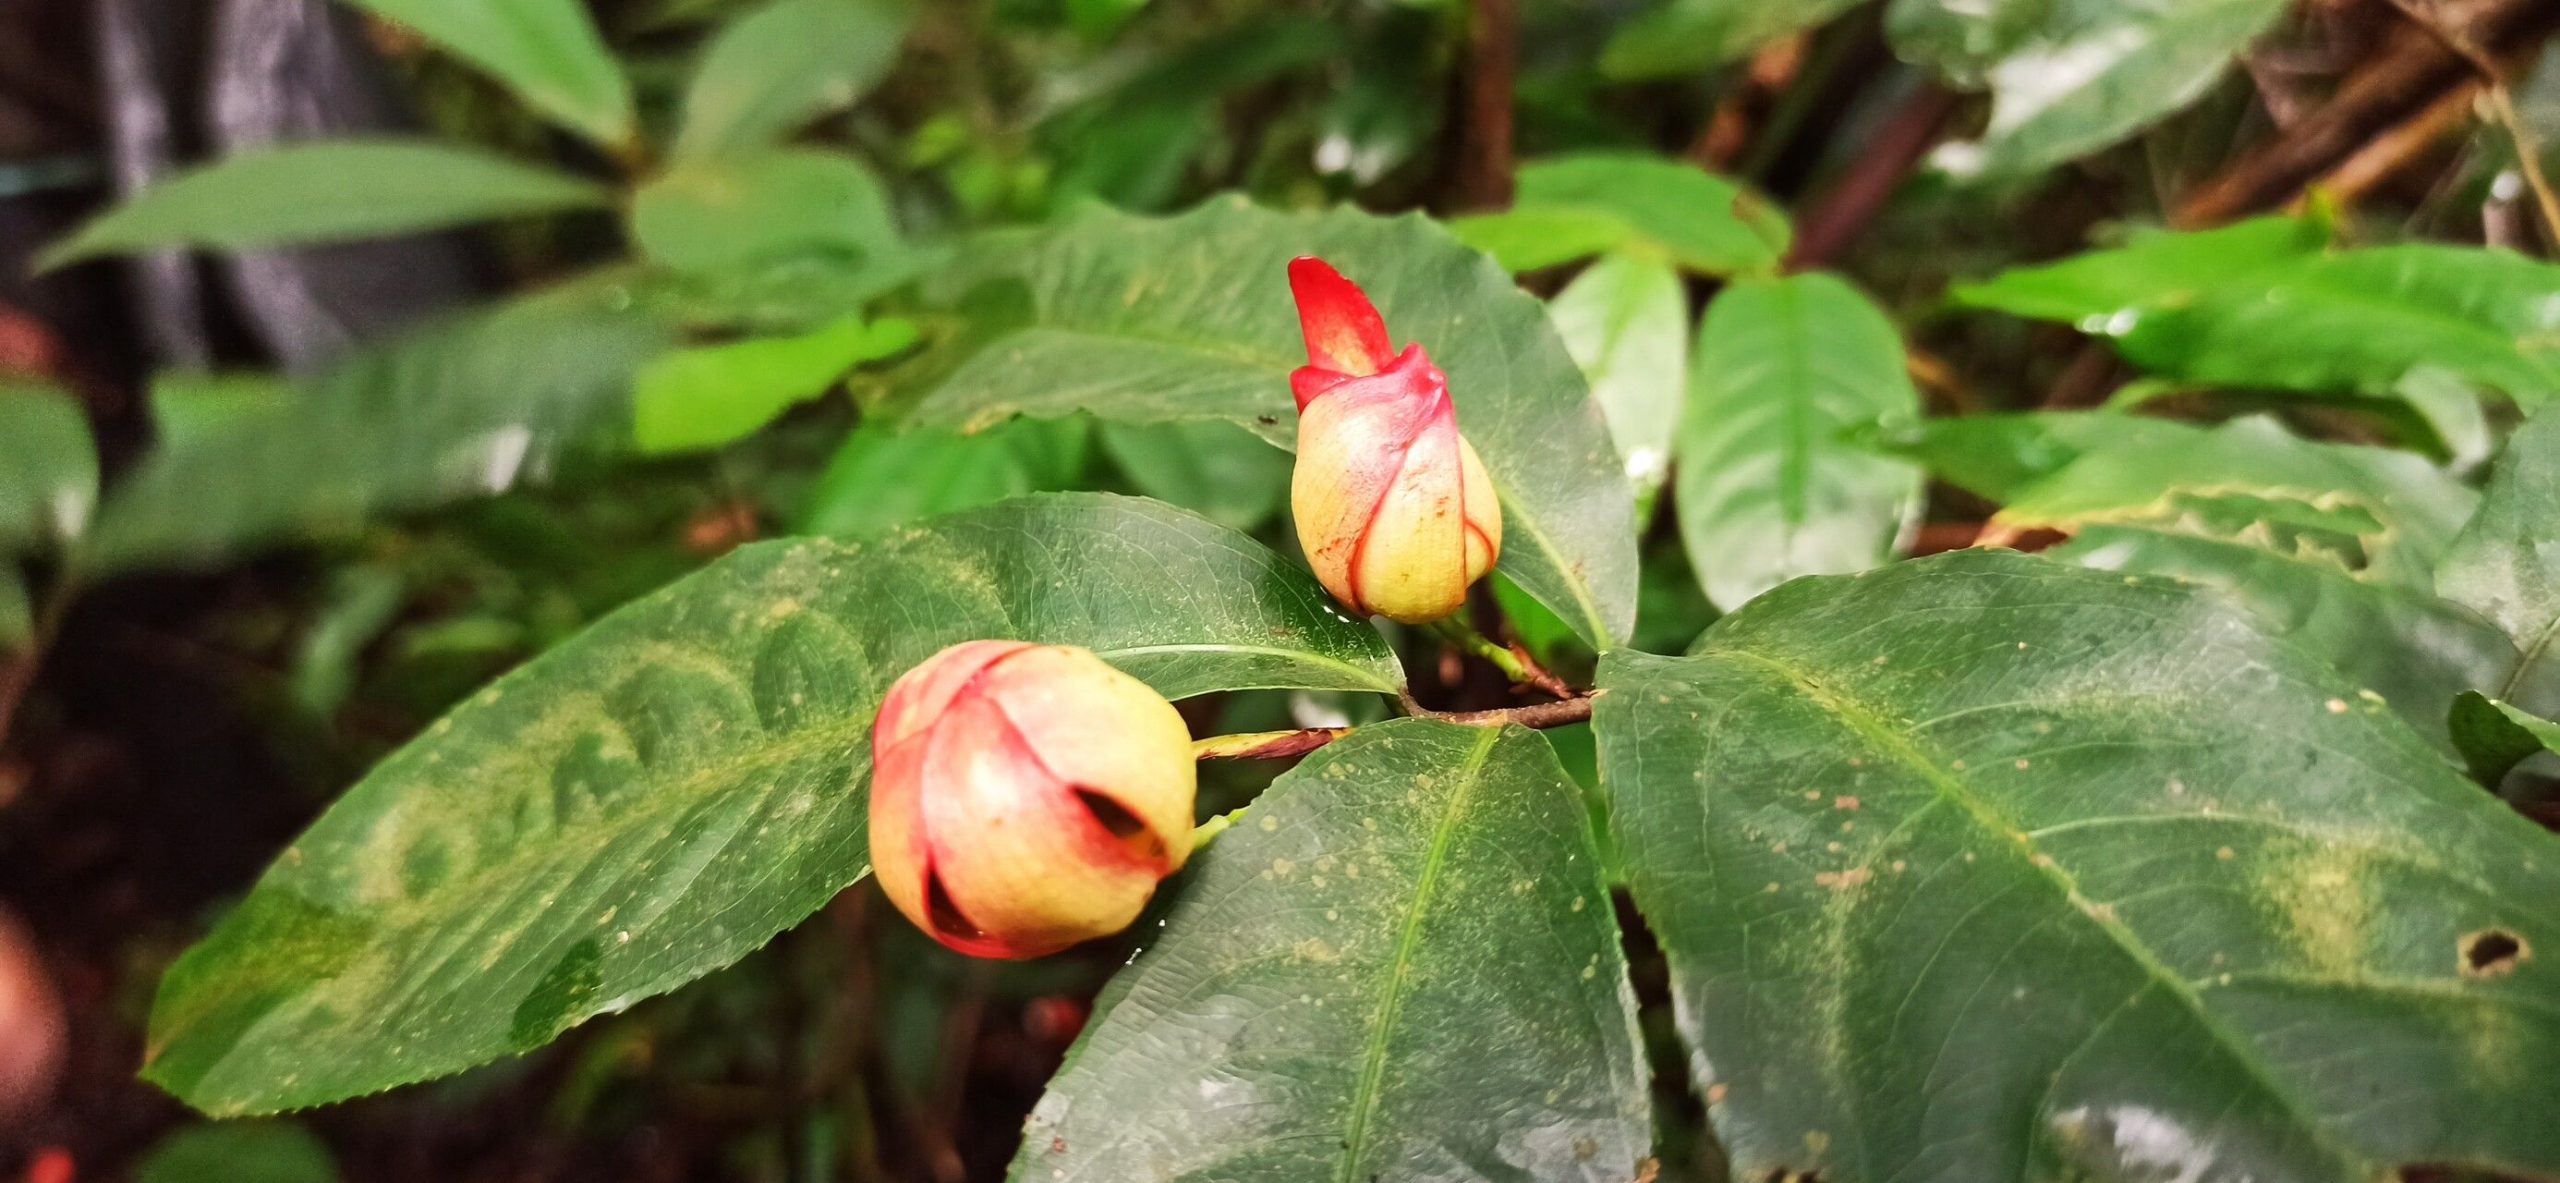
Hello fellow garden enthusiasts! Today, I want to chat about a plant that has truly captured my heart over the years: Ochna staudtii. You might know it as the Mickey Mouse plant, and seeing its cheerful, round seed pods (that look just like Mickey’s ears!) emerge after its lovely yellow blooms is such a delightful reward. It brings a bit of whimsy to any garden.
Propagating Ochna staudtii is something I find incredibly satisfying. While it’s not the absolute easiest plant for a complete beginner, with a little patience and the right approach, you’ll be well on your way to success. Don’t be discouraged if your first attempt isn’t perfect; that’s all part of the learning curve!
When to Get Your Hands Dirty
The best time to dive into propagating Ochna staudtii is during its active growing season. This typically means late spring through summer. You want to work with healthy, vigorous growth. Overwintered wood from the previous year, or new softwood growth that has started to firm up a bit but is still flexible, is ideal. Avoid taking cuttings during the plant’s dormancy or when it’s stressed by extreme heat or cold.
Gathering Your Tools
Before we begin, let’s make sure you have everything you need. It’s always better to be prepared!
- Sharp Pruning Shears or a Craft Knife: Cleanliness is key here to prevent disease.
- Rooting Hormone: A rooting powder or gel can significantly boost your success rate.
- Well-Draining Potting Mix: I often use a blend of perlite and peat moss, or a bagged seedling starter mix. The key is sharp drainage.
- Small Pots or a Propagation Tray: Clean pots are essential.
- Clear Plastic Bag or Humidity Dome: To maintain consistent humidity.
- Optional: Bottom Heat Mat: This can be a game-changer, especially if your environment is cool.
Bringing New Life: Propagation Methods
Ochna staudtii is quite amenable to stem cuttings, which is usually my go-to method.
Stem Cuttings:
- Select Your Cuttings: Look for healthy stems that are at least 4-6 inches long. You’re aiming for semi-hardwood cuttings – they should be firm but still have a little give. Snap a stem; if it bends without breaking cleanly, it’s probably too soft. If it snaps sharply, it might be too hard.
- Make the Cut: Using your clean shears or knife, make a clean cut just below a leaf node. This is the spot where leaves attach to the stem, and it’s where roots are most likely to form.
- Prepare the Cutting: Gently remove the lower leaves, leaving just a few at the top. This reduces water loss and prevents leaves from rotting in the soil. If the leaves are very large, I sometimes cut them in half to further reduce moisture loss.
- Dip in Rooting Hormone: Dip the cut end of the stem into your rooting hormone, tapping off any excess. This step is crucial for encouraging strong root development.
- Pot Them Up: Fill your small pots or propagation tray with your well-draining mix. Make a pilot hole with a pencil or skewer before inserting the cutting. This prevents the rooting hormone from being scraped off. Gently insert the cutting into the hole, ensuring the nodes where you removed the leaves are below the soil surface. Firm the soil around the stem.
- Create a Humid Environment: Water the soil gently until it’s evenly moist but not soggy. Then, cover the pots with a clear plastic bag, ensuring the plastic doesn’t touch the leaves (you can use stakes to prop it up). Alternatively, use a propagation tray with a clear lid.
My “Secret Sauce” for Success
Now, for a few things I’ve learned that really make a difference.
- Don’t Let Leaves Touch Water (in Water Propagation): While I prefer soil for Ochna staudtii, if you were to try water propagation (less common for this plant but possible for some), it’s vital that no leaves are submerged. Rot sets in very quickly, and you’ll end up with mush, not roots!
- Bottom Heat is Your Friend: If you have a propagation mat, use it! Providing gentle bottom heat (around 70-75°F or 21-24°C) really encourages root formation. It mimics the warmth of spring soil and helps those cuttings get going.
- Patience is Not Just a Virtue, It’s a Requirement: Some plants root in a few weeks, others take months. For Ochna staudtii, I often see roots developing within 4-8 weeks, but don’t despair if it takes longer. Keep that humidity up and be patient.
The Waiting Game: Aftercare and Troubleshooting
Once your cuttings have developed a healthy root system (you’ll know when you gently tug and feel resistance, or see roots emerging from drainage holes), it’s time to transition them to slightly larger pots. Continue to keep the soil consistently moist, but not waterlogged.
The most common issue you might encounter is rot. If you see mushy, black stems, or leaves turning yellow and dropping off very quickly, it’s often a sign of too much moisture or poor air circulation. Ensure your soil is draining well, and try to avoid overwatering. If a cutting turns mushy, sadly, it’s usually beyond saving. Just discard it and try again with a fresh one.
Happy Roots and Happy Growing!
Propagating Ochna staudtii is a wonderfully rewarding way to multiply your enjoyment of this cheerful plant. Be patient, observe your cuttings, and don’t be afraid to get your hands dirty. Each successful new plant is a testament to your green thumb and a little piece of garden magic you’ve created. Happy propagating!
Resource:
https://identify.plantnet.org/k-world-flora/species/Ochna%20staudtii%20Gilg/data