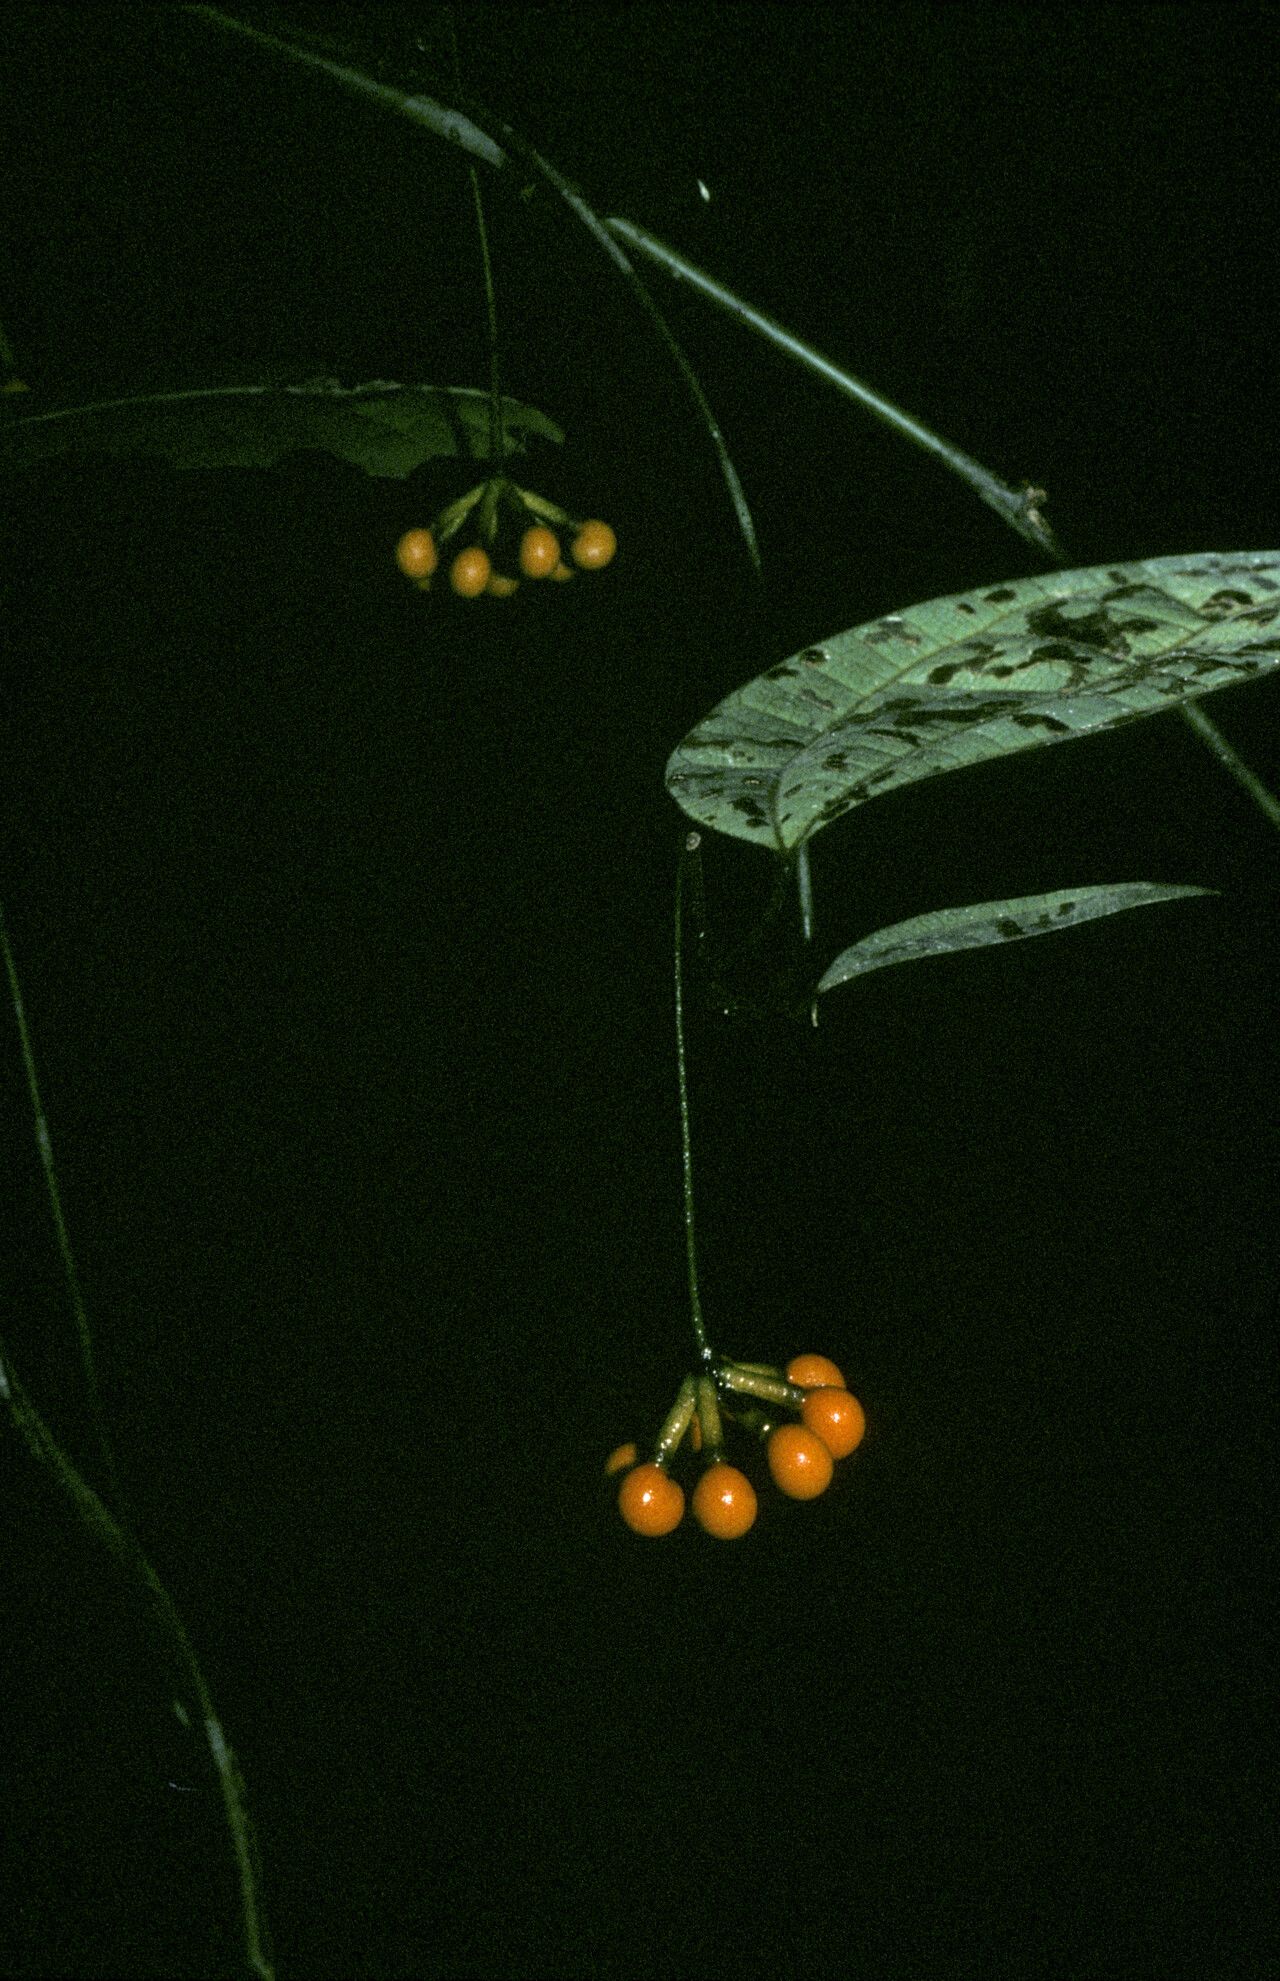
Oh, hello there! Grab your favorite mug and let’s chat about a truly gorgeous plant: Sciadotenia cayennensis. If you’re looking for something with a bit of flair – those lush, glossy leaves and a tropical vibe that really brings a space to life – then you’ve found your match. And the best part? You can absolutely multiply your joy by propagating your own!
Why Propagate Sciadotenia cayennensis?
Honestly, seeing a tiny cutting transform into a thriving new plant is one of those simple but profound pleasures in gardening. It’s incredibly rewarding to share these beauties with friends or simply expand your own collection. Now, for the honest truth: is Sciadotenia cayennensis a beginner-friendly propagator? I’d say it’s moderately easy. It’s not as hands-off as some and a little patience is key, but with a few pointers, you’ll be well on your way.
The Best Time to Start
The sweet spot for propagating Sciadotenia cayennensis is definitely during its active growth period. Think late spring through early autumn. This is when the plant has plenty of energy to put into developing new roots. Trying to propagate when it’s dormant or struggling will just lead to frustration. Look for healthy, vigorous stems that aren’t too old and woody, nor too tender and new.
Supplies You’ll Need
Gathering your tools beforehand makes the whole process smoother. Here’s what I recommend:
- Sharp, clean pruning shears or a knife: A clean cut is crucial for preventing disease.
- Potting mix: A well-draining mix is paramount. I love a blend of equal parts peat moss or coco coir, perlite, and a bit of good quality potting soil.
- Small pots or propagating trays: Clean ones, of course! Terracotta pots are nice as they allow the soil to breathe.
- Rooting hormone (optional but recommended): This can significantly boost your success rate. Look for one with IBA.
- Clear plastic bag or propagation dome: To create a humid microclimate.
- Watering can or mister: For gentle watering.
- Labels and a marker: To keep track of what you’ve potted and when!
Propagation Methods: Stem Cuttings
Stem cuttings are my go-to method for Sciadotenia cayennensis. They’re reliable and give you a good chance of success.
- Take the Cutting: Select a healthy stem that is about 4-6 inches long. Using your sterilized pruning shears, make a clean cut just below a leaf node (where a leaf attaches to the stem). Remove the lower leaves, leaving just 2-3 at the top.
- Prepare the Cutting: If you’re using rooting hormone, dip the cut end of the stem into it, tapping off any excess.
- Potting Up: Fill your small pots or trays with your prepared well-draining potting mix. Gently insert the cut end of the stem into the soil, about an inch deep. Firm the soil around the stem gently.
- Water and Humidify: Water the soil thoroughly until it’s evenly moist, but not waterlogged. Place the pot into a clear plastic bag or cover it with a propagation dome to create a humid environment. Secure the bag around the pot.
- Placement: Find a bright, indirect light spot for your cutting. Avoid direct sun, which can scorch the delicate new growth.
The “Secret Sauce” (Pro Tips)
Here are a few things I’ve learned over the years that can make a real difference:
- The Leaf and Water Rule: If you decide to try water propagation (where you root cuttings in water), never let the leaves touch the water! They’ll rot very quickly. Stick to just rooting the stem itself.
- Bottom Heat is Your Friend: For those cuttings that are a bit stubborn, a heating mat placed underneath your propagation tray can work wonders. It encourages root development by keeping the soil temperature consistently warm.
- Don’t Disturb Too Soon: Resist the urge to constantly tug on your cuttings to check for roots. Wait until you see clear signs of new growth (like new leaves appearing) before you go investigating. That’s the best indicator that roots have formed.
Aftercare & Troubleshooting
Once you see those promising little roots, or new leaf growth, it’s time to transition your new Sciadotenia cayennensis baby.
- Gradual Acclimatization: If your cutting is in a bagged environment, gradually introduce it to less humid air over a week or two. Open the bag for a few hours each day, slowly increasing the time. This prevents shock.
- Regular Watering: Continue to water when the top inch of soil feels dry. Avoid letting it dry out completely or sit in soggy soil.
- New Potting: Once the roots have filled the small pot, you can transplant your new plant into a slightly larger pot with fresh potting mix.
- Watch for Rot: The most common sign of failure is rot, where the stem turns mushy and black. This is usually due to overwatering or poor drainage. If you see this, unfortunately, it’s time to start again. Another sign is wilting and yellowing leaves – this could be too much or too little water, or not enough light.
A Little Patience Goes a Long Way
Creating new life from a single cutting is a truly magical part of gardening. Don’t get discouraged if your first attempt isn’t perfect. Every plant is a learning experience, and with a little practice, you’ll be a Sciadotenia cayennensis propagation pro in no time. Happy propagating, and enjoy the beautiful journey!
Resource:
https://identify.plantnet.org/k-world-flora/species/Sciadotenia%20cayennensis%20Benth./data