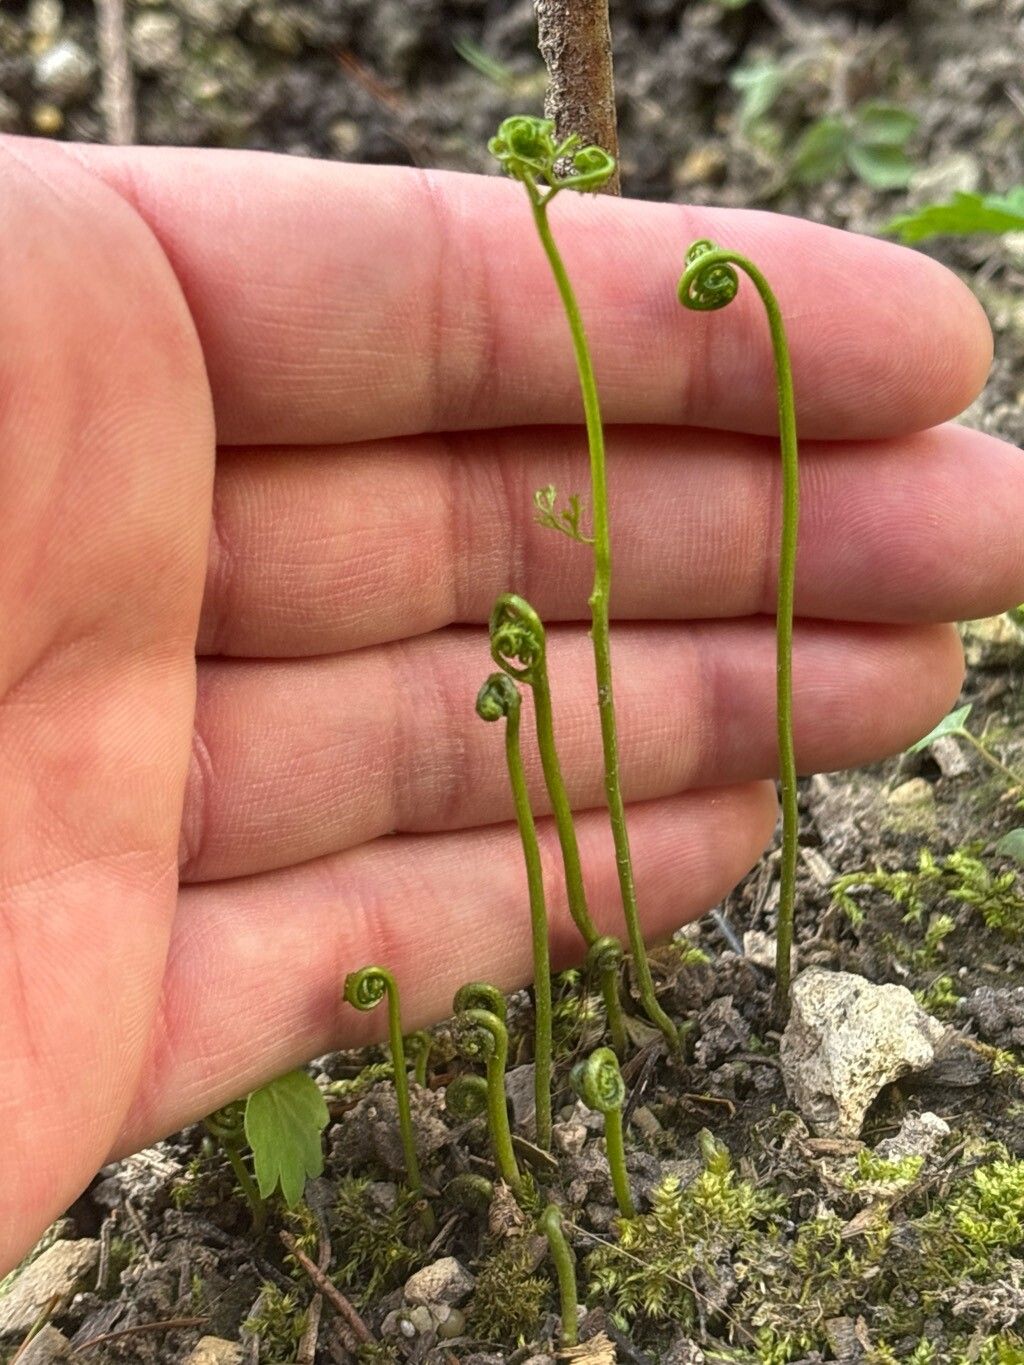
Oh, hello there! Pull up a chair and let’s chat about a truly special plant. If you’re anything like me, you’ve probably been captivated by the sheer elegance of Asplenium fissum. Its deeply lobed, almost feathery fronds have a way of adding a touch of the wild, the ancient, to any space. And the beauty of it? You can bring more of this magic into your life by propagating it yourself! It’s a wonderfully rewarding endeavor, and while Asplenium fissum might seem a bit… exclusive, I promise you, with a little know-how, you can absolutely succeed. Don’t let its exotic good looks intimidate you; it’s more approachable than you might think.
The Best Time to Start
When is the sweet spot for giving your Asplenium fissum a bit of a family expansion? I’ve found the late spring through early summer is your golden window. This is when the plant is really in its growth spurt, putting out fresh, vigorous fronds. It means your cuttings or divisions will have plenty of energy to establish themselves. Think of it just as things are waking up and getting going after their winter rest – perfect timing!
Supplies You’ll Need
Gathering your tools is half the fun, right? Here’s what I always have on hand for tackling this project:
- Sterile Pruning Shears or a Sharp Knife: Cleanliness is key to preventing disease.
- Well-Draining Potting Mix: A good blend for ferns is essential. I often use a mix of peat moss, perlite, and orchid bark. Some growers use straight sphagnum moss, which also works wonderfully.
- Small Pots or Trays: Whatever you have on hand for your new little plants. Make sure they have drainage holes!
- Clear Plastic Bags or a Propagator Lid: To create a humid environment.
- (Optional) Rooting Hormone: While not strictly necessary for Asplenium fissum, it can sometimes give an extra boost.
- Watering Can with a Fine Rose: For gentle watering.
- Patience! The most important tool of all.
Propagation Methods
Asplenium fissum is a bit of a diva when it comes to propagation, but the most reliable method for me, and where I see the most success, is through division.
Division: Sharing the Mother Lode
This is essentially splitting your existing plant into smaller, independent units. It’s best done when the plant is actively growing, but not stressed.
- Gently Remove the Plant: Carefully slide the entire plant out of its pot. If it’s root-bound, you might need to coax it gently.
- Inspect the Roots and Rhizomes: Look for natural breaks where new growth is emerging from the main root structure, called rhizomes. You want to see healthy roots attached to these new shoots.
- Divide with Care: Using your sterilized pruning shears or a sharp knife, carefully cut through the rhizomes and roots to separate the smaller sections. Aim for sections that have at least a few fronds and a good mass of roots. Don’t be afraid to disturb it a little – ferns are tougher than they look!
- Pot Up Your New Plants: Plant each division into its own small pot filled with your prepared potting mix. Make sure the rhizome is just at or slightly below the surface of the soil.
- Water Gently: Give them a good watering to settle the soil around the roots.
The “Secret Sauce” (Pro Tips)
Now, for those little tricks that make all the difference.
- Don’t Drown Them: When you water your divisions, make sure the soil is moist, but never soggy. Overwatering is the quickest way to invite rot, and we definitely don’t want that.
- Mimic Their Natural Habitat: Aspleniums love humidity. Once your divided plants are potted up, cover them loosely with a clear plastic bag or place them under a propagator lid. This creates a mini-greenhouse effect, keeping moisture levels high, which encourages root development. Just be sure to open them up for a few minutes daily to allow for air circulation and prevent fungal issues.
- Think “Understory”: These plants thrive in dappled light, not direct sun. Find a bright, indirect light location for your new plants. Think of the shady, humid forest floor they’d naturally grow on.
Aftercare & Troubleshooting
Once your new Asplenium fissum divisions are potted up and cozied under their plastic domes, peace is the name of the game for a few weeks. Keep the soil consistently moist but not waterlogged. You’ll know they’re settling in and developing new roots when you begin to see new frond growth unfurling. This can take anywhere from four to eight weeks, sometimes longer, so be patient!
What if things go wrong? The most common culprit is rot. If you notice fronds turning yellow and mushy, or a foul smell from the soil, it’s typically a sign of overwatering. Your best bet here is to remove the affected parts immediately, improve air circulation, and let the soil dry out a bit more between waterings. If the whole plant looks like it’s gone downhill, don’t be discouraged. Sometimes propagation is a bit of trial and error.
A Encouraging Closing
Watching a new plant emerge is one of gardening’s simple joys. Propagating Asplenium fissum is a journey, one that asks for your patience and a little bit of loving observation. Don’t rush it. Enjoy the process of nurturing these delicate new lives. You’re creating more beauty, more green, and it’s a wonderfully rewarding feeling. Happy propagating!
Resource:
https://identify.plantnet.org/k-world-flora/species/Asplenium%20fissum%20Kit.%20ex%20Willd./data