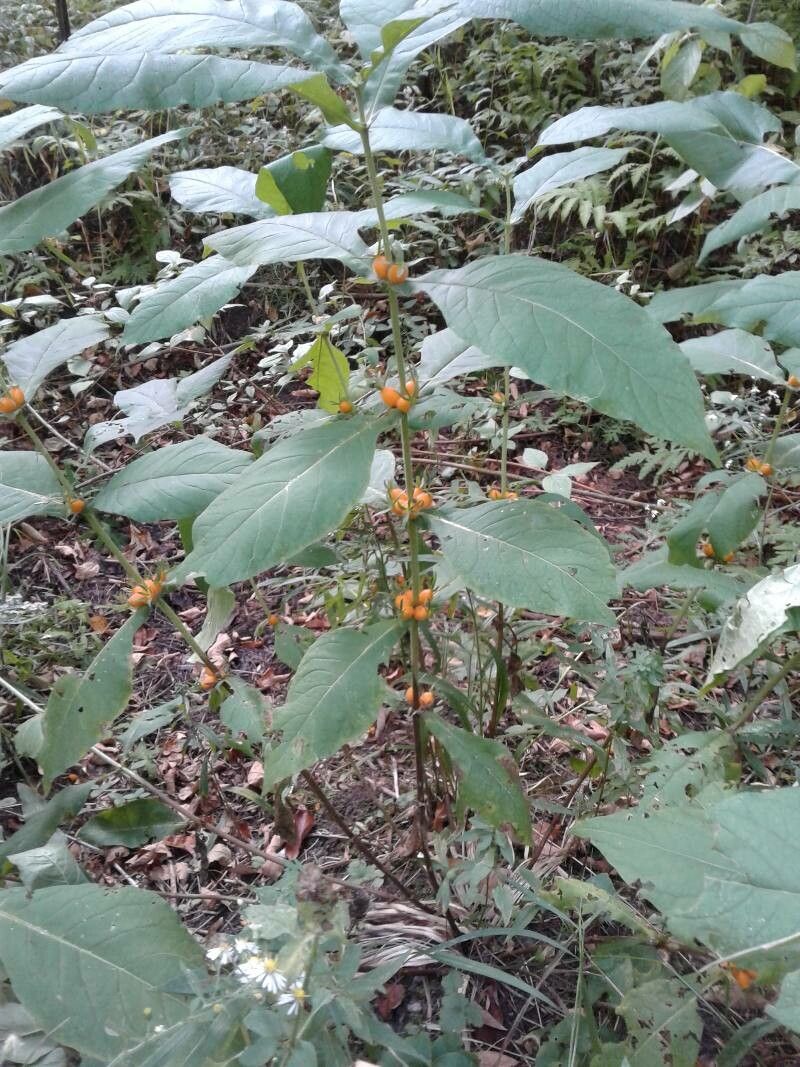
Oh, hello there! I’m so excited you’re interested in propagating Triosteum perfoliatum, or as some folks affectionately call it, “Feverwort.” This plant is a true gem for any garden. It’s not only got lovely, understated flowers that attract pollinators, but its form is wonderfully architectural. Plus, its history as a medicinal plant adds a fascinating layer for those who appreciate a bit of lore. It’s a plant that rewards your attention, and multiplying it yourself? Well, that’s just pure horticultural joy. For beginners, I’d say it’s moderately easy. A little bit of know-how goes a long way!
The Best Time to Start
For Triosteum perfoliatum, you’ll find the most success starting your propagation efforts in late spring or early summer. This is when the plant is actively growing and has plenty of energy to put into developing new roots. You want to work with softwood cuttings, which are basically the new, flexible growth from the current season. Avoid anything too woody or old.
Supplies You’ll Need
Gathering your supplies beforehand makes the whole process much smoother. Here’s what I always have on hand:
- Sharp Pruning Shears or a Clean Knife: For making clean cuts.
- Small Pots or Seed Trays: With drainage holes are essential.
- A Good Potting Mix: I like a blend of equal parts peat moss or coco coir, perlite, and a bit of compost. It needs to drain well but also retain some moisture.
- Rooting Hormone (Optional but Recommended): A powdered or liquid form can significantly speed up root development.
- Watering Can with a Fine Rose Attachment: For gentle watering.
- A Clear Plastic Bag or Humidity Dome: To create a humid environment for your cuttings.
- Labels and a Marker: You’ll thank me later for this!
Propagation Methods
Let’s dive into how we can make more little Feverwort plants!
Stem Cuttings: My Go-To for Feverwort
This is usually my preferred method for Triosteum perfoliatum.
- Take Your Cuttings: Head out in the morning when the plant is hydrated. Look for healthy stems that are about 4-6 inches long. Make a clean cut just below a leaf node (where a leaf attaches to the stem). Remove the lower leaves, leaving just the top couple of leaves to help with photosynthesis. If the leaves are very large, you can even cut them in half to reduce moisture loss.
- Prepare the Cuttings: Dip the cut end of each stem into your rooting hormone, tapping off any excess.
- Plant Them Up: Fill your small pots with your prepared potting mix. Make a pilot hole with a pencil or your finger, then insert the cutting, ensuring the leaf nodes are buried in the soil. Gently firm the soil around the base.
- Water Gently: Water thoroughly but be careful not to dislodge the cuttings.
- Create Humidity: Cover the pots with a clear plastic bag or a humidity dome. Place them in a bright location out of direct sunlight.
Division: The Easy Peasy Option
If your Triosteum plant is already established and you’ve got a nice clump, division is a fantastic, low-fuss way to get more plants.
- Dig Up the Clump: In early spring before new growth really takes off, or in the fall after flowering, carefully dig up the entire plant, trying to disturb the roots as little as possible.
- Separate the Divisions: Gently shake off excess soil. You should be able to see natural divisions in the root ball. Use your hands or a clean spade to carefully pull or cut the clump apart into smaller sections. Each division should have at least a few healthy roots and some shoots.
- Replant Immediately: Get those divisions back into the ground or into pots with fresh potting mix as soon as possible. Water them in well.
The “Secret Sauce” (Pro Tips)
Here are a few things I’ve learned over the years that make a real difference:
- Warmth is Key for Cuttings: While a bright spot is important, a little bit of bottom heat can be a game-changer for cuttings. A heat mat designed for plant propagation can really speed up root formation. You don’t need it blazing hot, just gently warm.
- Don’t Let Them Dry Out, But Don’t Drown Them: This is a delicate balance. When using the plastic bag method, check the soil moisture daily. It should feel consistently moist but not soggy. If it’s too dry, mist gently. If it’s too wet, open the bag for a few hours to allow some air circulation.
- Whisper of Wind: Once your cuttings have rooted and you’re ready to acclimate them, gradually introduce them to normal air by opening the bag a little more each day for a week or so. This helps prevent shock.
Aftercare & Troubleshooting
Once you see new growth appearing on your cuttings, that’s a great sign! It usually means roots are forming. Continue to keep the soil consistently moist and gradually acclimate them to open air as mentioned above.
The most common issue you’ll face is rot. If your cuttings look mushy and black at the base, or if the leaves are turning yellow and falling off without any other explanation, it’s often a sign of overwatering or poor drainage. Ensure your soil mix is airy, and don’t let them sit in soggy conditions. If you spot rot, you might have to discard the affected cuttings and review your watering and soil preparation for the next batch.
A Encouraging Closing
Propagating Triosteum perfoliatum is a rewarding journey. Be patient through the process; nature takes its time. There’s a unique satisfaction in nurturing a tiny cutting into a robust new plant, a little piece of your garden that you helped create. Enjoy the process, and happy gardening!
Resource:
https://identify.plantnet.org/k-world-flora/species/Triosteum%20perfoliatum%20L./data