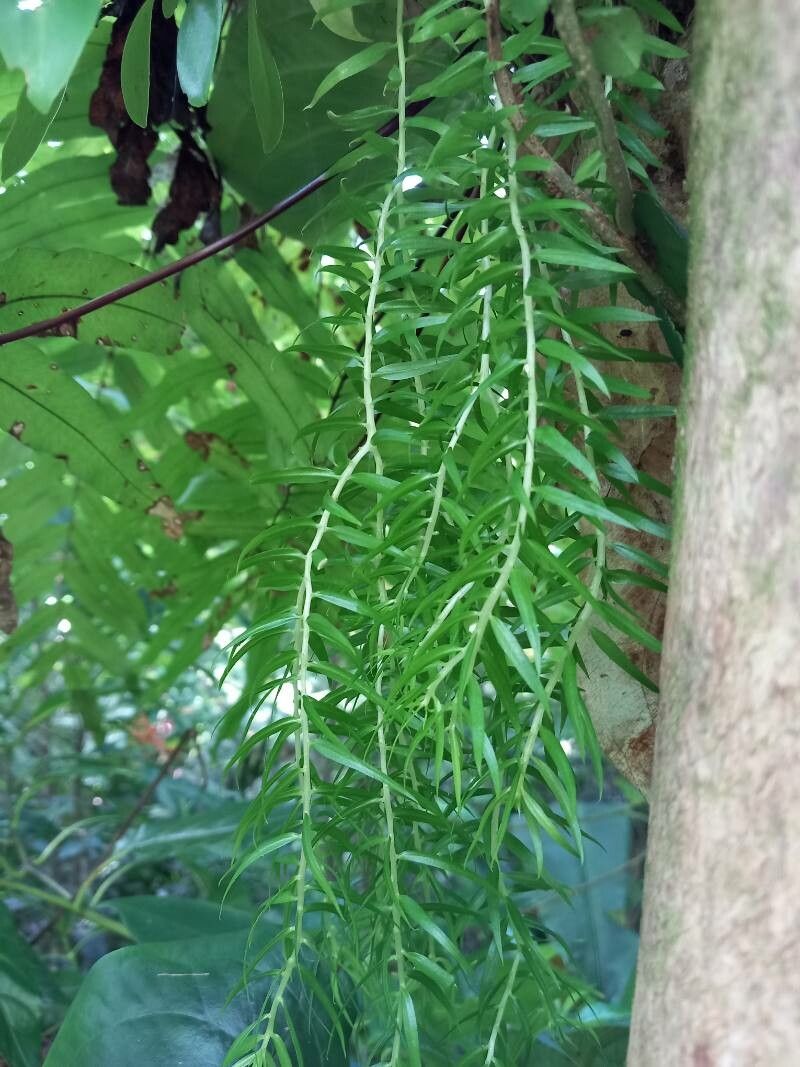
Hello fellow plant lovers! Today, we’re diving into the fascinating world of Huperzia linifolia, a truly captivating clubmoss that brings a delicate, almost ethereal beauty to any shaded nook. If you’ve ever admired its trailing, verdant strands and wished you could multiply that magic, you’re in the right place! Propagating Huperzia linifolia isn’t quite a “set it and forget it” kind of task, but the reward of nurturing a brand new plant from a tiny piece is absolutely worth the effort. For beginners, I’d say it’s a moderate challenge – you’ll need a little patience and attention to detail, but nothing too daunting.
The Best Time to Start
For the most successful propagation of Huperzia linifolia, aim for spring through early summer. This is when the plant is actively growing and has plenty of energy to dedicate to developing roots. You want to take cuttings from healthy, vigorous growth, so avoid anything that looks weak or stressed. The ideal cutting will be a stem that’s achieved a bit of length and maybe even shows signs of developing new leaf buds.
Supplies You’ll Need
Before we get our hands dirty, let’s gather our tools. Having everything ready will make the process much smoother.
- Sharp Pruning Shears or a Clean Knife: For making precise cuts.
- A Soilless Potting Mix: I like a blend of peat moss, perlite, and a little bit of orchid bark for excellent drainage and aeration. Think light and airy!
- Small Pots or Trays: Clean ones are key to preventing disease.
- Rooting Hormone (Optional, but helpful): A powder or gel can give your cuttings a nice boost.
- Clear Plastic Bags or a Propagator: To create a humid environment.
- Watering Can with a Fine Rose: For gentle watering.
- Bottom Heat Mat (Highly Recommended): This is a game-changer for encouraging root development.
Propagation Methods: Stem Cuttings – My Go-To
The most reliable way to propagate Huperzia linifolia in my experience is through stem cuttings. Here’s how I do it:
- Select Your Cuttings: Gently inspect your Huperzia linifolia and identify healthy, non-flowering stems that are at least 3-4 inches long. Using your clean shears or knife, make a clean cut just below a leaf node (where a leaf meets the stem). This is a prime spot for rooting.
- Prepare the Cuttings: Carefully remove the lower leaves from the cutting, leaving about an inch or so of bare stem. This prevents the submerged leaves from rotting in the soil. If you’re using rooting hormone, dip the cut end into the powder or gel, tapping off any excess.
- Planting the Cuttings: Fill your small pots or trays with your prepared soilless mix. Make a small hole in the center with your finger or a pencil. Gently insert the cut end of the stem into the hole, making sure the leaf nodes are at or just below the soil surface for best rooting potential. Firm the soil gently around the stem.
- Create Humidity: Water the soil thoroughly but gently. Then, cover the pots or trays with a clear plastic bag, a propagator lid, or place them inside a larger clear container. This creates a mini-greenhouse effect, keeping humidity high, which is crucial for clubmosses. Poke a few small ventilation holes if using a sealed bag.
The “Secret Sauce” (Pro Tips)
After years of trying different things, a few tricks have really improved my success rates with these lovely plants:
- Don’t Let Leaves Touch the Water (in propagation): This might sound obvious, but I’ve seen cuttings fail because lower leaves were submerged. They just rot and invite fungal issues. It’s better to prune them off before planting.
- Bottom Heat is Your Best Friend: Huperzia linifolia loves a warm environment for rooting. Placing your pots on a bottom heat mat set to around 70-75°F (21-24°C) makes a huge difference in speeding up root development. You’ll see those tiny roots forming much more readily.
- Mist, Don’t Drench: While high humidity is key, overwatering the soil can lead to rot. I prefer to mist the foliage daily and only water the soil when the top layer starts to feel dry. It’s a balance!
Aftercare & Troubleshooting
Once your cuttings have successfully rooted (this can take anywhere from 4-8 weeks, sometimes longer), you’ll start to see new growth emerging. Congratulations!
- Acclimatization: Gradually introduce your new plants to normal room conditions. This means slowly opening the plastic bag or propagator over a week or two.
- Continued Care: Continue to keep them in bright, indirect light and maintain consistent moisture – not soggy, but not dry. They still appreciate that higher humidity, so grouping them with other plants or using a pebble tray can be beneficial.
- Troubleshooting: The most common issue is rot. If you see your cuttings turning black and mushy, it’s usually a sign of overwatering or poor air circulation. If this happens, try to salvage any healthy parts, and ensure your soil mix is very well-draining. Another sign of failure is cuttings that simply shrivel and die – this can sometimes be due to not enough humidity, or taking cuttings from underdeveloped stems.
Propagating Huperzia linifolia is a journey, and like any good garden adventure, it requires a bit of patience. Don’t be discouraged if your first attempt isn’t perfect. Each time you try, you learn more about what your plant needs. Enjoy the process, celebrate those tiny new roots, and soon you’ll have a whole collection of these enchanting beauties! Happy propagating!
Resource:
https://identify.plantnet.org/k-world-flora/species/Huperzia%20linifolia%20(L.)%20Trevis./data