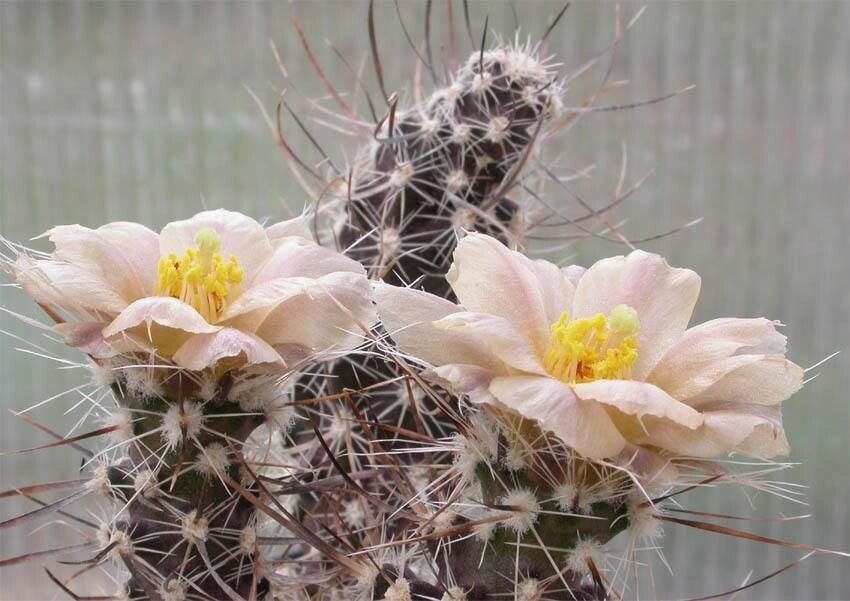
Oh, Pterocactus australis! If you’ve ever laid eyes on this fascinating cactus, you know exactly what I mean. With its segmented, paddle-like stems and delicate, often pinkish flowers, it’s a real conversation starter in any plant collection. And the best part? You can easily add more of these unique beauties to your life by propagating them. For me, it’s one of those rewarding little projects that just fills me with joy every time a new little plant pops up.
Now, if you’re new to the plant world, I wouldn’t exactly call Pterocactus australis a beginner plant in the same way a pothos might be. But don’t let that scare you! With a little patience and these tips, you’ll be well on your way to success. It’s more about understanding its specific needs than anything else.
The Best Time to Start
The sweet spot for propagating Pterocactus australis is definitely during its active growing season. For most of us, that means spring or early summer. You’ll want to propagate from healthy, mature stems that are actively putting on new growth. Avoid trying this if the plant is dormant or has just finished flowering, as it won’t have the energy reserves to put into rooting.
Supplies You’ll Need
Here’s what you’ll want to have on hand before you get started:
- Sharp, clean pruning shears or a sharp knife: For making clean cuts. Sterilize them with rubbing alcohol after each use.
- Rooting hormone (optional but recommended): This isn’t strictly necessary for Pterocactus australis, as they often root readily, but it can give you a nice boost. Look for a powder or gel specifically for succulent or cactus propagation.
- Well-draining potting mix: A cactus and succulent mix is perfect. You can also make your own by combining equal parts potting soil, perlite, and coarse sand. This is crucial to prevent rot.
- Small pots or seedling trays: Something about 2-4 inches in diameter with drainage holes is ideal.
- Gravel or perlite: To add to the bottom of pots for extra drainage if you’re worried.
- A spray bottle: For a gentle mist of water.
Propagation Methods
Pterocactus australis is wonderfully obliging when it comes to propagation. Stem cuttings are by far the easiest and most popular method.
Stem Cuttings
- Select Your Cutting: Gently twist or cut off a healthy stem segment. A good length is anywhere from 3 to 6 inches. If the segment has smaller pads or branches off it, that’s even better – more surface area for roots!
- Let It Callous: This is the most important step for preventing rot! After you’ve taken your cutting, lay it on a dry surface in a bright spot, out of direct sun, for 3-7 days. You want the cut end to dry out and form a protective callous. It will look and feel dry to the touch.
- Dip (Optional): If you’re using rooting hormone, lightly dip the calloused end into the powder or gel. Tap off any excess.
- Planting: Fill your small pot with your well-draining mix. Make a small hole in the center with your finger or a pencil. Gently insert the calloused end of your cutting into the hole, deep enough so it feels secure. You want it to stand upright. Don’t be tempted to bury it too deep.
- Water Sparingly: I like to wait a few days after planting before the first watering. When you do water, water thoroughly until it drains from the bottom. Then, let the soil dry out completely before watering again. This might be once every week or two, depending on your conditions. Misting the cut end lightly can help encourage root formation, but always err on the side of too dry rather than too wet.
The “Secret Sauce” (Pro Tips)
Here are a few little tricks I’ve picked up over the years that can make all the difference:
- Don’t Smother It: When placing your calloused cuttings, ensure they have plenty of air circulation. If you’re putting multiple cuttings in one pot, give them some space. Overcrowding can lead to humidity buildup and rot.
- Bottom Heat is Your Friend: Pterocactus australis really loves a bit of warmth to get those roots going. If you have a seedling heat mat, placing your potted cuttings on it (on a low setting) can significantly speed up root development. It mimics the warm soil they’d find in their natural environment.
- Patience, Patiente! Seriously, this is golden. While some cuttings might show roots in a few weeks, others can take months. Don’t dig them up to check! If the cutting looks plump and isn’t showing signs of shriveling or rot, trust that roots are forming.
Aftercare & Troubleshooting
Once you start to see new growth emerging from the top of your cutting, or if you gently tug on it and feel resistance, it’s a good sign that roots have formed. Continue to water infrequently, allowing the soil to dry out between waterings. As the plant grows larger, you can gradually move it into slightly larger pots with fresh succulent mix.
The biggest pitfall you’ll encounter is rot. If your cutting starts to look mushy, discolored (often brown or black), or begins to fall apart, it’s likely succumbing to rot. This is almost always due to overwatering and poor drainage. If you catch it early, you can sometimes trim away the rotten parts, let the healthy section re-callous, and try again.
A Encouraging Closing
Propagating Pterocactus australis might take a little planning and a keen eye, but the reward of watching a tiny cutting transform into a flourishing plant is immeasurable. Be patient with yourself and the process. Enjoy the journey, and celebrate every little root you discover! Happy propagating!
Resource: