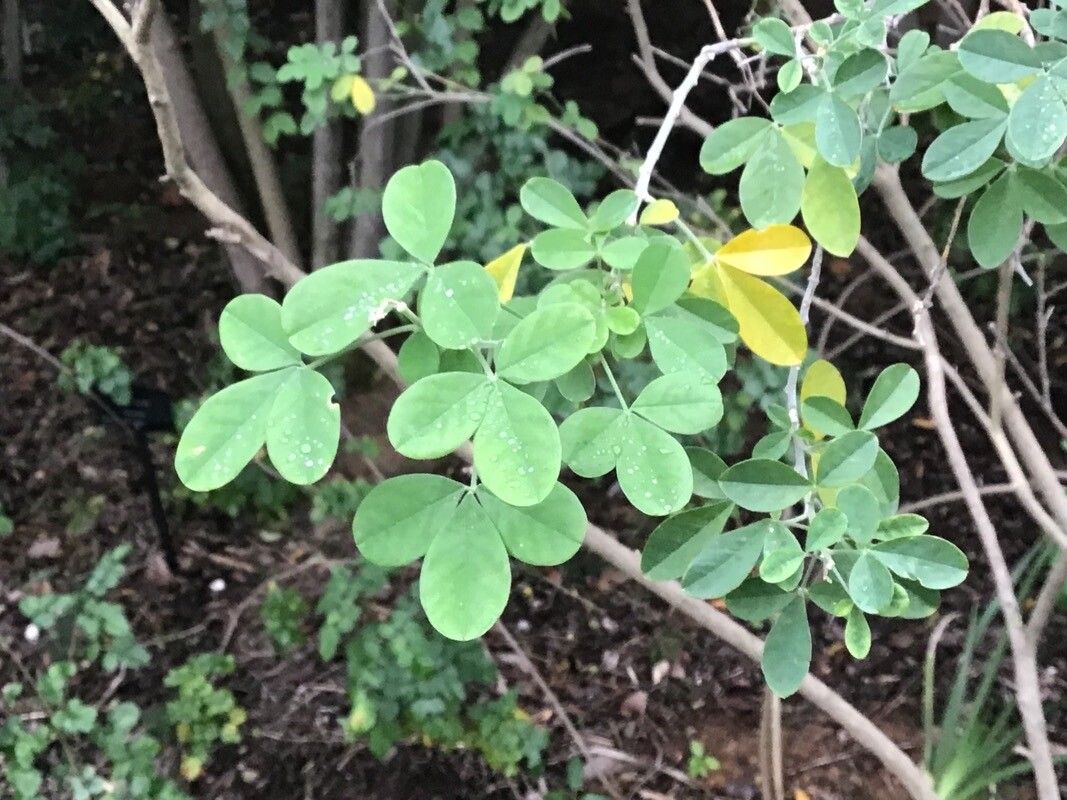
Oh, hello there, fellow plant lover! I’m so glad you’re curious about Crotalaria capensis, also known as the Cape rattlepod or even Monkey bush. This beauty is quite enchanting, isn’t it? Its delicate yellow pea-like flowers are a real showstopper, and the way the seed pods rattle when dry gives it such a unique character. Plus, growing new plants from scratch is one of the most satisfying parts of gardening, in my book. And the good news? Crotalaria capensis is generally quite forgiving, making it a lovely plant to try propagating, even if you’re just dipping your toes into the world of nurturing new life.
The Best Time to Start
For the highest chances of success with Crotalaria capensis, I find that spring or early summer is your best bet. This is when the plant is actively growing, and cuttings will have plenty of energy to put into developing roots. Aim to take cuttings from healthy, vibrant stems that haven’t just finished flowering. Look for new growth that’s still a little bit soft and pliable, rather than old, woody stems.
Supplies You’ll Need
Gathering your supplies beforehand makes the whole process much smoother. Here’s what I usually have on hand:
- Sharp pruning shears or a clean knife: For making clean cuts.
- Rooting hormone (optional but recommended): This gives cuttings a little boost.
- Seed-starting mix or a well-draining potting mix: I like a blend of peat moss and perlite for good aeration. You can also use coarse sand.
- Small pots or seedling trays: With drainage holes, of course!
- Clear plastic bags or a propagation lid: To create a humid environment.
- Water: For misting and hydrating.
- Labels: To keep track of what you’ve planted!
Propagation Methods
There are a couple of ways we can get more Crotalaria capensis plants, but I find stem cuttings to be the most straightforward and reliable for this plant.
Stem Cuttings:
- Select Your Cuttings: Choose healthy, non-flowering stems from your mature plant. Look for stems that are about 4-6 inches long.
- Make the Cut: Using your sharp shears or knife, make a clean cut just below a leaf node (the bump where a leaf attaches to the stem). This is where roots are most likely to form. Remove the lower leaves, leaving just a couple at the very top. This prevents them from rotting in the soil.
- Apply Rooting Hormone (Optional): If you’re using rooting hormone, dip the cut end of the stem into the powder or gel. Tap off any excess.
- Potting Up: Fill your small pots or seedling trays with your prepared potting mix. Gently insert the cut end of the stem into the soil, about an inch deep. You can gently firm the soil around it to provide support.
- Water and Cover: Water the soil thoroughly until it’s evenly moist, but not waterlogged. Then, place a clear plastic bag over the pot, creating a mini-greenhouse. You can prop it up with a few skewers if needed so the bag doesn’t touch the leaves. If you have a propagation lid, that works beautifully too.
The “Secret Sauce” (Pro Tips)
Here are a few little tricks I’ve learned over the years that can really make a difference:
- Bottom Heat is Your Friend: Crotalaria capensis loves a bit of warmth at its roots while it’s trying to establish itself. Placing your pots on a heated propagator mat can significantly speed up root development. It mimics the warmth of spring soil.
- Don’t Let Those Leaves Dangle: If you’re water propagating (which I tend to do less with this specific plant, but it’s an option!), make absolutely sure that no leaves are submerged in the water. Submerged leaves will invariably rot, and that can lead to the whole cutting going downhill quickly.
- Be Patient with Drainage: While we want to keep the soil moist, never let your pots sit in standing water. Excellent drainage is key to preventing rot, which is the most common downfall for struggling cuttings. I always err on the side of slightly drier rather than too wet.
Aftercare & Troubleshooting
Once you see new leaves or shoots emerging, that’s a sure sign your cutting is rooting! At this point, you can gradually acclimate your new plant to drier air by opening the plastic bag a little bit each day over a week or so. Once it’s fully accustomed to open air, you can remove the bag entirely.
Keep the soil consistently moist but not soggy. As your little plant grows and becomes more robust, you can transfer it to a slightly larger pot with fresh potting soil.
Now, what if things aren’t going as planned? The most common issue you’ll see is wilting, yellowing leaves, or a cutting that turns mushy and black at the base. This is usually a sign of rot, often caused by too much moisture and not enough air circulation. If you see this, sadly, it’s best to discard the affected cutting and soil to prevent it from spreading. Don’t get discouraged, though! Sometimes a cutting just doesn’t take, and it’s all part of the learning process.
A Little Encouragement
Propagating plants is a journey, and each success is a little victory. Don’t be afraid to experiment, and most importantly, enjoy the process! Watching a tiny cutting transform into a thriving plant is incredibly rewarding. Be patient with your new Crotalaria capensis babies, and soon you’ll have an abundance of these lovely plants to share or enjoy in your own garden. Happy growing!
Resource:
https://identify.plantnet.org/k-world-flora/species/Crotalaria%20capensis%20Jacq./data