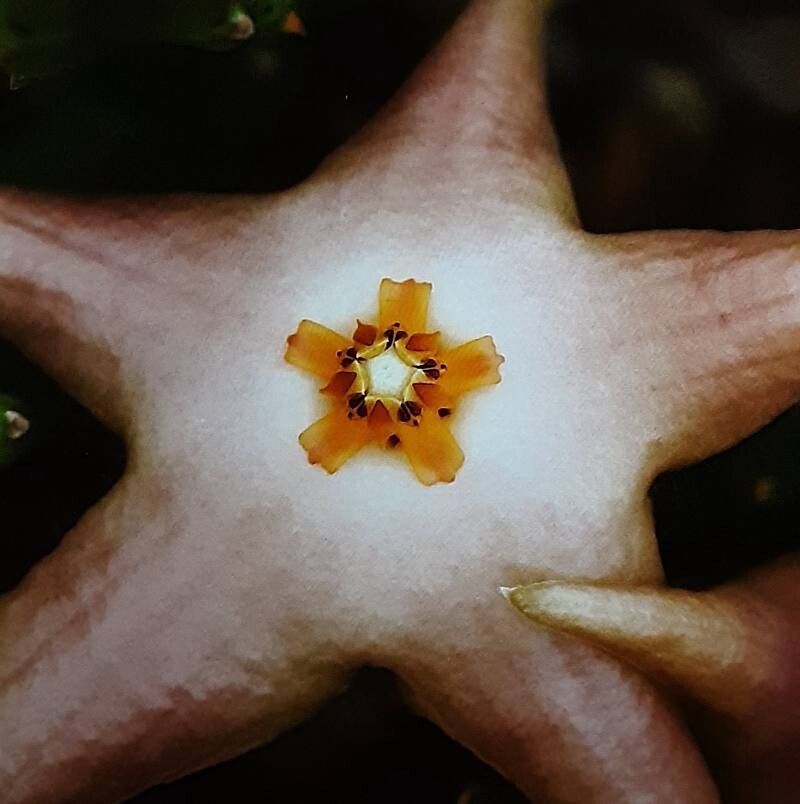
Well hello there, fellow plant lovers! It’s so good to have you here. Today, we’re diving into the wonderfully weird world of Stapelia divaricata, those fantastic star-shaped flowering succulents that smell… well, let’s just say they’re memorable! If you’ve ever fallen in love with their unique beauty and wished you had more of them, you’re in the right place. Propagating these beauties is incredibly rewarding, and I’m thrilled to share my tried-and-true methods with you. Honestly, Stapelia divaricata is a pretty forgiving plant when it comes to propagation, making it a joy for beginners and seasoned gardeners alike.
The Best Time to Start
For the happiest results, I find that late spring through early summer is your golden window. This is when your Stapelia is actively growing and has that good energy to push out roots. You can technically propagate them at other times, but you’ll likely see faster, more vigorous growth if you start when the days are getting longer and warmer.
Supplies You’ll Need
Here’s what you’ll want to have on hand before we get our hands dirty:
- Well-draining potting mix: I usually create my own by mixing equal parts potting soil, perlite, and coarse sand. A cactus/succulent mix off the shelf works great too.
- Clean, sharp pruning shears or a knife: For taking clean cuts.
- Rooting hormone (optional but helpful): Especially if you’re a bit nervous or want to speed things up.
- Small pots or containers: Terracotta pots are my favorites because they breathe.
- Watering can or spray bottle: For gentle watering.
- Gloves (optional): Some people find cactus sap a bit sticky.
- Marker and labels: To keep track of your new baby plants.
Propagation Methods
Let’s get to the fun part!
1. Stem Cuttings (My Go-To!)
This is by far the easiest and most reliable method for Stapelia divaricata.
- Select a healthy stem: Look for a mature, firm stem segment that’s at least 4-6 inches long. Avoid any that look soft or discolored.
- Make the cut: Using your clean shears or knife, make a clean cut just above a node (where leaves or segments attach).
- Let it calluse: This is crucial! You must let the cut end dry out and form a callus. I usually leave the cuttings in a dry, well-ventilated spot for 3-7 days. The cut end should look dry and a bit leathery. This prevents rot.
- Planting: Once callused, you can gently insert the cut end about an inch or two into your prepared potting mix. Don’t bury it too deep.
- Watering: Water sparingly at first. Just enough to moisten the soil. I prefer to wait a day or two after planting before the very first watering.
- Placement: Place the pot in a bright spot with indirect sunlight. Avoid direct, scorching sun until your plant is well-established.
2. Water Propagation (For the Impatient)
While not my first choice for Stapelia divaricata as it can sometimes lead to mushy stems, it can work if done with care.
- Prepare the cutting: Follow the same steps as above for taking and callusing your stem cutting.
- The crucial detail: When placing the callused cutting in water, ensure that NO part of the stem, especially the callused end, is submerged. You want only the very tip of the cut to be exposed to the water, or ideally, hang it so the cut is above the water level but the aerial roots can reach it. You can suspend it with a small twig or by using a container with a lid that has holes.
- Change the water: Every few days, change the water to keep it fresh.
- Patience: Roots will eventually form and grow down towards the water. Once you have a good inch or so of roots, you can carefully transplant it into your well-draining soil mix, treating it like a freshly planted cutting.
The “Secret Sauce” (Pro Tips)
Here are a couple of little tricks I’ve learned over the years that can make a big difference:
- The “Wipe-Down” Method: After taking a cutting, I often give the cut end a gentle wipe with a paper towel. This isn’t strictly necessary, but I find it helps remove any excess sap and can speed up the callusing process just a tad.
- Gentle Humidity: While we want that cut to dry, once it’s planted, a little humidity can encourage root development. However, crucially, don’t let the leaves of the cutting touch the soil constantly. This can lead to rot. I often use a clear plastic bag loosely over the pot for the first week or two, leaving it slightly open for ventilation. Think of it as a mini-greenhouse, not a sealed terrarium.
Aftercare & Troubleshooting
Once you see new growth appearing from the base or the stem itself thickening, congratulations! Your Stapelia is rooting.
- Watering: Continue to water sparingly. Allow the soil to dry out completely between waterings. Overwatering is the most common killer of succulent cuttings. You can gradually increase watering as the plant grows stronger.
- Light: Keep it in bright, indirect light. As it establishes, you can slowly introduce it to more direct morning sun.
- Signs of Failure: The biggest culprit is rot. If your cutting turns mushy, black, or smells foul, it’s a goner. This usually happens from not callusing properly or from overwatering in the early stages. If you catch it early, you might be able to cut away the rotted part and try callusing again. Another sign of stress is if the cutting shrivels excessively – this can mean it’s too dry, though with Stapelia, rot is far more common.
A Encouraging Closing
Propagating plants is such a fulfilling part of gardening. It’s a way to multiply the beauty you love and share it with others. With Stapelia divaricata, patience is your best friend. Don’t be discouraged if your first attempt isn’t perfect. Each new plant is a little victory, and the process itself is a wonderful journey. So grab your tools, get your hands dirty, and enjoy growing your own fascinating star-shaped blooms! Happy gardening!
Resource:
https://identify.plantnet.org/k-world-flora/species/Stapelia%20divaricata%20Masson/data