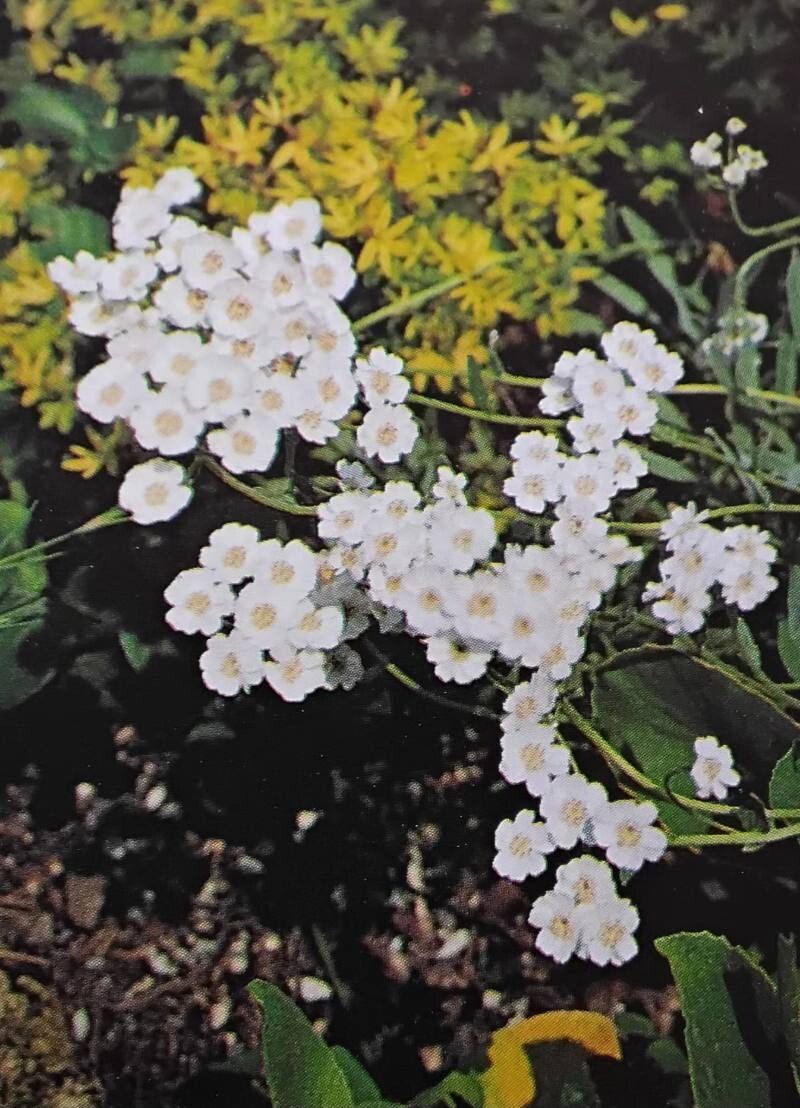
Hello there, fellow garden enthusiasts! It’s so lovely to be sharing a cup of coffee with you today, virtually of course. We’re going to dive into something truly satisfying: propagating Achillea ageratifolia, also known as Greek Yarrow. This plant is such a gem in the garden, isn’t it? Its delicate, daisy-like white flowers and silvery-grey foliage bring a touch of understated elegance. Plus, it’s a champ at attracting beneficial pollinators.
The best part? Growing more of these beauties from existing plants is genuinely rewarding. And for those of you just dipping your toes into the world of propagation, I have good news: Achillea ageratifolia is quite forgiving. You’ll find it a wonderfully accessible plant to start with.
The Best Time to Start
For the absolute highest success rate, I find the late spring to early summer is your golden window. This is when the plant is actively growing, so those new stems are full of life and ready to root. You can also have some success in early autumn, but I generally aim for that spring flush.
Supplies You’ll Need
Gathering your tools beforehand makes the whole process much smoother. Here’s what I usually have on hand:
- Sharp, clean pruning shears or a sharp knife: Essential for taking clean cuts.
- Potting mix: A light, well-draining mix is key. I often use a blend of seed-starting mix and perlite (about a 2:1 ratio) for cuttings.
- Small pots or trays: Clean containers with drainage holes are a must.
- Rooting hormone (optional but recommended): This can give your cuttings a helpful boost.
- Plastic bags or a propagation dome: To maintain humidity around your cuttings.
- Watering can with a fine rose: For gentle watering.
- A sunny windowsill or a warm propagation mat: For consistent warmth, especially if you’re using rooting hormone or have a cooler environment.
Propagation Methods
Achillea ageratifolia is wonderfully amenable to a few different propagation techniques. I find stem cuttings and division to be the most reliable, so let’s focus on those.
Stem Cuttings
This is my go-to method for increasing my stock of Greek Yarrow.
- Take your cuttings: Look for healthy, non-flowering shoots from a mature plant. Aim for stems that are about 3-4 inches long. Using your clean shears, make a cut just below a leaf node (where a leaf attaches to the stem). Removing any leaves from the bottom half of the cutting is important.
- Prepare the cuttings: If you’re using rooting hormone, dip the cut end of the stem into the powder or gel. Gently tap off any excess.
- Plant your cuttings: Fill your small pots or trays with your prepared potting mix. Make a small hole with a pencil or your finger, and insert the cut end of the stem, making sure at least one leaf node is covered by soil. Gently firm the soil around the cutting.
- Water and cover: Water the soil gently so it’s moist but not soggy. Cover the pots with a plastic bag or a propagation dome to create a humid environment. This is crucial for keeping the leaves from drying out while they establish roots.
- Provide light and warmth: Place the pots in a location that receives bright, indirect light. If possible, place them on a propagation mat or a warm windowsill.
Division
This is a fantastic method if your plant is looking a bit crowded or you simply want to divide a large clump.
- Prepare your plant: Water your Achillea ageratifolia thoroughly a day or two before you plan to divide it. This makes the root ball easier to work with.
- Gently dig it up: Using a spade or garden fork, carefully dig around the perimeter of the plant, lifting it with as much of the root ball intact as possible.
- Separate the clumps: Gently break or use your knife to divide the root ball into smaller sections. Each section should have a good amount of roots and at least a few leafy shoots. Discard any woody or dead sections.
- Replant immediately: I like to replant the divisions right away. Dig new holes in the garden or in pots, adding some compost if you’re planting in the ground. Place the divided sections in the holes, ensuring the crown (where the shoots emerge from the roots) is at soil level. Water them well.
The “Secret Sauce” (Pro Tips)
Here are a couple of things I’ve learned over the years that really help boost success:
- Don’t let the leaves touch the water (for water propagation): While I prefer soil propagation for Achillea ageratifolia, if you do try water propagation, make sure only the cut stem is submerged. Any leaves dipping into the water are prone to rotting, which can then spread to the whole cutting.
- Bottom heat is your friend: Especially with stem cuttings, providing a little warmth from underneath (around 70-75°F or 21-24°C) through a propagation mat can significantly speed up root development. It mimics the warmth of spring soil really well.
Aftercare & Troubleshooting
Once your cuttings have rooted—you’ll know when you see new growth or feel resistance when gently tugging on the stem—it’s time to give them a little more attention.
- Gradually acclimate: Once roots have formed, slowly remove the plastic bag or propagation dome over a few days to help the young plants get used to normal humidity levels.
- Watering: Water them when the top inch of soil feels dry. Be careful not to overwater, as this can lead to root rot.
- Transplanting: When the new plants are a bit larger and have a strong root system, you can transplant them into larger pots or their permanent garden locations.
Now, what if things don’t go quite as planned? The most common culprit is rot. If your cuttings turn black and mushy, it’s usually a sign of too much moisture and not enough air circulation. Ensure your soil is free-draining and you’re not overwatering. Stunted growth or cuttings that wither and die can also indicate insufficient rooting or conditions that are too dry. Don’t be discouraged; sometimes it takes a few tries!
A Encouraging Closing
Propagating plants is a journey, and each success, no matter how small, is a wonderful feeling. Be patient with your Achillea ageratifolia cuttings, give them the care they need, and most importantly, enjoy the process of nurturing new life. Happy gardening!
Resource: