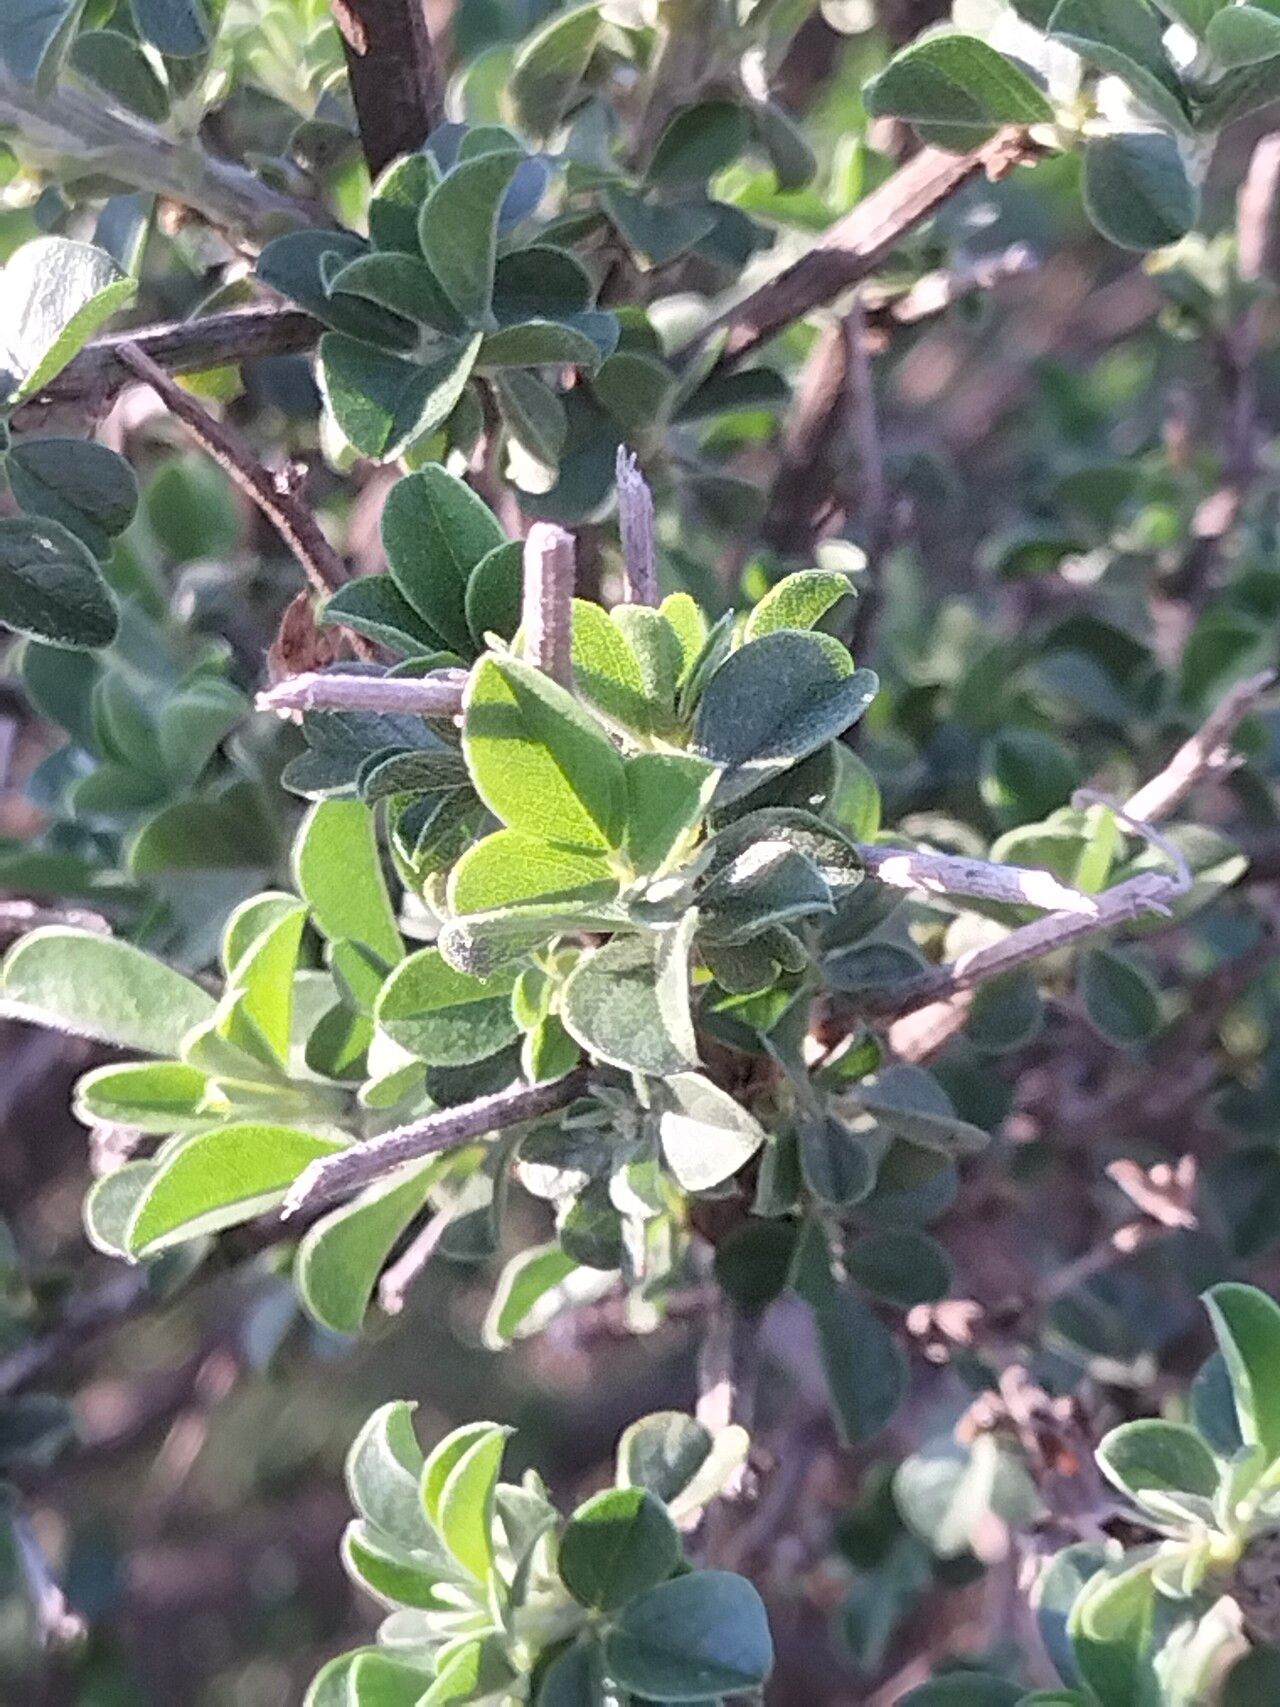
Oh, Psoralea hirta! If you haven’t met this delightful little plant, you’re in for a treat. With its fuzzy, silvery leaves and charming purple-blue flowers, it brings a touch of understated elegance to any garden or pot. And the best part? Bringing more of them into your life through propagation is incredibly rewarding. It’s not the absolute easiest plant to propagate, I’ll be honest, but with a little care and patience, even a beginner can achieve success. Think of it as a fun challenge – a happy little project to fill your windowsill!
The Best Time to Start
Honestly, the sweet spot for propagating Psoralea hirta is late spring to early summer. This is when the plant is actively growing, meaning it’s full of that vital energy. You want to be looking for new, soft growth, not woody, old stems. These younger bits are far more pliable and ready to root.
Supplies You’ll Need
Gathering your tools beforehand makes the whole process smoother. Here’s what I always have on hand:
- Sharp pruning shears or a clean, sharp knife: For making clean cuts.
- Rooting hormone (optional but recommended): This really gives your cuttings a boost. Look for one specifically for softwood cuttings.
- Small pots or seed trays: Clean ones are a must to prevent disease.
- Well-draining potting mix: I like to use a 50/50 mix of perlite and seed-starting mix. You want something that dries out reasonably quickly.
- Plastic bags or a propagator: To maintain humidity around your cuttings.
- A spray bottle: For misting.
- Labels: Don’t forget to label your little babies!
Propagation Methods
The most reliable way I’ve found for Psoralea hirta is through stem cuttings.
- Select Your Cuttings: Gently look over your Psoralea hirta. Find those lovely, bright green new shoots. You’re aiming for pieces about 3-4 inches long. Make a clean cut just below a leaf node (where a leaf attaches to the stem). This is where the magic of root formation happens!
- Prepare the Cuttings: Gently remove the lower leaves from your cuttings. You want to leave just a couple of sets of leaves at the top. If the remaining leaves are very large, you can even snip them in half to reduce water loss.
- Apply Rooting Hormone: Dip the cut end of each stem into your rooting hormone powder. Tap off any excess.
- Plant Your Cuttings: Fill your small pots with your prepared potting mix. Make a small hole in the center with your finger or a pencil. Carefully insert the cutting into the hole, ensuring the leaf node you removed leaves from is below the soil surface. Gently firm the soil around the stem.
- Water and Cover: Water the soil thoroughly but gently, letting excess water drain away. Then, cover the pot with a clear plastic bag, creating a mini-greenhouse. You can use stakes to keep the bag from touching the leaves.
The “Secret Sauce” (Pro Tips)
Here are a few things I’ve learned over the years that make a real difference:
- The “Wiggle Test” is Your Friend: Once your cuttings have been planted for a few weeks, give them a very gentle tug. If you feel resistance, it means roots are forming! If it comes out easily, it hasn’t rooted yet.
- Bottom Heat is Gold: While not strictly essential, placing your pots on a seedling heat mat can significantly speed up root development. It mimics the warmth of spring soil and really encourages those roots to get going.
- Don’t Over-Mist, But Keep it Humid: The plastic bag is key for humidity, but you don’t want the soil to be waterlogged. Lightly mist the inside of the bag if it looks dry, but a couple of weeks should be fine without additional misting if the soil started moist.
Aftercare & Troubleshooting
Once your cuttings have developed a good root system – you’ll see them peeking out of the drainage holes or feel that nice resistance during the “wiggle test” – it’s time to gradually introduce them to the big wide world! Slowly remove the plastic bag over a few days, giving them time to adjust to lower humidity. Continue to keep the soil evenly moist but not soggy.
The most common problem you’ll encounter is rot. If a cutting turns black and mushy, sadly, it’s likely gone. This is usually a sign of too much moisture and not enough drainage. Make sure your soil is airy and that you’re not overwatering. Another sign of failure is if the leaves start to look sad and wilted and never perk up, even with consistent watering. This can happen if the cutting is too old or hasn’t managed to form roots. Don’t be discouraged if a few don’t make it; it’s all part of the learning process!
A Encouraging Closing
So there you have it! Propagating Psoralea hirta is a delightful journey. Remember to be patient with your little green darlings. Sometimes they take their sweet time, and that’s perfectly okay. Enjoy the process, celebrate each tiny root that appears, and before you know it, you’ll have a whole new family of these beautiful plants to share and enjoy. Happy growing!
Resource:
https://identify.plantnet.org/k-world-flora/species/Psoralea%20hirta%20L./data