Oh, hello there, fellow plant enthusiast! Welcome to my little corner of the internet, where we get our hands dirty and coax beauty from the soil. Today, I want to chat about a truly special bloom: Tulipa saxatilis.
A Whisper of Spring: Why Grow Tulipa saxatilis?
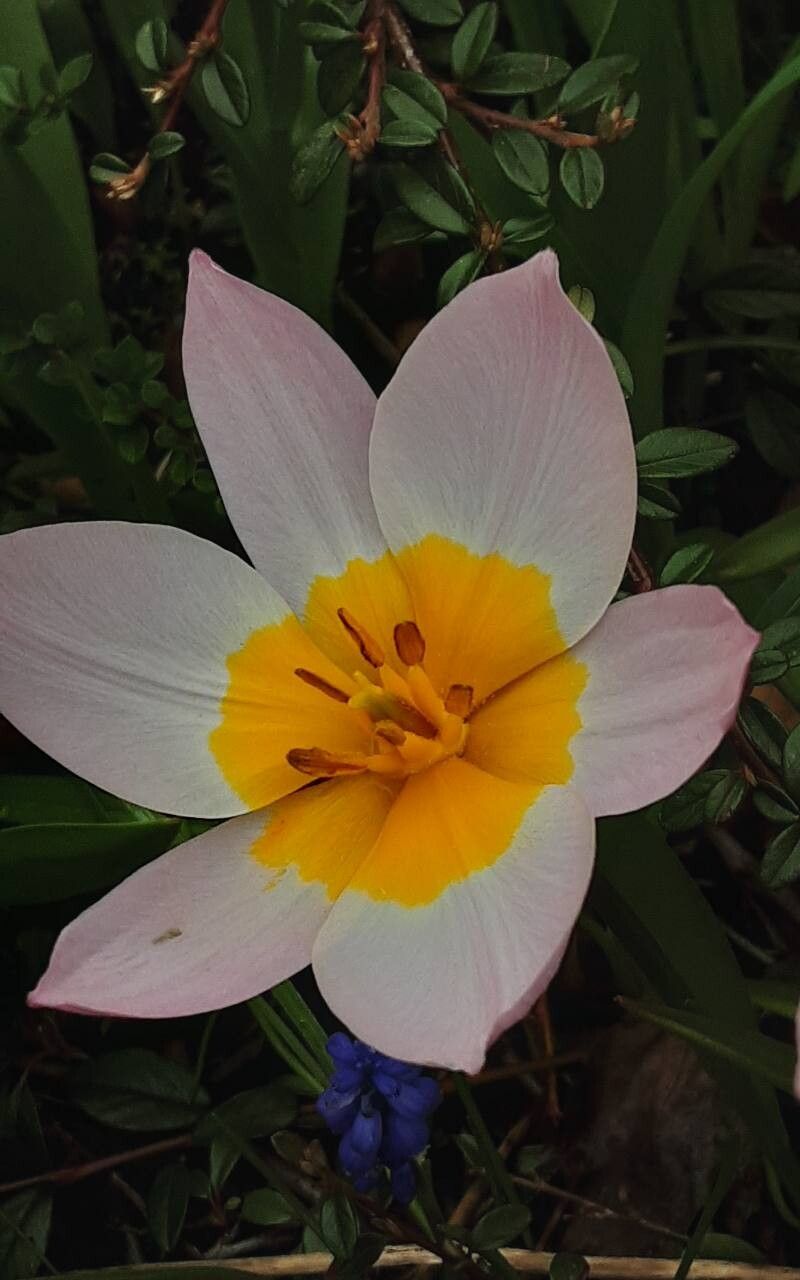
You know those plants that just make your heart sing? Tulipa saxatilis is one of those for me. Native to the island of Crete and other parts of the Aegean, it’s a delightful wild tulip. Its flowers are a soft, dusky pink with a silvery sheen on the outside and a vibrant, almost electric violet-blue center, often with a splash of white at the base. They have a wonderfully delicate, slightly nodding habit that’s just so charming in cooler weather. Propagating these beauties is a wonderfully rewarding process, offering you the chance to multiply that joy and share these gems with friends. Now, for beginners, I’d say Tulipa saxatilis is moderately easy to propagate, especially through division, which is generally the most successful route for this type of plant.
The Best Time to Start
Timing is everything in the garden, isn’t it? For Tulipa saxatilis, the absolute best time to propagate is in late spring or early summer, right after the plant has finished flowering and its leaves are just beginning to yellow and die back. This is when the bulbs are storing up energy for their next blooming season, and any new bulblets they’ve produced will be ready to make the move.
Supplies You’ll Need
Don’t worry, it’s not a huge list! Here’s what you might want to have on hand:
- Sharp trowel or hand fork: For gently teasing apart bulbs.
- Well-draining potting mix: A good blend of potting soil, perlite, and a touch of horticultural grit is perfect for bulbs. You want to avoid anything that holds too much moisture.
- Small pots or trays: For housing your divisions. Terra cotta pots are lovely as they allow the soil to breathe.
- Watering can with a fine rose: To water gently without disturbing fragile roots.
- Gardening gloves: To keep your hands clean.
- Optional: Rooting hormone powder: While not strictly necessary for bulb division, some gardeners like to use it for larger divisions to give them an extra boost.
Propagation Methods: Let’s Get Our Hands Dirty!
For Tulipa saxatilis, the most reliable and successful method is division. These tulips naturally produce offsets, or little baby bulbs, that grow attached to the parent bulb.
Step-by-Step Division:
- Locate Your Tulip: Gently dig around the base of your Tulipa saxatilis plant, ideally when the foliage is starting to yellow and fade (late spring/early summer). Use your trowel or hand fork to carefully unearth the entire bulb cluster. Try to disturb the soil as little as possible around the plant beforehand.
- Examine the Bulbs: Gently brush off any excess soil. You’ll likely see the main bulb and one or more smaller bulbs attached to its sides or base. These are your new plants!
- Separate with Care: This is the key step. Use your fingers or a small, sharp knife or pruning shear to gently twist or cut the bulblets away from the parent bulb. If a bulblet has a small root system already attached, that’s a fantastic sign! If it’s just a tiny bulb, don’t despair; it will develop roots once planted. Aim to keep as much of the original root system attached as possible to each division.
- Prepare Your Pots: Fill your small pots or trays with your well-draining potting mix, leaving about an inch of space at the top.
- Plant the Divisions: Place each bulblet on top of the soil in its own pot, or several in a larger tray if they are very small. You want the top of the bulb to be just at or slightly below the soil surface. For Tulipa saxatilis, they don’t need to be planted very deep.
- Water Gently: Use your watering can with the fine rose to water the soil thoroughly but gently. You want to settle the soil around the bulb and encourage root growth, but you don’t want to wash away your precious new plants.
The “Secret Sauce” (Pro Tips!)
Here are a couple of things I’ve learned over the years that can make a real difference:
- Let Them Callus: After you’ve separated the bulbs, I often let them sit out in a dry, shaded spot for a day or two before planting. This allows the cut or broken surfaces to “callus over,” which helps prevent rot and encourages healthier root development once they’re in the soil.
- Don’t Be Afraid to Prune Damaged Leaves: If a bulb section looks really damaged or has yellowed leaves that are papery thin, a light trim won’t hurt it. Just be careful not to damage any developing shoots or roots.
Aftercare & Troubleshooting
Once your new little tulip bulbs are planted, the nurturing begins!
- Watering: Keep the soil consistently but not soggy moist. The goal is to encourage root growth. As they establish, you can gradually let the soil dry out a bit more between waterings.
- Location: Place your newly potted divisions in a bright location out of direct, scorching sun. A cool spot is ideal.
- Patience is Key: It might take a few weeks, or even a couple of months, for you to see new growth emerge. Don’t panic! The bulb is busy establishing its root system underground.
- Troubleshooting – The Dreaded Rot: The most common problem you might encounter is rot. This usually happens if the soil is too wet and doesn’t have enough drainage. If you see a bulb turning mushy, black, or smelling off, it’s likely beyond saving. Remove it immediately to prevent it from spreading to other bulbs. Ensure your potting mix is always well-draining for future attempts.
Happy Growing!
Propagating Tulipa saxatilis is a beautiful way to connect with these delicate treasures. It requires a little patience and a gentle touch, but the reward of seeing those unique blooms multiply in your garden is simply wonderful. Don’t be disheartened if your first attempt isn’t perfect; gardening is always a learning process. Enjoy the journey, and happy propagating!
Resource:
https://identify.plantnet.org/k-world-flora/species/Tulipa%20saxatilis%20Sieber%20ex%20Spreng./data