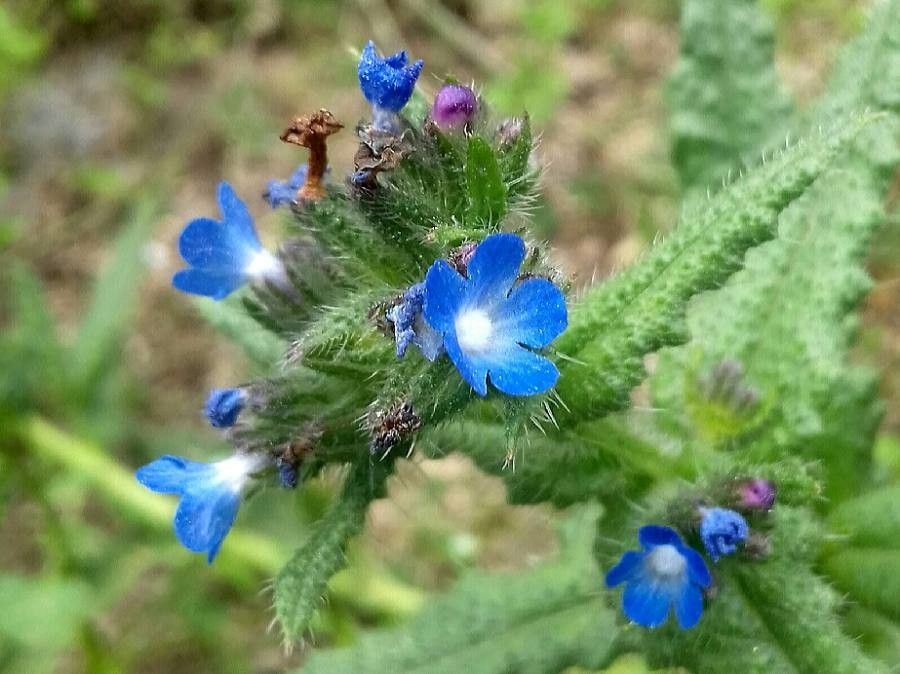
Oh, hello there! Come on in, grab a cuppa. Today, we’re diving into something a little special: Anchusa arvensis. You might know it by its common name, Field Bugloss. For me, it’s a real garden delight with its lovely sprays of delicate, sky-blue flowers. They remind me of tiny forget-me-nots, but with a bit more punch.
Bringing more of these beauties into your garden is immensely satisfying. And guess what? You’ll be happy to hear that propagating Anchusa arvensis is generally quite straightforward, making it a wonderful project for even those of you who are just starting to get your hands dirty.
The Best Time to Start
When it comes to timing, I find that the late spring or early summer is your sweet spot. This is when the plant is actively growing and has good energy reserves. You want to catch it just after it’s put on some new, strong growth but before it gets too woody.
Supplies You’ll Need
Before we get our hands dirty, let’s gather our toolkit. It’s nothing too fancy, but having the right bits and bobs makes all the difference:
- Sharp, clean pruning shears or a sharp knife: Essential for making clean cuts.
- Small pots or seed trays: Whatever you have for starting cuttings.
- A good potting mix: I like a mix that drains well – think a blend of peat-free compost and perlite or coarse sand.
- Rooting hormone (optional but helpful): A little boost can speed things up.
- Watering can with a fine rose: To water gently.
- A propagator or a plastic bag: To create a humid environment.
Propagation Methods
Anchusa arvensis is a wonderfully obliging plant and is quite happy to be propagated from stem cuttings. This is my go-to method.
- Take Your Cuttings: In late spring or early summer, look for healthy, non-flowering shoots. Use your clean shears to take stem cuttings about 3-4 inches long. Make the cut just below a leaf node (where a leaf grows from the stem).
- Prepare the Cuttings: Gently remove the lower leaves from the cutting, leaving just a few at the top. If the leaves are large, you can even cut them in half to reduce water loss. If you’re using rooting hormone, dip the cut end into it now.
- Plant Them Up: Fill your small pots with your well-draining potting mix. Make a hole with your finger or a pencil, and insert the prepared cuttings. Gently firm the soil around them.
- Create the Right Environment: Water them in gently. Then, pop the pots into a propagator or cover them loosely with a clear plastic bag. This is crucial for maintaining humidity. Keep them in a bright spot, but out of direct, harsh sunlight.
The “Secret Sauce” (Pro Tips)
Now, here are a couple of little tricks I’ve picked up over the years that can really give your cuttings a helping hand:
- Bottom Heat is Your Friend: If you have a heated propagator or can place your pots on a heat mat, do it! Bottom heat encourages root development much faster than ambient room temperature alone. It’s like a warm hug for your cuttings.
- Be Patient with the Leaves: When you’re taking cuttings, don’t let the leaves touch the soil if you can help it. They can encourage rot. Also, if you’re covering them with a bag, make sure the leaves aren’t pressing against it, as this can also create dampness that promotes fungal issues.
Aftercare & Troubleshooting
Once your cuttings have settled in, keep the soil consistently moist but not waterlogged. You’ll know they’re rooting when you see new growth appearing from the top. This can take anywhere from 3-6 weeks, sometimes a little longer.
The most common issue you might encounter is rot. If a cutting turns black and mushy, it’s usually a sign of too much moisture and not enough air circulation. Don’t be discouraged if a few don’t make it – it’s part of the learning process! Remove any unhealthy cuttings immediately to prevent spreading.
A Encouraging Closing
See? It’s really quite doable. Trust your instincts, be patient, and enjoy the unfolding magic as your tiny cuttings transform into new plants. There’s such a joy in nurturing something from a little slip of stem to a thriving garden resident. Happy propagating!
Resource:
https://identify.plantnet.org/k-world-flora/species/Anchusa%20arvensis%20(L.)%20M.Bieb./data