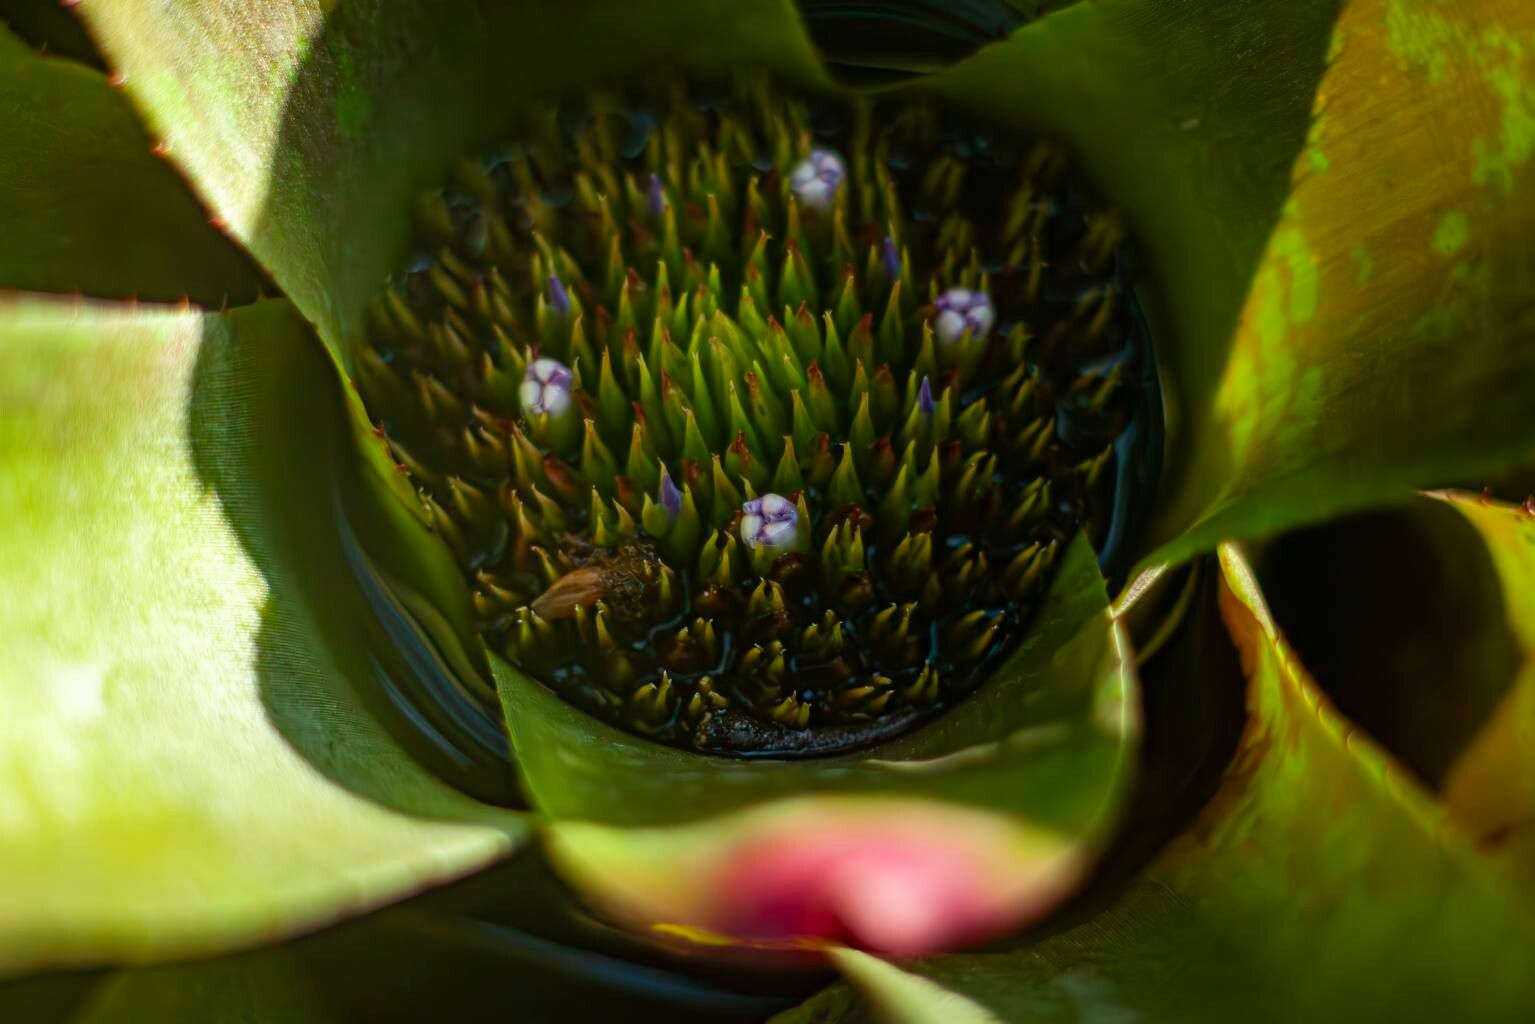
Hello, fellow plant lovers! Today, we’re diving into the wonderful world of Neoregelia concentrica, often called the “concentric” bromeliad for its stunning, banded leaves that form a natural target shape. If you’ve ever admired those vibrant, rosette-forming beauties in someone’s collection, you might be surprised to learn how accessible it is to grow your own!
There’s a special kind of joy in taking something you love and creating more of it. Propagating Neoregelia concentrica is a fantastic way to expand your collection without breaking the bank, and honestly, it’s incredibly satisfying to watch a tiny pup unfurl its leaves. For beginners, this plant is wonderfully beginner-friendly when it comes to propagation. You’ll be surprised at how well it takes to new beginnings.
The Best Time to Start
When it comes to getting the best results, spring and early summer are your golden ticket. This is when your Neoregelia is typically in its most vigorous growth phase. You’ll notice it producing plenty of healthy pups (baby plants) at the base. Starting during this active growth period means the parent plant has abundant energy to share and the new offsets are more likely to root quickly.
Supplies You’ll Need
Gathering your tools beforehand makes the whole process smoother. Here’s what I usually have on hand:
- Sharp, clean pruning shears or a stout knife: For cleanly separating pups.
- Well-draining potting mix: A blend of orchid bark, perlite, and a bit of sphagnum moss works wonders. You want something airy that won’t hold too much moisture.
- Small pots or containers: Terra cotta pots are great for bromeliads as they allow for good airflow.
- Rooting hormone (optional but helpful): A powder or gel can speed things up.
- Spray bottle: For misting.
- A warm spot: A windowsill that gets bright, indirect light is ideal.
Propagation Methods
The most common and successful way to propagate Neoregelia concentrica is through offset division. These plants are natural producers of pups!
- Identify the Pups: Look around the base of your mature Neoregelia. You’ll see small, baby plants emerging from the mother plant. They’ll usually have a few leaves of their own.
- Wait for Size: It’s best to wait until the pups are a decent size, at least a quarter to a third the size of the mother plant, or have developed their own root system. This gives them a better chance of survival. You can gently tug on a pup to see if it feels attached or is starting to wiggle.
- Prepare for Separation: Water your mother plant a day or two before you plan to divide. This helps the plant stay hydrated. You can also gently rinse any soil away from the base of the pup to get a clear view of where it’s attached.
- The Clean Cut: Using your sharp shears or knife, carefully cut the pup away from the mother plant. Try to get as close to the base of the pup as possible, while also including any roots that have already formed. If you can’t get roots, don’t worry too much, but it helps!
- Let it Callous (Optional but Recommended): For a day or two, let the cut end of the pup air dry in a dry, shaded spot. This callous over the wound, which helps prevent rot when you plant it.
- Potting Up: Fill your small pot with your well-draining mix. You can dip the cut end of the pup in rooting hormone if you’re using it. Then, plant the pup firmly in the center of the pot. It should sit upright on its own.
The “Secret Sauce”
Now for a couple of little tricks I’ve learned over the years:
- Don’t Over-Pot: It’s tempting to rush your new pup into a big pot, but they actually prefer to be snug. Too much soil is a recipe for soggy roots. Start small!
- Air Circulation is Key: Especially after division, these new babies need good airflow. Avoid crowding them. If you have a terrarium, you might need to prop the lid open a bit more initially. And when misting, give them a good spray, but make sure the leaves dry fairly quickly.
Aftercare & Troubleshooting
Once your pup is potted, place it in a spot with bright, indirect light. Avoid direct sun, which can scorch their tender leaves. Water sparingly – just enough to keep the potting mix lightly moist, not waterlogged. You can also lightly mist the leaves every few days.
Be patient! It can take several weeks, sometimes even a couple of months, for your pup to show significant signs of new growth. The most common issue you might encounter is rot. If you notice mushy, brown leaves at the base of your pup, it’s usually a sign of too much moisture. Don’t be afraid to pull it out, trim away any rotted parts with clean shears, let it dry again, and repot in fresh, dry mix. It’s a learning process!
A Little Piece of Encouragement
So there you have it! Propagating your enchanting Neoregelia concentrica is a beautiful journey. Remember to be gentle, trust your instincts, and most importantly, enjoy the process. Watching those tiny pups grow into magnificent plants is a reward in itself. Happy propagating!
Resource: