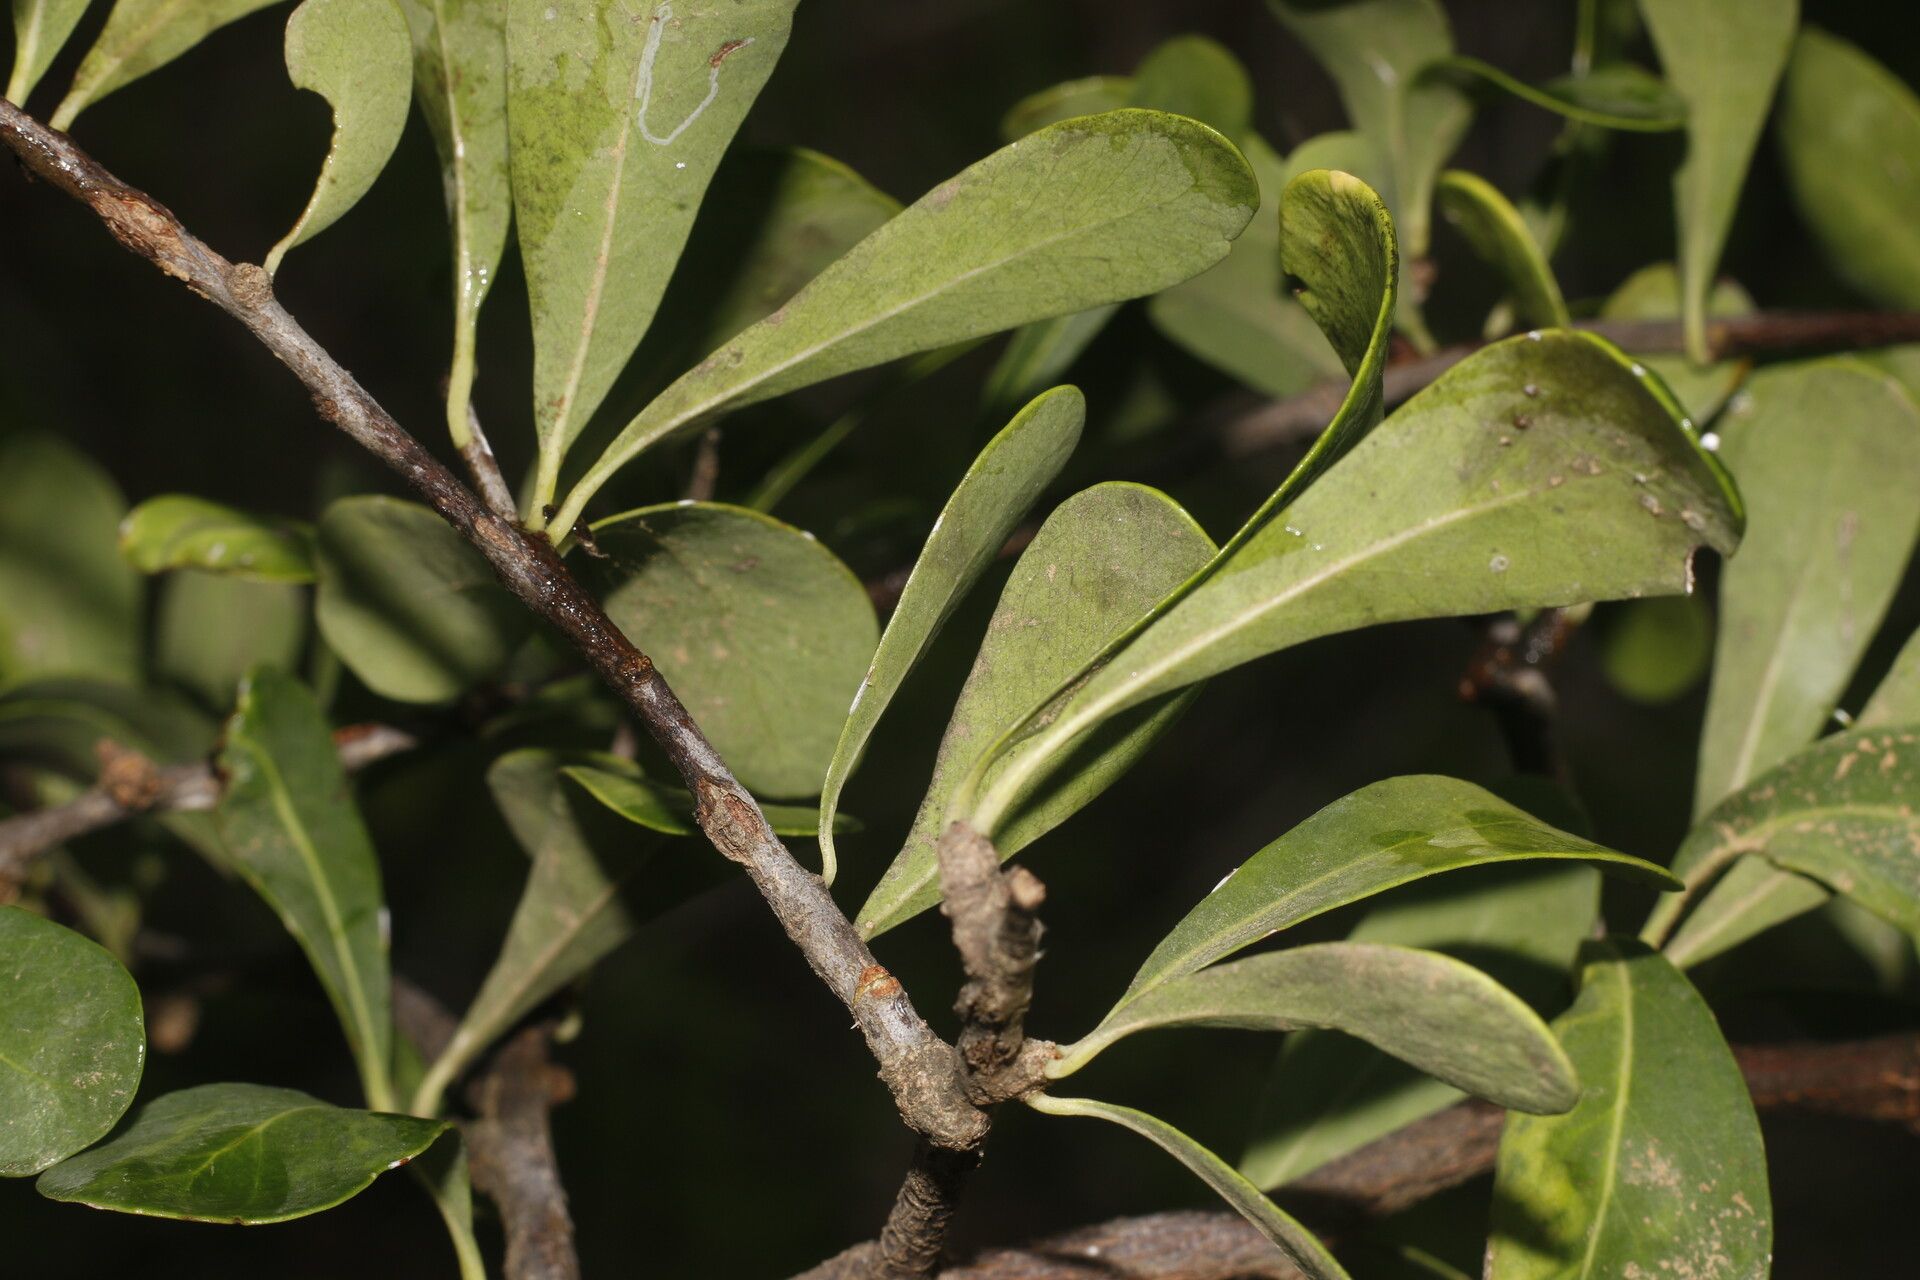
Ah, Sideroxylon obtusifolium! If you’ve ever admired its unique, almost leathery leaves and the way it seems to shimmer in the sunlight, you’re not alone. This beauty, often called the “Woolly Ironwood” or “Green Ironwood,” is a real gem in the garden. It has this wonderful architectural presence, and trust me, propagating it yourself is incredibly satisfying. You’ll have more of these gorgeous plants to share, or simply to fill out your space. For those just starting out, it’s not the absolute easiest plant to propagate, but with a little care and these tips, you’ll do just fine. Think of it as a rewarding challenge!
The Best Time to Start
In my experience, the golden window for propagating Sideroxylon obtusifolium is late spring to early summer. This is when the plant is in a vigorous growth phase. You’ll be looking for new, somewhat soft growth. Avoid trying to propagate from old, woody stems you might see later in the year. Fresh growth has the best vigor and will root more readily.
Supplies You’ll Need
Gathering your supplies before you begin makes the whole process so much smoother. Here’s what I usually have on hand:
- Sharp Pruning Shears or a Craft Knife: Cleanliness is key!
- Rooting Hormone (Optional but Recommended): A good quality powder or gel can really boost your success rates.
- Well-Draining Potting Mix: I often use a 50/50 blend of perlite and peat moss or coco coir. For Sideroxylon, good aeration is crucial.
- Small Pots or Seedling Trays: Clean ones, of course!
- Plastic Bags or a Propagator: To create a humid environment.
- Watering Can with a Fine Rose: Gentle watering from the start.
- Labels and a Pen: Don’t forget to label what you’ve propagated and when!
Propagation Methods
I’ve found success with stem cuttings for Sideroxylon obtusifolium. It’s straightforward and gives you a good chance of creating new plants.
Stem Cuttings:
- Select Your Cuttings: As mentioned, look for healthy, semi-hardwood cuttings. These will snap cleanly when bent, rather than just wilting. Aim for pieces about 4-6 inches long.
- Make the Cut: Using your sterilized pruning shears, make a clean cut just below a leaf node (where a leaf attaches to the stem). This is where a lot of rooting hormones and hormones are produced.
- Prepare the Cuttings: Gently remove the lower leaves, leaving just a couple of leaves at the very top. This prevents them from rotting in the soil. If the remaining leaves are very large, you can cut them in half horizontally to reduce water loss.
- Apply Rooting Hormone: Dip the cut end of the stem into water, then into your rooting hormone powder or gel. Tap off any excess.
- Plant the Cuttings: Fill your pots or trays with your well-draining mix. Make a small hole in the mix with a pencil or your finger, and then insert the cut end of the stemmed cutting. Firm the mix gently around the stem to ensure good contact.
- Water Thoroughly: Water your cuttings gently but thoroughly until water drains from the bottom.
The “Secret Sauce” (Pro Tips)
Here are a couple of things I’ve learned over the years that make a big difference:
- Bottom Heat is Your Friend: If you’re serious about getting consistent results, especially if your home is a bit cooler, consider using a heating mat under your pots. This warmth encourages root development from below, giving your cuttings a real boost.
- Don’t Suffocate Them, But Keep Them Humid: After planting your cuttings, I like to place the pots into a clear plastic bag or dome to create that humid microclimate they love. However, open the bag daily for a few minutes to allow for air circulation and prevent fungal diseases. It’s a delicate balance!
Aftercare & Troubleshooting
Once your cuttings are planted and nestled into their humid haven, patience is paramount. Keep the soil consistently moist but not soggy. Think of it like a wrung-out sponge. You want them to feel good, not waterlogged.
You’ll know your cuttings are rooting when you see new leaf growth or feel a slight resistance if you gently tug on the stem. This can take anywhere from 4 to 12 weeks or even longer, depending on the conditions and the specific plant.
The biggest enemy here is rot. If you see a cutting turning black and mushy, it’s usually a sign of too much moisture and not enough air circulation. Don’t be disheartened if a few don’t make it; it’s part of the learning process. Just remove the failed cuttings and keep an eye on the others.
A Encouraging Closing
Propagating plants is a wonderful way to connect with nature, and Sideroxylon obtusifolium is a lovely subject to practice on. Enjoy the quiet moments you spend tending to your cuttings. Be patient, observe them closely, and celebrate each little sign of progress. Before you know it, you’ll have a whole new generation of these beautiful plants to enjoy. Happy gardening!
Resource: