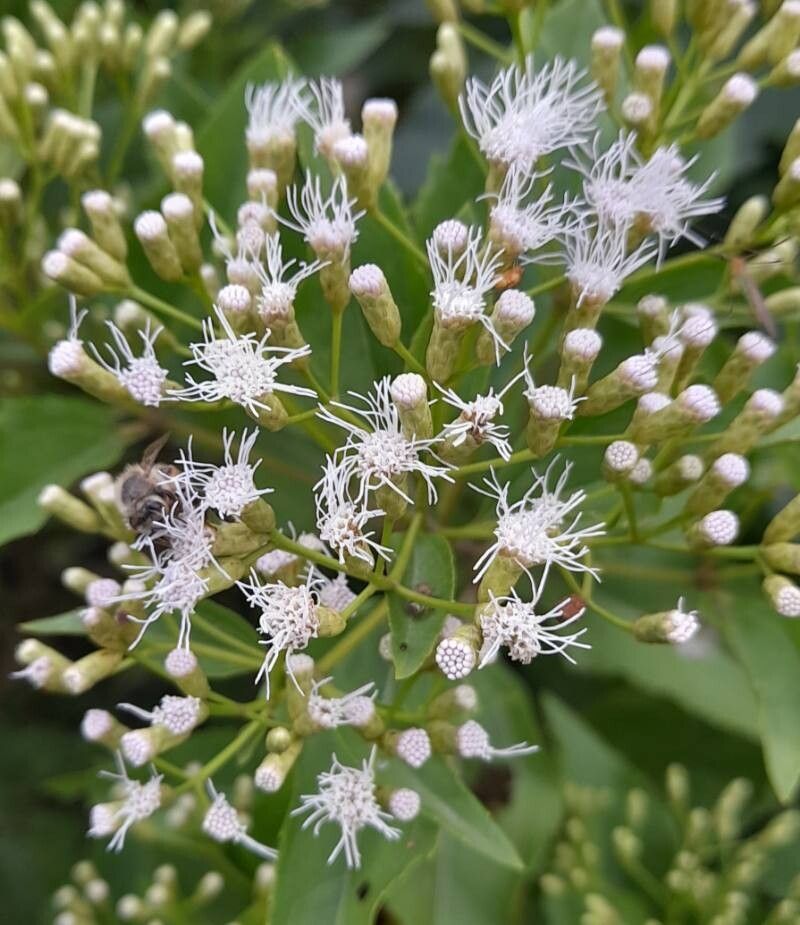
Hello there, fellow plant enthusiasts! I’m so delighted you’re curious about Chromolaena laevigata, often called Brazilian Ageratum or a host of other lovely names. This beauty really draws you in with its dreamy, fluffy white blooms that dance in the breeze, attracting all sorts of beneficial pollinators. It brings such a soft, yet vibrant energy to any garden space. And the best part? Propagating it is a wonderful way to multiply that charm and fill your garden, or share with friends. I’ve found it to be a pretty forgiving plant for beginners, which makes it even more of a joy to work with.
The Best Time to Start
For the highest success rate with stem cuttings, I’ve found that the late spring or early summer is absolutely golden. This is when the plant is actively growing and has plenty of young, flexible stems that are eager to root. You can also have success in late summer, but I prefer the vigor that comes with spring growth.
Supplies You’ll Need
Here’s what you’ll want to have on hand:
- Sharp pruning shears or a clean knife: For making nice, clean cuts.
- Rooting hormone powder or gel: While not strictly necessary for Chromolaena laevigata, it can give those cuttings a helpful boost.
- Well-draining potting mix: A good starting point is a 50/50 blend of coco coir or peat moss and perlite or coarse sand. You want good aeration!
- Small pots or propagation trays: With drainage holes, of course!
- Plastic bags or a propagation dome: To create a humid environment.
- Watering can or spray bottle: For gentle watering.
- Labels and a small marker: To keep track of your cuttings!
Propagation Methods
Let’s get our hands dirty!
Stem Cuttings: My Go-To Method
This is the most straightforward way to get more Chromolaena laevigata.
- Select Healthy Stems: Look for young, non-flowering stems that are still a bit flexible, not woody. They should be about 4-6 inches long.
- Make the Cut: Using your clean shears, make a clean cut just below a leaf node. A leaf node is where a leaf attaches to the stem. This is where rooting is most likely to occur.
- Prepare the Cutting: Gently remove the lower leaves, leaving just the top two or three sets of leaves. If those remaining leaves are very large, I like to cut them in half to reduce water loss.
- Apply Rooting Hormone (Optional but Recommended): Dip the cut end into your rooting hormone powder or gel, tapping off any excess.
- Plant the Cuttings: Fill your pots or trays with your prepared potting mix. Make a small hole with your finger or a pencil, and insert the cutting. Gently firm the soil around the stem. Make sure the nodes where you removed leaves are below the soil surface.
- Water Gently: Water thoroughly but gently, so you don’t dislodge the cuttings.
Water Propagation: For the Patient Observer
This method lets you see the roots develop, which is rather satisfying.
- Take Cuttings: Follow steps 1-3 above for preparing your stem cuttings.
- Place in Water: Place the cuttings in a clean jar or glass of water, ensuring the leaf nodes where you removed leaves are submerged. Crucially, make sure no leaves are touching the water.
- Find a Spot: Place the container in a bright spot with indirect light.
- Change Water Regularly: Change the water every 2-3 days to keep it fresh and prevent rot.
The “Secret Sauce” (Pro Tips)
Here are a few little tricks I’ve picked up over the years:
- Bottom Heat is Your Friend: If you’re struggling with sluggish rooting, consider using a propagation mat to provide gentle bottom heat. This speeds up the process considerably and often results in stronger root development. It mimics the warmth of spring soil perfectly.
- Don’t Overwater, Just Mist! Once your cuttings are in pots, the biggest mistake is often overwatering. They don’t have established roots to take up much moisture. Instead of drenching them, mist the leaves and soil’s surface regularly to maintain humidity. You’ll see the soil stay lightly moist, not soggy.
- The “Bend Test”: When you think your cuttings might be rooted, give the stem a gentle tug. If there’s resistance, congratulations – you’ve got roots! If it pulls out easily, it’s not ready yet.
Aftercare & Troubleshooting
Once you see new leaf growth on your cuttings, or a good root system forming in water, it’s time for a little extra care.
- Transplanting: If you propagated in water, carefully pot up the cuttings into well-draining soil. If they were already in soil, they’re basically ready to be treated like young plants.
- Gradual Acclimation: If you used a propagation dome or plastic bag, gradually remove it over a few days to help the new plants adjust to the regular humidity.
- Light and Water: Provide bright, indirect light and water when the top inch of soil feels dry.
- Troubleshooting: The most common issue you’ll encounter is rot, which is usually caused by overwatering and poor drainage. If a cutting turns black and mushy, unfortunately, it’s usually a lost cause. Prevention is key here – good air circulation and letting the soil dry slightly between waterings are your best defense. Yellowing leaves can sometimes be a sign of too much direct sun or nutrient deficiency, but focus on checking the moisture first.
As you embark on your Chromolaena laevigata propagation journey, remember that patience is truly a gardener’s virtue. Not every cutting will make it, and that’s perfectly okay! Each attempt is a learning experience. Enjoy the process of nurturing these tiny new lives, and before you know it, you’ll have a whole patch of these beautiful, fluffy bloomers to admire. Happy growing!
Resource: