Oh, hello there! Come on in, grab a cup of something warm. I’m so glad you’re here. Today, we’re diving into something truly special, something that brings a little burst of sunshine and vibrant color into your garden: Lafoensia pacari.
Lafoensia Pacari: A Tropical Gem Worth Multiplying
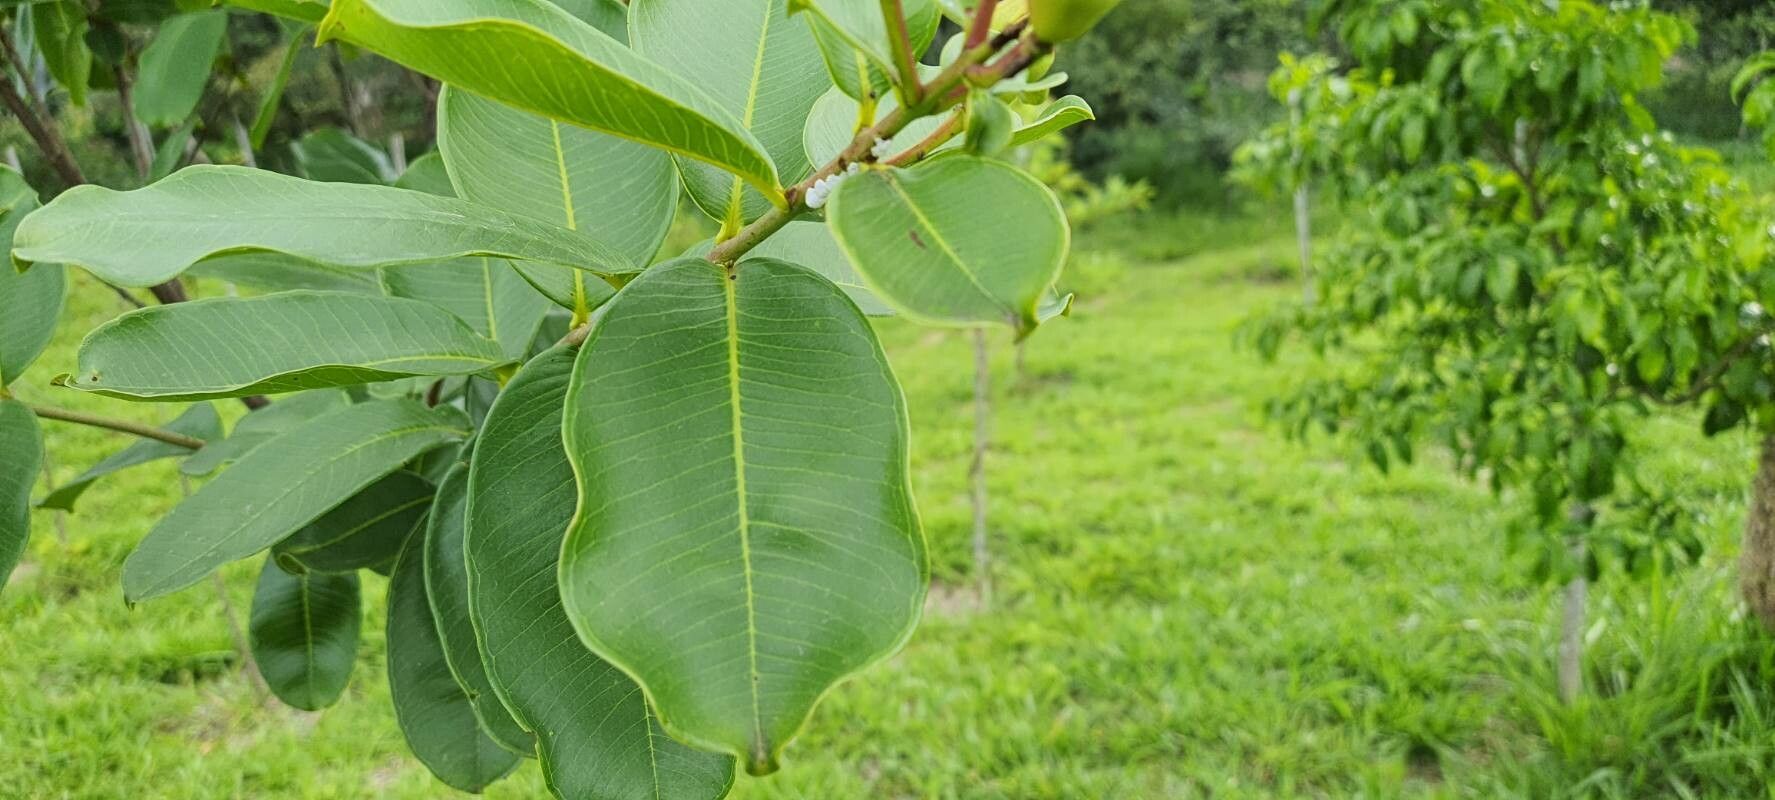
You know, Lafoensia pacari, also sometimes called Yellow Bell or Pacari, is just one of those plants that makes you smile. Its gorgeous, bright yellow flowers are like little sunbeams, attracting all sorts of buzzing visitors. And the foliage? It’s lovely all on its own. Plus, there’s something incredibly satisfying about taking a small piece of a plant you love and watching it grow into something entirely new. It’s a connection to nature, really. Now, for those of you new to the plant-propagation game, I’ll be honest – Lafoensia pacari can be a bit of a thoughtful one. It prefers a bit of warmth and patience. But don’t let that deter you! With a little attention, you absolutely can coax new life from your existing plants.
When to Get Your Hands Dirty
The absolute best time to propagate Lafoensia pacari is when the plant is actively growing. Think late spring through summer. This is when it has the most energy to put into producing roots. You’ll want to take cuttings from healthy, non-flowering stems. Avoid branches that look weak or are showing signs of stress.
What You’ll Need for Success
Gathering your supplies beforehand makes the whole process so much smoother. Here’s what I always have on hand:
- Sharp Pruning Shears or a Clean Knife: Sterilize them with rubbing alcohol before you start to prevent disease.
- Rooting Hormone: A good quality rooting hormone (like those with IBA) can give your cuttings a significant boost.
- Well-Draining Potting Mix: I like a blend of perlite, vermiculite, and peat moss or coco coir. Something that holds moisture but doesn’t stay waterlogged.
- Small Pots or Seed Trays: Clean ones, of course!
- Plastic Bags or a Propagator: To create a humid environment.
- Watering Can or Spray Bottle: For gentle watering.
- Labels: Don’t forget to label your precious babies!
Bringing New Life: Propagation Methods
The most reliable way to propagate Lafoensia pacari is through stem cuttings. It’s straightforward and has a great success rate if you follow a few key steps.
- Take Your Cuttings: Select a healthy, mature stem that’s about 4-6 inches long. Make a clean cut just below a leaf node (where the leaf meets the stem). These nodes are where the magic happens for root development!
- Prepare the Cuttings: Gently remove the lower leaves from the cutting, leaving just a few at the top. This prevents them from rotting once planted. If you’re using rooting hormone, briefly dip the cut end into the powder. You don’t need to soak it; a light coating is enough.
- Plant Them Up: Fill your small pots with your prepared potting mix. Moisten it slightly. Make a small hole in the center with your finger or a pencil.
- Insert the Cuttings: Carefully place the cut end of your stem cutting into the hole. Gently firm the soil around the base to ensure good contact.
- Create Humidity: This is crucial! Water the soil very gently. Then, cover the pot with a clear plastic bag, making sure the leaves don’t touch the plastic if possible. You can also use a small propagator. This traps moisture and creates that steamy environment your cuttings will love.
The “Secret Sauce”: My Insider Tips
Now, for a couple of little tricks I’ve picked up over the years that really make a difference:
- Bottom Heat is Your Friend: Lafoensia pacari absolutely adores warmth from below. If you have a heat mat designed for propagation, place your pots on it. This encourages faster root development and significantly increases your success rate. You’ll often see roots forming much quicker this way.
- Don’t Overwater, But Keep it Consistently Moist: This is a delicate balance. You want the potting mix to be consistently moist, not soggy. If the soil is too wet, it can lead to rot. Check the moisture level by gently probing the soil with your finger. If it feels dry an inch down, it’s time for a light watering.
- Consider a “Sacrificial Leaf”: Sometimes, for longer cuttings, I’ll leave one or two of the lower leaves attached. But I’ll make a small slit down the middle of them. This helps the leaf retain some water while still allowing the plant to photosynthesize without using too much energy. It’s a little trick for giving them an extra edge.
Aftercare and What to Watch For
Once your cuttings have been in their new home for a few weeks, you’ll want to start checking for root development. You can do this by very gently tugging on the cutting. If you feel resistance, it means roots have formed!
Once you see signs of roots, you can gradually acclimate them to drier air. Start by opening the plastic bag or propagator for a few hours each day. Continue to water carefully, ensuring the soil dries out slightly between waterings. When they have a healthy root system and are putting out new growth, you can pot them up into slightly larger containers with a good quality potting mix.
The most common pitfall is rot. If your cuttings become mushy and black, tragically, they’ve succumbed to rot. This is usually due to too much moisture and not enough air circulation or warmth. Don’t be discouraged if this happens; it’s a learning curve!
Keep Planting, Keep Growing!
This whole process of propagation is a journey. It requires a little patience, a lot of observation, and a good dose of optimism. Don’t get discouraged if every cutting doesn’t make it. Celebrate the successes, learn from the challenges, and most importantly, enjoy the magic of watching life begin anew in your own hands. Happy propagating!
Resource:
https://identify.plantnet.org/k-world-flora/species/Lafoensia%20pacari%20A.St.-Hil./data