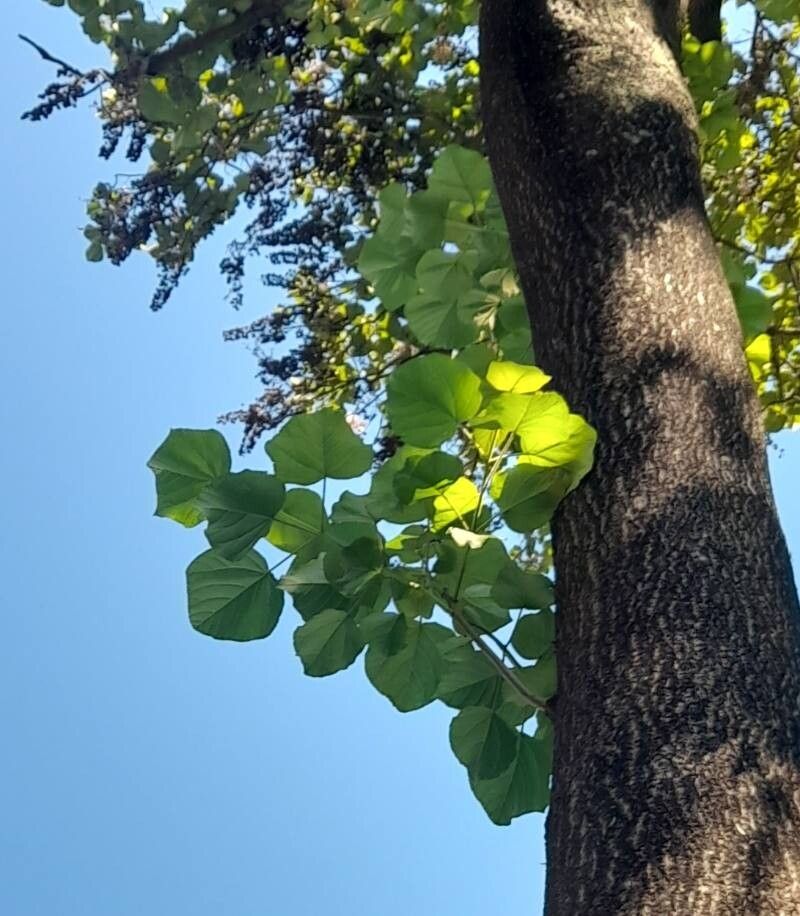
Oh, hello there, fellow plant enthusiast! I’m so glad you’ve stopped by. Today, we’re diving into something really special: Paulownia fortunei, often called the ‘Empress Tree’. These trees are just magnificent, aren’t they? With their enormous, velvety leaves and stunning, albeit fleeting, spring blooms, they bring a touch of the exotic to any garden. And the best part? Getting one started from a cutting or seed? It’s incredibly rewarding, like nurturing a tiny miracle. Don’t let the “tree” part scare you off. While it needs space to become a tree, propagating it can be quite accessible, even for those new to the game.
The Best Time to Start
For Paulownia fortunei, you’ll find the most success when you catch it at the right moment. The prime time to take stem cuttings is usually in late spring to early summer, after the plant has had a good growth spurt. You’re looking for healthy, new stems that are still a bit flexible, not woody and stiff. If you’re thinking about seeds, those can be sown in early spring, either indoors or directly outdoors once the danger of frost has passed.
Supplies You’ll Need
Gathering your tools is half the fun, isn’t it? Here’s what I like to have on hand:
- Sharp pruning shears or a clean knife: Essential for making clean cuts.
- Rooting hormone powder or gel: This is a real game-changer for encouraging strong root development.
- Potting mix: A well-draining blend is key. I often use a mix of peat moss, perlite, and a bit of compost.
- Small pots or seedling trays: For your cuttings to get started. Make sure they have drainage holes!
- Plastic bags or a propagator: To create a humid environment for your cuttings.
- Watering can with a fine rose: Gentle watering is crucial.
- Labels and a marker: So you don’t forget what you planted where!
- For seed propagation: Seed-starting trays, a light propagator or grow light, and sterile seed-starting mix.
Propagation Methods
Let’s get our hands dirty! Here are a couple of my go-to ways to propagate Paulownia fortunei.
Stem Cuttings (My Favorite for Paulownia)
This is where the magic really happens with Paulownia.
- Select Your Cuttings: On a healthy Paulownia, find those semi-hardwood stems that are about pencil-thick and have a few leaves. They should feel firm but still have a bit of give.
- Make Your Cuts: Using your clean shears, cut sections of stem that are about 6-8 inches long. Make the cut just below a leaf node (where a leaf attaches to the stem), at a slight angle. This is a prime spot for root formation. Also, take cuttings from the top of the plant for best results.
- Prepare the Cuttings: Gently remove the lower leaves, leaving just two or three at the very top. If your leaves are large, you can even cut them in half to reduce water loss.
- Apply Rooting Hormone: Dip the cut end of each stem into rooting hormone. Tap off any excess. Don’t be shy; this really helps give them a boost.
- Plant Your Cuttings: Fill your pots or trays with your moistened potting mix. Make a small hole with your finger or a pencil, and insert the cutting so that at least one, ideally two, leaf nodes are buried underground. Gently firm the soil around the base.
- Create a Humid Environment: Water the cuttings gently. Then, cover the pots with a clear plastic bag or place them in a propagator. This creates a mini-greenhouse effect, keeping the humidity high and preventing the cuttings from drying out. You can use a rubber band to secure the bag around the rim of the pot.
- Provide Light and Warmth: Place the pots in a bright spot but out of direct sunlight. If you have bottom heat (a heating mat designed for seedlings), this can significantly speed up root development.
Water Propagation (A Simpler Option)
While stem cuttings are my preference for Paulownia, you can also try water propagation, especially with younger, more pliable stems.
- Prepare the Stem: Take a section of stem, similar to how you would for cuttings, and remove all but the top one or two leaves.
- Place in Water: Put the stem in a jar or glass of clean water. Make sure no leaves are submerged in the water – they’ll just rot.
- Change Water Regularly: Change the water every few days to keep it fresh and prevent bacteria buildup.
- Wait for Roots: Keep it in a bright spot. You should see tiny white roots begin to emerge from the cut end within a few weeks. Once the roots are about an inch long, you can carefully pot them up into your well-draining potting mix.
The “Secret Sauce” (Pro Tips)
Now, for a little insider knowledge that often makes all the difference.
- Bottom Heat is Your Best Friend: Seriously, a seedling heat mat is a game-changer for cuttings. It encourages those roots to form much faster and more reliably. If you don’t have one, a sunny windowsill might suffice, but it will likely take longer.
- Don’t Over-Water: This is crucial! While humidity is good, waterlogged soil is a fast track to rot. The potting mix should be moist but not soggy. It’s better to err on the side of slightly drier than too wet.
- Air Circulation is Key: Even with the plastic bag, try to open the bag or propagator for a few minutes each day to allow for air exchange. This helps prevent fungal diseases.
Aftercare & Troubleshooting
Once you start seeing those beautiful new roots emerge—hooray!
- Acclimatize: If you’ve used a plastic bag or propagator, gradually introduce your new plants to drier air. Start by opening the bag for longer periods each day over a week or so.
- Potting Up: When your cuttings have a healthy root system, it’s time to pot them up into individual larger pots. Continue to use your well-draining mix.
- Watering: Water them thoroughly after potting, and then water when the top inch of soil feels dry.
- Troubleshooting – Rot: The most common issue is rot. If your cuttings turn black and mushy, it’s a sign of too much moisture and poor air circulation. Unfortunately, these are usually lost causes. You might need to start over, paying close attention to drainage and humidity levels. Yellowing leaves can sometimes indicate they need a bit more light, or sometimes they’re just adjusting.
A Encouraging Closing
Propagating Paulownia fortunei is a journey of patience and observation. Don’t get discouraged if your first few attempts aren’t perfect. Each try teaches you something new. Just enjoy the process of nurturing these little green wonders, and before you know it, you’ll have your very own Empress Tree to admire. Happy gardening!
Resource:
https://identify.plantnet.org/k-world-flora/species/Paulownia%20fortunei%20(Seem.)%20Hemsl./data