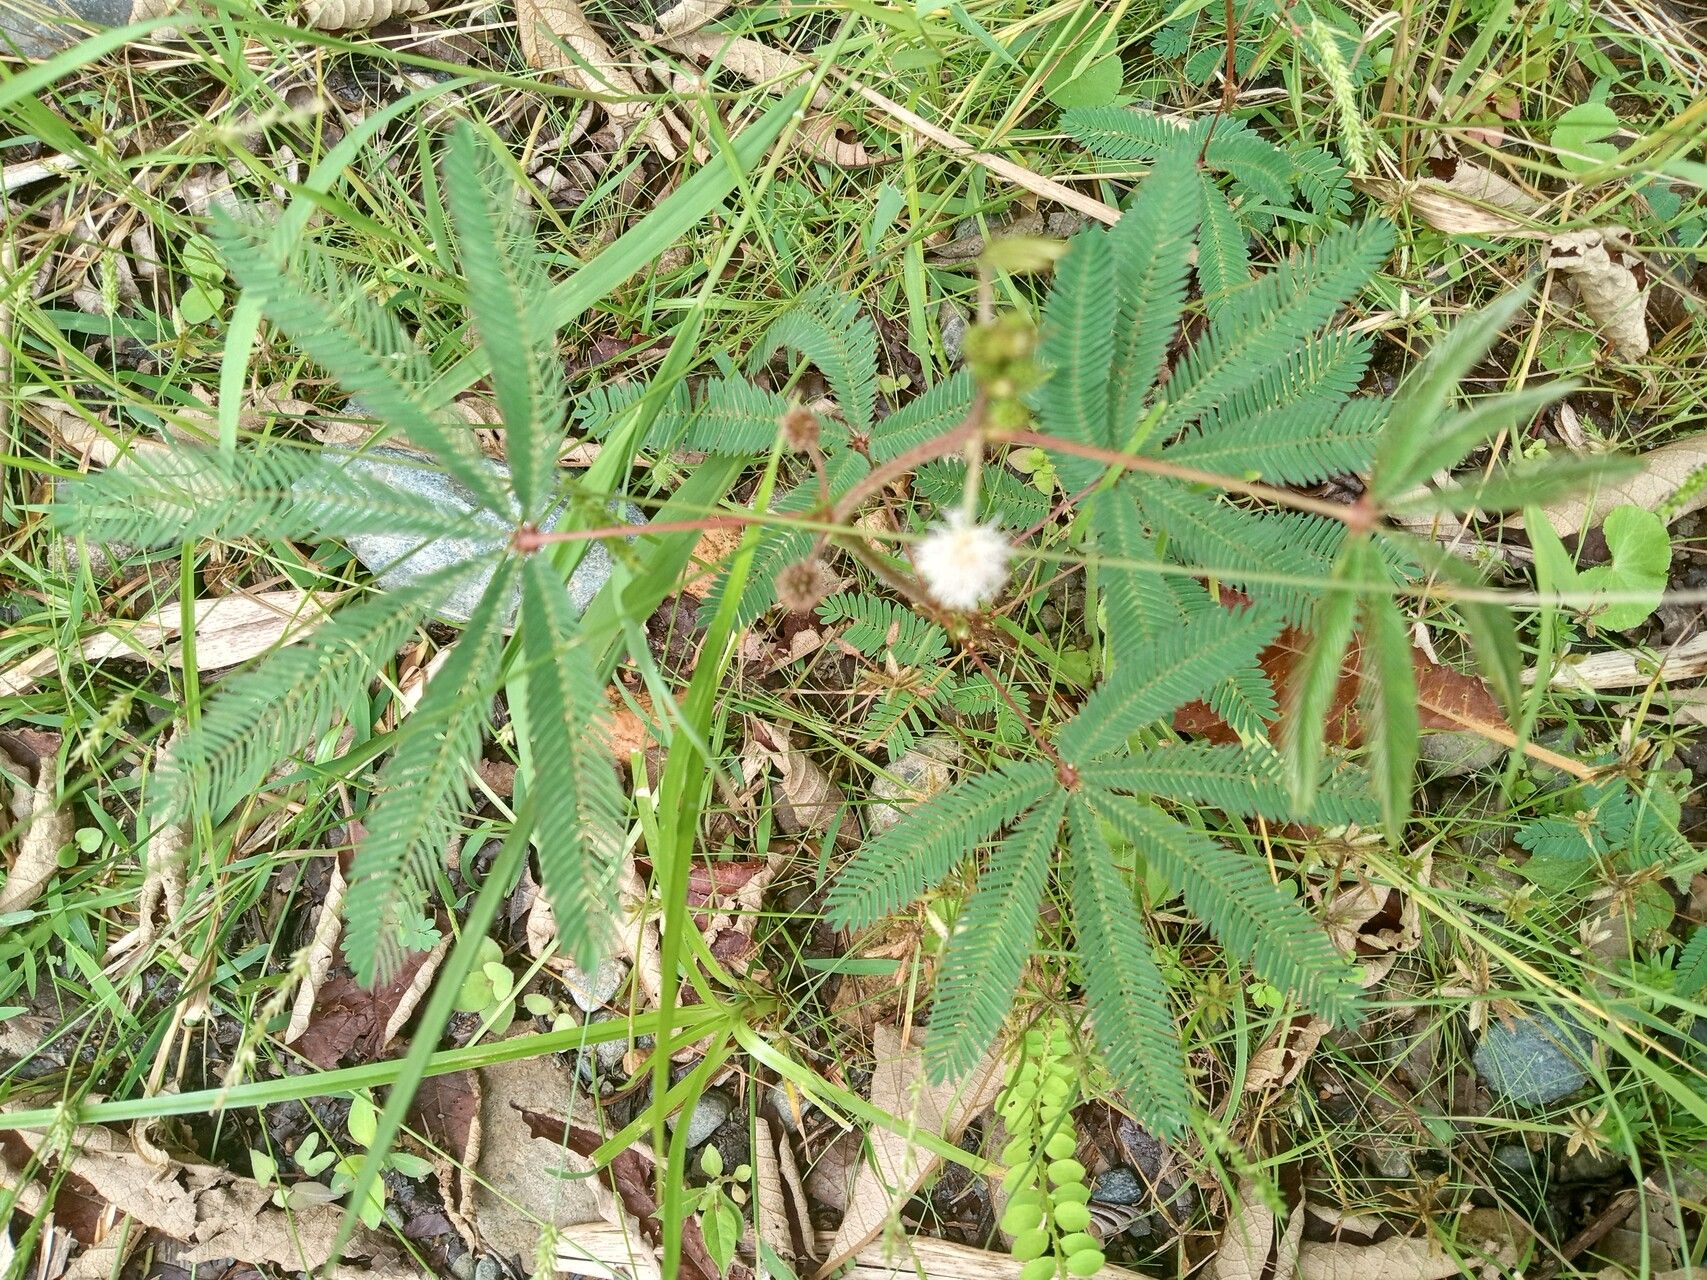
Hello fellow garden enthusiasts! Today, we’re diving into the wonderful world of Mimosa polydactyla, often called the Sensitive Plant or the Mimosa pudica (though there are slight differences, the propagation is similar!). I’ve spent years nurturing these fascinating plants, and let me tell you, there’s a special kind of magic in watching those delicate leaves fold at your touch and then seeing a new sprout emerge from a tiny cutting.
Why Propagate Mimosa?
Mimosa plants are just plain fun. Their interactive nature makes them a hit with kids and adults alike. Plus, there’s immense satisfaction in multiplying your green friends. You get more of that unique beauty to share or to fill your own space. For beginners? I’d say Mimosa is moderately easy to propagate. It requires a little attention to detail, but with these tips, you’ll be well on your way.
The Best Time to Start
Spring and early summer are your prime windows for propagating Mimosa polydactyla. This is when the plant is actively growing, sending out new shoots. Cuttings taken during this period have the best chance of developing strong roots quickly. Don’t try to propagate when the plant is dormant in winter; you’ll likely just be met with disappointment.
Supplies You’ll Need
Before we get our hands dirty, let’s gather our tools:
- Sharp, clean pruning shears or a sharp knife: Essential for making clean cuts.
- Rooting hormone powder or gel: While not strictly necessary for every cutting, it significantly boosts success rates.
- Well-draining potting mix: A blend of peat moss, perlite, and a touch of compost is perfect. You want something that holds moisture but doesn’t become waterlogged.
- Small pots or seed trays: Clean containers with drainage holes are a must.
- A spray bottle: For misting your cuttings.
- Plastic bags or a propagator lid: To create a humid environment.
- Optional: A heat mat: For consistent warmth, which is a big plus.
Propagation Methods
Let’s get to the nitty-gritty! I find stem cuttings to be the most reliable method for Mimosa polydactyla.
Stem Cuttings
- Take Your Cuttings: In the spring or early summer, select a healthy, non-flowering stem from your mature Mimosa plant. Look for a stem that’s about 4-6 inches long. Using your sharp pruning shears or knife, make a clean cut just below a leaf node (that’s where a leaf meets the stem). Remove the leaves from the bottom half of the cutting.
- Apply Rooting Hormone: Dip the cut end of the stem into your rooting hormone powder or gel. Tap off any excess. This little step really helps encourage root development.
- Plant Your Cuttings: Fill your small pots or seed trays with your well-draining potting mix. Make a small pilot hole in the soil. Insert the treated end of your cutting into the hole, ensuring a few leaf nodes are buried underground. Gently firm the soil around the stem.
- Water and Cover: Water the soil gently until it’s moist but not soggy. To create a humid microclimate, cover the pot or tray with a plastic bag or a propagator lid. Make sure the leaves don’t touch the sides of the bag if possible.
- Provide Light and Warmth: Place your cuttings in a bright spot with indirect light. Avoid direct sun, which can scorch them. If you have a heat mat, place the pots on it. Consistent warmth from below really speeds up the rooting process.
The “Secret Sauce” (Pro Tips)
Here are a few things I’ve learned over the years that make a real difference:
- Don’t Let the Leaves Touch the Water: If you’re using water propagation (though I prefer soil), make sure only the stem is submerged. Any leaves dipping into the water can rot and infect the cutting. This applies to soil too – keep leaves away from the very surface if possible.
- Bottom Heat is Your Best Friend: Seriously, if you can get your hands on a propagation mat, do it. Mimosa cuttings absolutely love consistent, gentle warmth from below. It mimics ideal conditions and dramatically improves root formation.
- Be Patient with Misting: While it’s tempting to keep the soil constantly wet, mist your cuttings lightly every couple of days instead of soaking them. Overwatering is a fast track to rot. The plastic bag or lid will help retain moisture, so you don’t need to water as frequently as you might think.
Aftercare & Troubleshooting
Once you start seeing new leaves unfurling or feel a gentle resistance when tugging slightly on the cutting (a sign of roots!), your Mimosa is on its way! Begin to gradually acclimate it to drier air by lifting the plastic bag or propagator lid for increasing periods each day over a week. Once it’s fully “out,” continue to care for it as you would a mature Mimosa: bright, indirect light and consistent moisture in the soil.
The most common sign of trouble is rot. If your cutting turns black and mushy or the leaves wilt and yellow dramatically without any sign of new growth, it’s likely rotted. This is usually due to overwatering and poor drainage. Don’t be discouraged if a few cuttings fail – it happens to the best of us! Just take note of what might have gone wrong and try again.
Happy Growing!
Propagating Mimosa polydactyla is a delightful journey. It takes a bit of patience, but the reward of creating new life from a simple stem is truly one of the great joys of gardening. Enjoy the process, observe your little sprouts closely, and don’t be afraid to experiment a little. Happy propagating!
Resource: