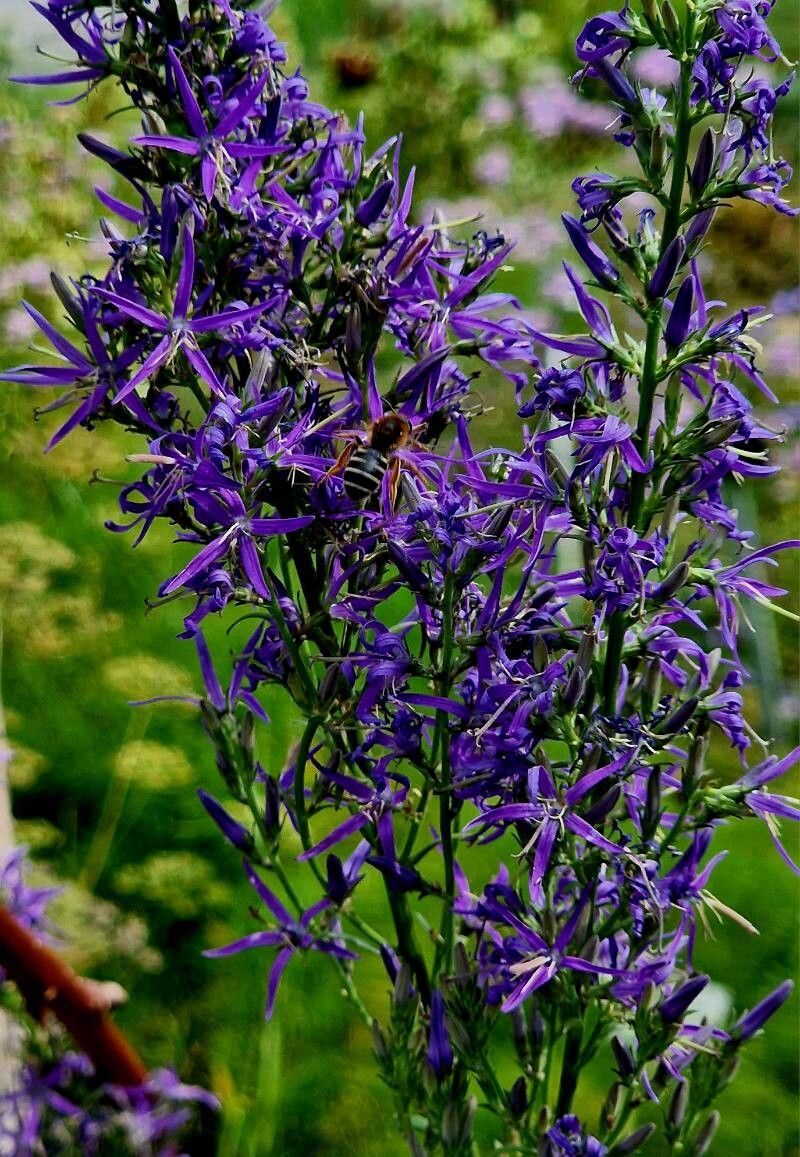
Hello there, fellow plant lovers! I’m so excited to chat with you today about a truly special plant: Asyneuma canescens. If you haven’t encountered it yet, imagine delicate, bell-shaped flowers in shades of lavender or soft pink, often nodding gracefully on slender stems. It’s got this whimsical charm that just makes my heart sing. And the best part? Learning to propagate it yourself is incredibly rewarding. While it might seem a little daunting at first glance, I promise it’s absolutely achievable, even if you’re relatively new to the plant propagation game. Watching a tiny cutting transform into a full-fledged plant? Pure magic!
The Best Time to Start
For Asyneuma canescens, I’ve found the late spring to early summer is your absolute golden ticket. This is when the plant is in its most vigorous growth phase, meaning your cuttings will have plenty of energy to put into developing roots. Think of it as the plant stretching and saying, “Yep, I’m ready to make more of me!” Waiting until after it’s finished its main bloom cycle is also a good bet, as the energy will be directed downwards to root formation.
Supplies You’ll Need
Here’s what you’ll want to have on hand before you get started:
- Sharp Pruning Shears or a Craft Knife: Cleanliness is key! We want precise cuts, not ragged tears.
- Potting Mix: A light, well-draining mix is crucial. I like to use a blend of equal parts peat moss (or coco coir), perlite, and a bit of horticultural charcoal. This holds moisture without becoming waterlogged.
- Small Pots or Seedling Trays: Sterilize them if you can!
- Rooting Hormone (Optional but Recommended): A powder or gel will give your cuttings a helpful nudge.
- Plastic Bags or a Clear Dome: To create a humid environment.
- Watering Can with a Fine Rose: For gentle watering.
- Gravel or Small Stones: For drainage in your pots.
Propagation Methods: Let’s Get Growing!
For Asyneuma canescens, I find two methods work wonders: stem cuttings and division.
Stem Cuttings: The Little Soldiers
This is my go-to for increasing my stock, and it’s quite straightforward.
- Take Your Cuttings: On a healthy, non-flowering stem, look for a side shoot that’s about 4-6 inches long. Make a clean cut just below a leaf node (where the leaves attach). Remove the lower leaves, leaving just a couple at the very top.
- Dip in Rooting Hormone (If Using): Gently dip the cut end into your rooting hormone. A light coating is all you need.
- Plant Away: Fill your small pots with your prepared potting mix. Make a small hole with your finger or a pencil. Insert the cutting into the hole, gently firming the soil around it.
- Water Gently: Give them a good, gentle watering from the can. You want the soil to be moist, not soggy.
- Create Humidity: Cover the pot with a plastic bag, creating a mini-greenhouse. You can use a few chopsticks to keep the bag from wilting onto the leaves. Alternatively, a clear dome works beautifully.
- Find a Bright Spot: Place your cuttings in a bright location out of direct sunlight. A warm spot is ideal.
Division: Sharing the Love
If you have a mature plant that looks like it’s getting a bit crowded, division is a fantastic way to get more plants and give your original one a refresh.
- Gently Unpot: Carefully lift your Asyneuma canescens from its pot.
- Examine the Root Ball: Loosen the soil around the roots with your fingers. You’re looking for natural divisions where the plant has formed distinct clumps.
- Separate with Care: Using your hands or a clean spade, gently pull or cut the root ball into sections. Each section should have a good amount of roots and at least a few healthy shoots.
- Pot Them Up: Plant each division into its own pot filled with your well-draining potting mix. Ensure the top of the root ball is level with the soil surface.
- Water and Settle: Water well to help the soil settle around the roots.
The “Secret Sauce” (Pro Tips)
Here are a few things I’ve learned over the years that make a real difference:
- Don’t Let Those Leaves Touch the Water (for stem cuttings): If any of the remaining leaves on your cutting dip into any standing water in the pot, they’ll rot before they can root. Keep them high and dry!
- Bottom Heat is Your Friend: For stem cuttings, placing your pots on a warm windowsill or a heat mat can significantly speed up root development. Most plants love a little cozy warmth from below.
- Be Patient with Propagation: Seriously, this is key. Sometimes roots take weeks, or even months, to appear. Resist the urge to constantly check or disturb them! Trust the process.
Aftercare & Troubleshooting
Once you start seeing new growth, or feel resistance when you gently tug on a cutting (a sign of roots!), it’s time for them to transition.
- Gradual Acclimatization: If you used a plastic bag or dome, gradually introduce your new plants to drier air by lifting the cover for longer periods each day over a week.
- Consistent Moisture: Keep the soil evenly moist but never waterlogged. Water when the top inch of soil feels dry.
- Bright, Indirect Light: Continue to provide bright, indirect light.
- Signs of Trouble: The most common culprit is rot, which usually appears as black, mushy stems or leaves. This is almost always due to overwatering or poor drainage. If you see this, act fast! You might be able to salvage a section of the stem by taking a new cutting and ensuring better conditions. Yellowing leaves can sometimes indicate too much direct sun or nutrient deficiency later on.
A Little Patience Goes a Long Way
There you have it! Propagating Asyneuma canescens is a journey, not a race. So grab your shears, get your hands dirty, and enjoy the wonderful process of bringing more of these lovely plants into your world. Don’t be discouraged if your first attempt isn’t perfect; every gardener has had their share of wilted leaves and stubborn cuttings. The key is to keep learning and keep growing. Happy propagating!
Resource: