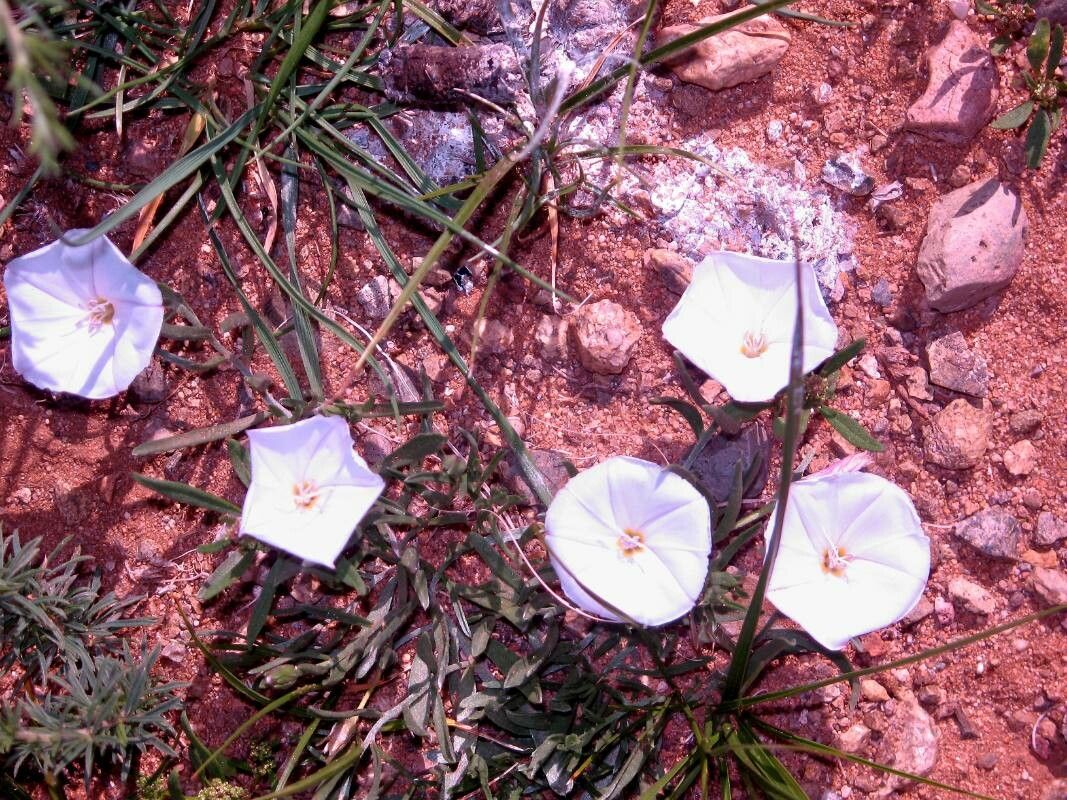
Oh, hello there! Come on in, let’s chat about one of my favorite little beauties: Convolvulus lineatus. If you’ve ever seen this low-growing charmer with its silvery foliage and delicate, funnel-shaped flowers, you know exactly why I’m so smitten. It brings such a lovely, informal elegance to the garden, especially cascading over rocks or spilling from containers. And the best part? Sharing its loveliness by propagating it is incredibly rewarding.
For beginners, I’d say propagating Convolvulus lineatus is moderately easy, but with a few key tricks, you’ll be a pro in no time. It’s a wonderful plant to practice your propagation skills on!
The Best Time to Start
My personal favorite time to get started with cuttings is in late spring to early summer. When the plant has had a good flush of growth after winter and is actively putting on new shoots, those stems are usually full of life and ready to root. You can also have success with cuttings taken in early autumn, but you might need to be a bit more diligent with protection over winter.
Supplies You’ll Need
Here’s a little kit to gather before you begin. Nothing too fancy, I promise!
- Sharp pruning shears or a clean craft knife: For taking clean cuttings. A dull tool can bruise the stem, making it harder to root.
- Rooting hormone (optional but recommended): I find it really speeds things up! Look for one that’s suitable for softwood or semi-hardwood cuttings.
- Small pots or seed trays: Clean ones, of course! Yogurt cups with drainage holes poked in work in a pinch.
- Well-draining potting mix: A 50/50 blend of seed starting mix and perlite is my go-to. This ensures good aeration and prevents waterlogging, which is crucial. You can also use a cactus or succulent mix.
- Watering can with a fine rose: For gentle watering.
- Plastic bag or clear propagator lid: To create a humid environment.
- Labels and a marker pen: So you don’t forget what you’ve planted!
Propagation Methods
I usually find that stem cuttings are the most reliable and straightforward method for Convolvulus lineatus.
Stem Cuttings:
- Take the Cuttings: On a pleasant morning, select healthy, non-flowering shoots from your established plant. Using your sharp shears or knife, cut pieces about 3-4 inches long. Try to make your cut just below a leaf node (where a leaf attaches to the stem).
- Prepare the Cuttings: Gently remove the lower leaves from each cutting, leaving just the top two or three. This prevents them from rotting in the soil. If you have larger leaves, you can even tip-prune them in half to reduce water loss.
- Apply Rooting Hormone: Dip the cut end of each prepared cutting into your rooting hormone powder. Tap off any excess; you don’t need much.
- Pot Them Up: Fill your small pots or trays with the prepared, well-draining potting mix. Make a small hole in the center of the mix with your finger or a pencil.
- Insert the Cuttings: Gently place the hormone-dipped end of each cutting into the hole. Firm the soil gently around the base to ensure good contact.
- Water Gently: Water the pot thoroughly but carefully, allowing any excess to drain away.
- Create Humidity: Place the pots inside a clear plastic bag, sealing it loosely at the top, or cover them with a propagator lid. This creates a mini-greenhouse effect, keeping the humidity high.
- Find a Spot: Place the pots in a bright location but out of direct sunlight. A warm windowsill or a spot in a greenhouse is ideal.
The “Secret Sauce” (Pro Tips)
Here are a few little things I’ve learned along the way that make a big difference:
- Don’t Let Leaves Touch the Soil: This is a big one! Any leaves resting on top of the potting mix are prime candidates for fungal diseases and rot. Make sure all foliage is held above the soil surface.
- Bottom Heat is Your Friend: If you have it, a gentle heated propagator mat can significantly speed up root formation. It mimics the warmth of spring soil and gives those cuttings a real boost. I’ve found it makes a noticeable difference, especially if you’re propagating a bit earlier or later in the season.
- Mist Regularly (But Not Too Much!): While the plastic bag or lid helps maintain humidity, you can give the foliage a light misting with water every couple of days, especially if your home is quite dry. Just be careful not to drench the cuttings.
Aftercare & Troubleshooting
Keep an eye on your cuttings. In about 3-6 weeks, you should start to see signs of roots. You can gently tug on a cutting; if there’s resistance, it’s likely rooted.
Once rooted, ventilate the propagator by opening the bag or lid for a few hours each day, gradually increasing the time over a week. This hardens them off before you remove the cover entirely. Continue to keep them in bright, indirect light and water when the top inch of soil feels dry. They’ll be ready to move into slightly larger pots once they’ve developed a good amount of foliage.
What if things go wrong? The most common culprit is rot. If your cuttings start to look slimy, turn black, or fall over, it’s often a sign of too much moisture or poor air circulation. If you see this, remove the affected cuttings immediately, check your watering habits, and try to improve the airflow. Don’t get disheartened; it happens to all of us!
A Encouraging Closing
Propagating plants is such a wonderful way to connect with nature and expand your garden without spending a penny. Be patient with your little Convolvulus lineatus cuttings. Some will root faster than others, and that’s perfectly normal. Enjoy the process, celebrate every success, and soon you’ll have new little plants to cherish or share. Happy propagating!
Resource:
https://identify.plantnet.org/k-world-flora/species/Convolvulus%20lineatus%20L./data