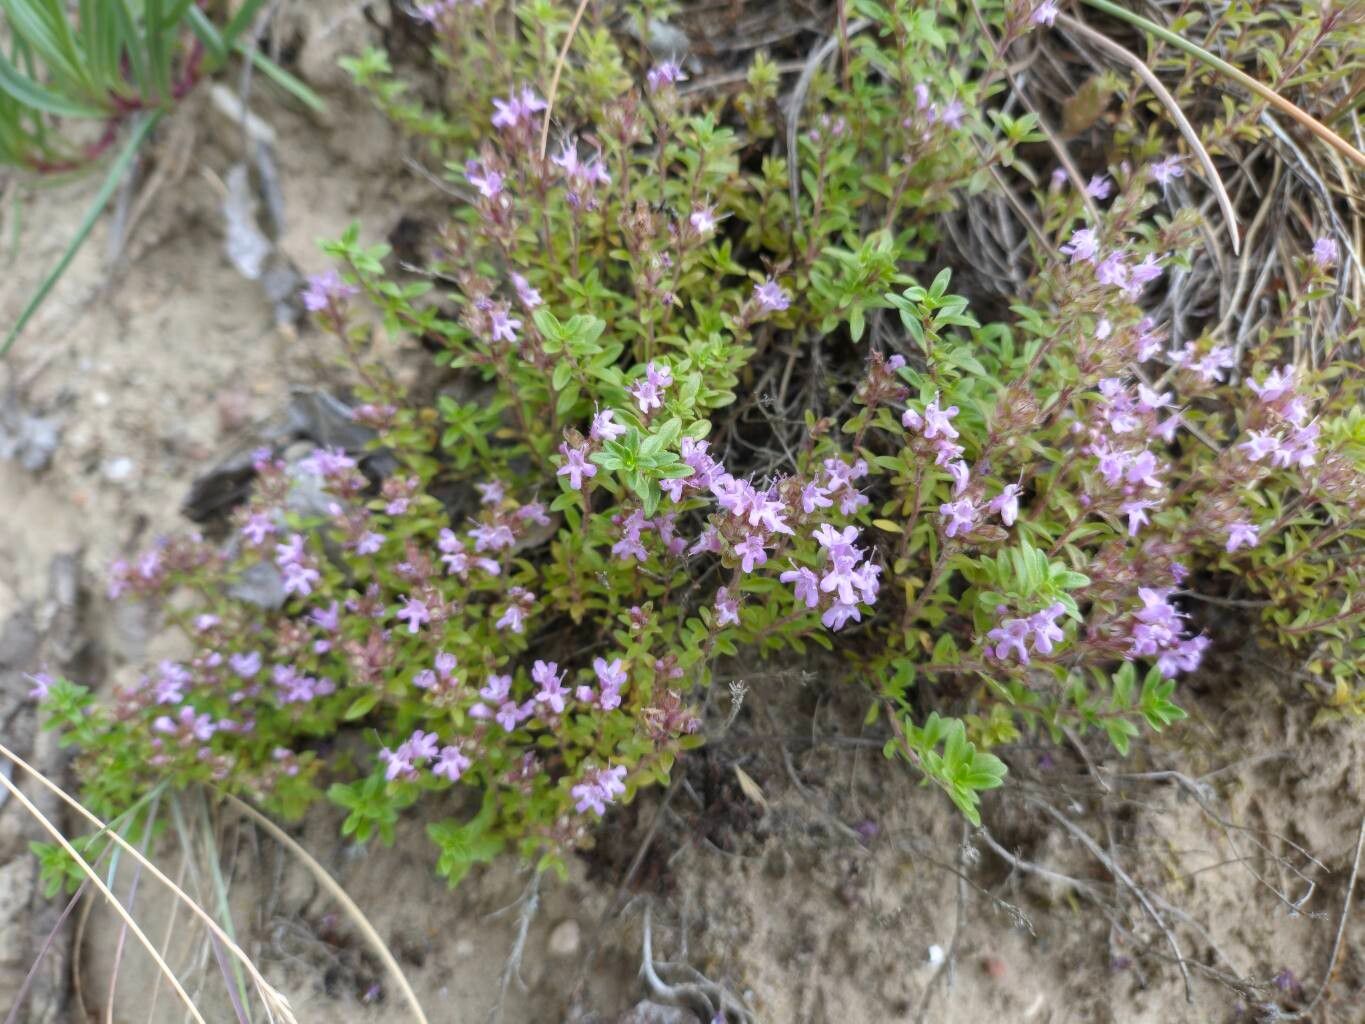
Hello, fellow garden lovers! I’m so excited to chat with you today about one of my absolute favorite herbs: Thymus serpyllum, or creeping thyme. If you adore sweet, earthy scents and a carpet of charming little flowers that bees just can’t resist, then this plant is for you. Plus, propagating it is a wonderfully rewarding experience, and I’m happy to tell you it’s quite beginner-friendly! It’s a fantastic way to share the joy of this plant with friends or simply expand your own fragrant haven.
The Best Time to Start
For creeping thyme, the sweet spot for propagation is late spring to early summer. This is when the plant is actively growing, and the new shoots are generally vigorous and eager to root. You’ll be looking for stems that are somewhat firm but not woody. Think of it like a slightly more mature, yet still pliable, salad green – perfect for taking a cutting.
Supplies You’ll Need
Gathering your tools beforehand makes the whole process smooth sailing. You won’t need anything too fancy, thankfully!
- Sharp pruning shears or a clean, sharp knife: For making clean cuts.
- Well-draining potting mix: A mix designed for succulents or cacti works beautifully. You can also make your own by combining potting soil with perlite or coarse sand (about a 2:1 ratio).
- Small pots or trays: With drainage holes, of course!
- Rooting hormone (optional but recommended): A powder or gel that encourages root development.
- Watering can or spray bottle: For gentle watering.
- Plastic bags or a propagation dome: To create a humid environment.
Propagation Methods
There are a couple of excellent ways to get more creeping thyme going. I find stem cuttings to be the most reliable, so let’s dive into that first.
Stem Cuttings
- Select your material: Look for healthy, non-flowering stems. Snip off pieces that are about 3-4 inches long.
- Prepare the cuttings: At the bottom of each cutting, carefully remove the lower leaves. You want a clean stem to stick into the soil.
- Dip in rooting hormone: If you’re using it, dip the cut end of the stem into the rooting hormone, tapping off any excess.
- Plant them up: Make small holes in your prepared potting mix using a pencil or your finger. Gently insert the cuttings into the holes, ensuring the nodes where you removed the leaves are covered by soil.
- Water gently: Moisten the soil thoroughly, but don’t make it soggy. A good soak followed by allowing excess water to drain is ideal.
- Create humidity: Cover the pots with a plastic bag or a propagation dome. Make sure the leaves don’t touch the plastic if possible – this can encourage rot. You can use small stakes to create a tent if needed.
- Find a bright spot: Place your cuttings in a location that receives bright, indirect light. Avoid direct, hot sun, which can scorch the delicate new growth.
Division (A More Mature Approach)
If you have a well-established clump of creeping thyme, division is a quick and easy win.
- Gently dig up the plant: Carefully lift the entire plant from its pot or the ground.
- Separate the roots: You can often tease apart the root ball with your hands. If it’s quite dense, use a clean spade or knife to cut the clump into sections. Each section should have a good amount of roots and some leafy growth.
- Replant immediately: Pot up each division into its own container with fresh, well-draining soil. Water well and treat it like a newly planted herbaceous perennial.
The “Secret Sauce” (Pro Tips)
Here are a couple of tricks I’ve learned over the years that really boost success rates:
- Bottom Heat is Your Friend: Creeping thyme roots much faster when its “feet” are warm. If you can, place your pots on a heating mat designed for seedlings. This subtle warmth encourages root formation from the get-go. If you don’t have a heat mat, a warm windowsill or on top of a gently running refrigerator can sometimes provide enough residual warmth.
- Don’t Overwater, Ever! This is probably the most common pitfall with cuttings. Thyme absolutely hates sitting in soggy soil. It’s far better to let the top layer of soil dry out slightly between waterings. Water when the top inch of soil feels dry to the touch. This promotes healthy root development and discourages fungal issues.
Aftercare & Troubleshooting
Once your cuttings have been happily sitting in their humid little homes for a few weeks, you’ll start to see signs of new growth. That’s your cue!
- Check for roots: Gently tug on a cutting. If you feel resistance, roots have formed! You can also look for new leaves appearing at the tips.
- Acclimate them: Once rooted, it’s time to let them breathe. Gradually remove the plastic bag or dome for increasing periods each day over a week. This helps them adjust to lower humidity.
- Pot them up: Once they are well-established and have a good root system, you can transplant them into their own individual pots or a new garden bed.
- Watch for trouble: The main enemy of cuttings is rot. If you see stems turning black and mushy, or if your cuttings suddenly collapse, it’s usually a sign of too much moisture and not enough air circulation. If this happens, remove the affected cuttings, let the remaining soil dry out more, and ensure good airflow.
A Encouraging Closing
Propagating creeping thyme is such a joyful gardening activity. It’s a chance to nurture something small and watch it grow into a beautiful, fragrant plant. Be patient with the process; sometimes it takes a little longer than we expect. But the satisfaction of seeing those tiny roots take hold and new leaves unfurl is truly something special. Happy propagating, and enjoy your ever-expanding thyme patch!
Resource:
https://identify.plantnet.org/k-world-flora/species/Thymus%20serpyllum%20L./data