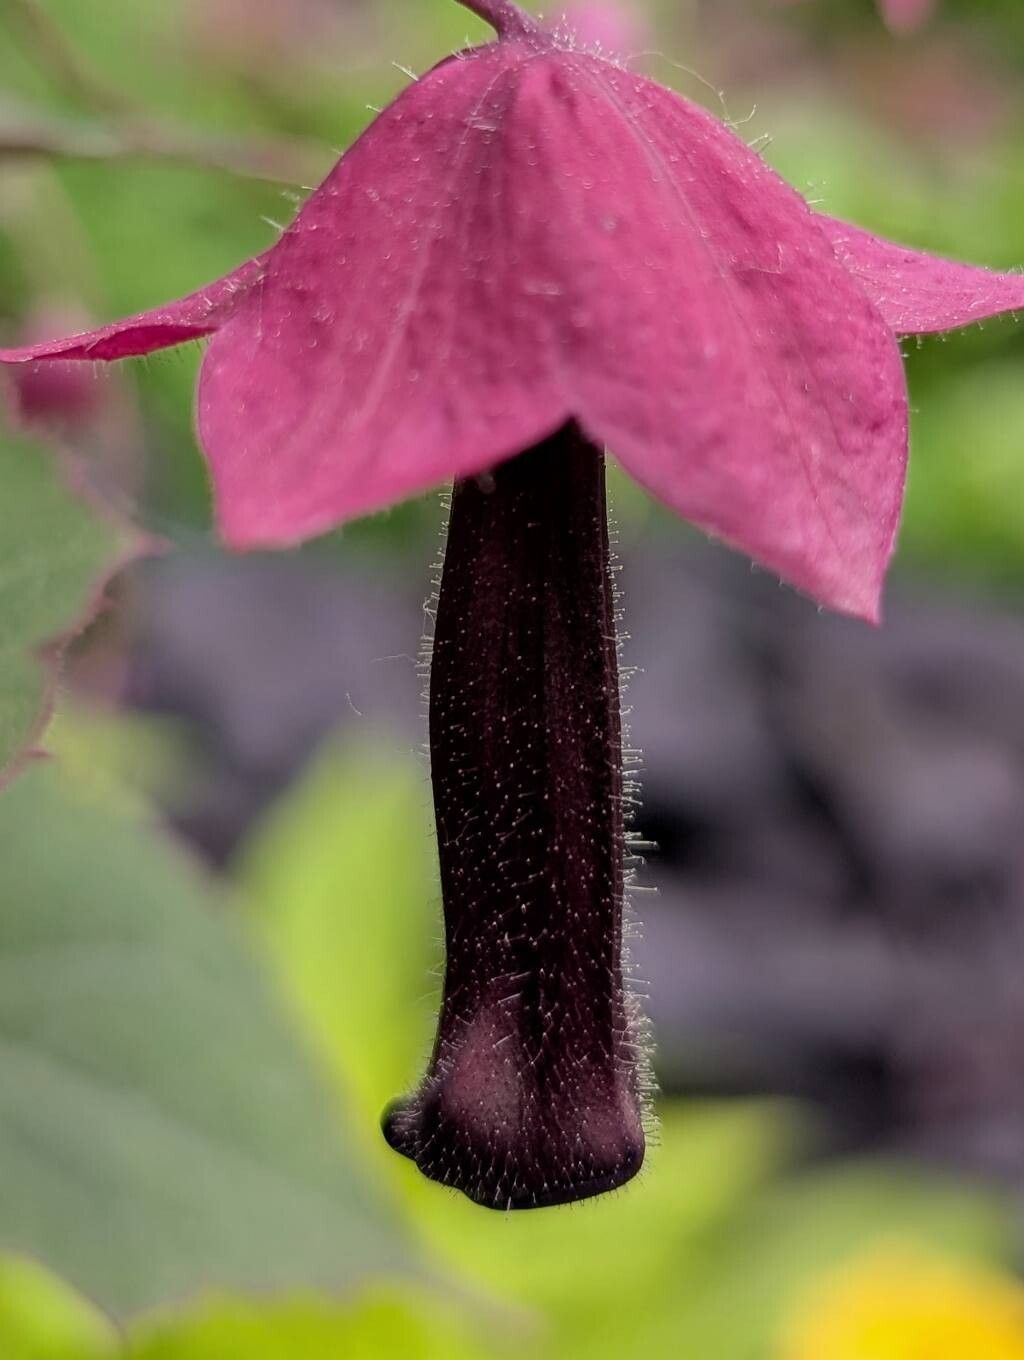
Ah, Rhodochiton atrosanguineus! If you’ve ever seen those gorgeous, bell-shaped, deep purple flowers dripping from a vine, you know why it’s captured your heart. It’s a plant that brings a touch of dramatic elegance to any garden or hanging basket. And guess what? Propagating it is not as daunting as it might seem, even for those of you just dipping your toes into the world of plant reproduction. Yes, it requires a little patience, but the reward of creating new life from an existing beauty is truly something special.
When to Get Your Hands Dirty
The sweet spot for propagating Rhodochiton is definitely late spring or early summer. This is when the plant is actively growing, bursting with energy after the cooler months. Starting your cuttings now means they’ll have ample time to establish themselves before the weather turns. You can tell the plant is ready when you see new, vigorous growth pushing out.
Gather Your Gardening Goodies
Before we dive in, let’s make sure you have everything you need for success:
- Sharp Pruning Snips or Scissors: Clean cuts are essential for healthy healing.
- Rooting Hormone: A little boost for those stubborn rooters. Gel or powder forms both work well.
- Well-Draining Potting Mix: I like a mix of peat moss, perlite, and a bit of compost. Think fluffy and airy, not dense and soggy.
- Small Pots or Seedling Trays: With drainage holes, of course!
- Clear Plastic Bag or Dome: To create a humid microclimate.
- Watering Can or Spray Bottle: Gentle watering is key.
Bringing New Rhodochitons to Life
There are a couple of reliable ways to multiply your Rhodochiton. I find stem cuttings to be the most straightforward and rewarding method.
Stem Cuttings:
- Select Your Cuttings: Look for healthy, non-flowering stems. You want pieces that are about 4-6 inches long, with at least a couple of sets of leaves.
- Make the Cut: Using your clean snips, cut just below a leaf node. This is where roots are most likely to form. Remove the lower leaves, leaving just two or three at the top to help the cutting conserve energy.
- Dip and Plant: Dip the cut end of the stem into your rooting hormone, tapping off any excess. Then, gently insert the cutting into your prepared potting mix. Make sure the potting mix is moist but not saturated.
- Create a Humid Haven: Gently water the mix to settle the soil around the cutting. Then, cover the pot with a clear plastic bag or a propagator lid to keep the humidity high. You can poke a few holes in the bag or prop it up slightly to allow for some air circulation.
- Find a Cozy Spot: Place your cuttings in a bright spot with indirect light. Avoid direct, hot sun, which can scorch them.
My Little “Secret Sauce” for Success
Now, let me share a couple of things I’ve learned over the years that really make a difference:
- Bottom Heat is Your Friend: Rhodochiton cuttings love a bit of warmth from below. Placing your pots on a gentle heating mat can significantly speed up root development. It’s like a cozy warm hug for your little cuttings!
- Don’t Drown Their Hopes: When watering, be very gentle. If you’re using the plastic bag method, you may not need to water often. Just check the moisture level by feeling the soil. If you see condensation on the bag, that’s a good sign the humidity is up.
Nurturing Your New Arrivals and What to Watch For
Once you start seeing new leaf growth emerge from your cuttings, that’s a strong indicator that roots have formed. This usually takes anywhere from 4 to 8 weeks, sometimes a bit longer.
At this point, you can gradually acclimate them to normal room humidity by removing the plastic bag for longer periods each day. Continue to keep them in bright, indirect light. Once they feel more robust, you can transplant them into slightly larger pots.
The most common issue you’ll encounter is rot. If your cutting looks limp, mushy, or develops dark spots, unfortunately, it’s likely rotted. This is usually a sign of too much moisture and not enough air circulation. Don’t be discouraged! It happens to the best of us. Just clean up your pots and try again, perhaps with slightly less water or more frequent airing out.
Keep Growing, Keep Enjoying!
So there you have it, a simple guide to multiplying those stunning Rhodochitons. Remember, gardening is a journey, and propagation is one of its most rewarding chapters. Be patient with your cuttings, learn from each attempt, and most importantly, enjoy the magic of watching something new flourish under your care. Happy propagating!
Resource: