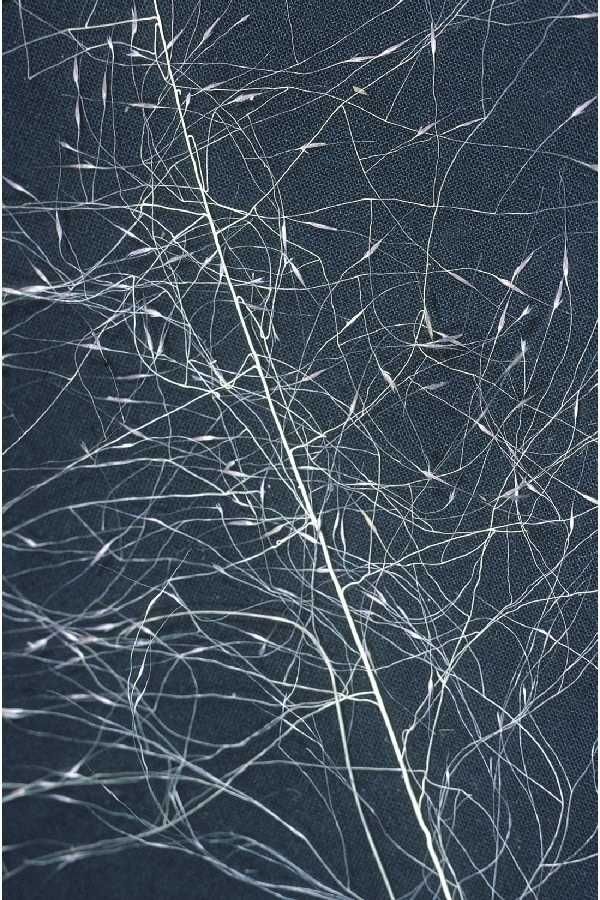
Hey there, fellow plant enthusiasts! It’s so good to have you join me today. We’re going to dive into the wonderful world of propagating Muhlenbergia californica, or California Fescue, as it’s often known. This beautiful native grass has this incredible subtle grace, with its fine-textured, arching foliage that dances in the slightest breeze. It’s a staple in my garden, bringing a touch of wild elegance and providing habitat for all sorts of beneficial critters.
If you’ve fallen for this lovely grass, you’re in luck! Propagating it is not only possible but also incredibly rewarding. And guess what? Even if you’re just dipping your toes into the plant propagation pool, you’ll find this one to be quite forgiving. It’s a fantastic plant to practice with!
The Best Time to Start
For Muhlenbergia californica, I find the absolute sweet spot for propagation is in the late spring or early summer. This is when the plant is actively growing, bursting with energy. You’re looking for new, pliable shoots rather than old, woody stems. The warmth and longer days really encourage robust root development.
Supplies You’ll Need
Before we get our hands dirty, let’s gather our toolkit. Having everything ready makes the process so much smoother.
- Sharp Pruning Shears or a Knife: Clean cuts are essential for healthy propagation.
- Small Pots or Trays: Whatever you have on hand will work. Drainage holes are a must!
- Well-Draining Potting Mix: I like a mix of equal parts perlite and peat moss or coco coir. You can also use a commercial seed-starting mix.
- Rooting Hormone (Optional but Recommended): This little helper can significantly boost your success rates, especially for trickier cuttings.
- Watering Can or Spray Bottle: Gentle watering is key.
- Plastic Bag or Dome: To create a humid environment for your cuttings.
Propagation Methods
California Fescue is most easily propagated through division. It’s reliable and gives you a great head start.
Division (The Most Common and Easiest Method)
This is my go-to for Muhlenbergia californica. It’s like giving your plant a spa day and getting new babies out of the deal!
- Excavate Your Plant: In the late spring or early summer, gently dig around the base of your mature Muhlenbergia californica plant. You want to loosen it from the soil without damaging the roots too much.
- Lift and Separate: Carefully lift the entire clump out of the ground. You might need to use a trowel or even a sturdy spade to help you.
- Divide the Clump: Now, this is where the magic happens. You want to gently pull or cut the root ball into smaller sections. Each section should have a healthy portion of roots and at least a few shoots. You can tug them apart with your hands if they’re not too dense, or use your sharp shears or knife for cleaner divisions. Aim for sections that are roughly 4-6 inches across.
- Replant Immediately: Get those divisions into their new homes straight away!
Stem Cuttings (A Bit More Advanced but Rewarding)
If you want to try cuttings, it’s doable, though division is generally more foolproof for this particular grass.
- Select Your Cuttings: Look for pliable, non-flowering stems that are about 4-6 inches long. Pinch off a few leaves from the bottom inch or so.
- Prepare the Cutting: Lightly wound the bottom of the cutting by making a small slit on one side. This can help with root formation.
- Dip in Rooting Hormone: If you’re using rooting hormone, dip the wounded end into it, tapping off any excess.
- Plant Your Cuttings: Insert the base of the cutting into your prepared potting mix. You can put several in one pot, leaving a little space between them.
- Water Gently: Water the soil thoroughly.
The “Secret Sauce” (Pro Tips)
Here are a couple of little tricks I’ve learned over the years that can make a real difference.
- For Rooting Hormone, Don’t Overdo It: A light dusting is all you need. Too much can actually inhibit root growth. Also, if you’re using a liquid rooting hormone, dilute it as per the package instructions.
- The Humidity Tent is Your Friend: For stem cuttings, once planted, cover the pot with a clear plastic bag or an upside-down plastic container. Make sure the leaves don’t touch the inside of the plastic. This creates a mini-greenhouse effect, keeping the humidity high, which is crucial for the cuttings to root before they dry out.
Aftercare & Troubleshooting
Once your divisions are replanted or your stem cuttings have taken root, it’s time for careful nurturing.
- Watering: Keep the soil consistently moist but not waterlogged. For divisions, water them in well after replanting. For cuttings, maintain that humidity tent and check the soil moisture regularly.
- Light: Give them bright, indirect light. Avoid intense, direct sun, especially for tender new cuttings.
- Rooting Time: Divisions will establish quickly. For cuttings, it can take anywhere from 4 to 8 weeks to see signs of new growth, which indicates roots have formed. You can gently tug on a cutting; if there’s resistance, it’s likely rooting.
Troubleshooting: The most common issue you’ll encounter is rot. This usually happens from overwatering or poor drainage. If you see your cuttings turning mushy and black, or if the soil stays soggy for too long, you’ve likely got rot. It’s a tough one to come back from, so prevention is key! Make sure your pots drain well and don’t let them sit in water.
A Gentle Encouragement
Propagating plants is a journey, and like any good journey, it’s about the process as much as the destination. Be patient with your Muhlenbergia californica. Sometimes things take their time. Celebrate the small victories, like seeing that first tiny new shoot emerge. Before you know it, you’ll have a whole collection of this wonderful grass to enjoy and share. Happy propagating!
Resource:
https://identify.plantnet.org/k-world-flora/species/Muhlenbergia%20californica%20Vasey/data