Oh, hello there! I’m so glad you’ve stopped by. Today, we’re going to talk about a plant that holds a special place in my heart: the enchanting Crataegus mexicana, or as many of us lovingly call it, the Mexican hawthorn. Its clusters of white, fragrant blossoms in spring are simply delightful, and the edible haws that follow are a treat for both birds and brave gardeners. Growing your own from scratch is incredibly rewarding, and I promise, it’s not as daunting as it might sound. For beginners, I’d say it’s a moderately challenging plant to propagate, but with a little patience and these tips, you’ll be well on your way.
The Best Time to Start
When it comes to getting new Mexican hawthorns going, timing is everything. I’ve found the most success when I take cuttings in the late spring or early summer, right after the plant has finished its main flush of flowering. This is when the stems are mature enough to have developed some woody strength, but they still have plenty of energy to put into rooting. Think of it as catching them at the peak of their vigor.
Supplies You’ll Need
Before we get our hands dirty, let’s gather our tools. Having everything on hand makes the process so much smoother.
- Sharp Pruning Shears or a Craft Knife: For clean cuts that heal well.
- Rooting Hormone: A powder or gel to encourage root development. Don’t skip this; it’s a real game-changer!
- A Well-Draining Potting Mix: I like a blend of equal parts perlite, peat moss, and coarse sand. This ensures good aeration, which is crucial for those developing roots.
- Small Pots or Seed Trays: Clean ones, of course!
- Plastic Bags or a Small Greenhouse/Propagator: To create a humid environment.
- Soft Water or Distilled Water: For misting.
- Labels: To keep track of what you planted and when!
Propagation Methods: Stem Cuttings
This is my go-to method for Mexican hawthorns. It’s reliable and you can get several new plants from just one mature specimen.
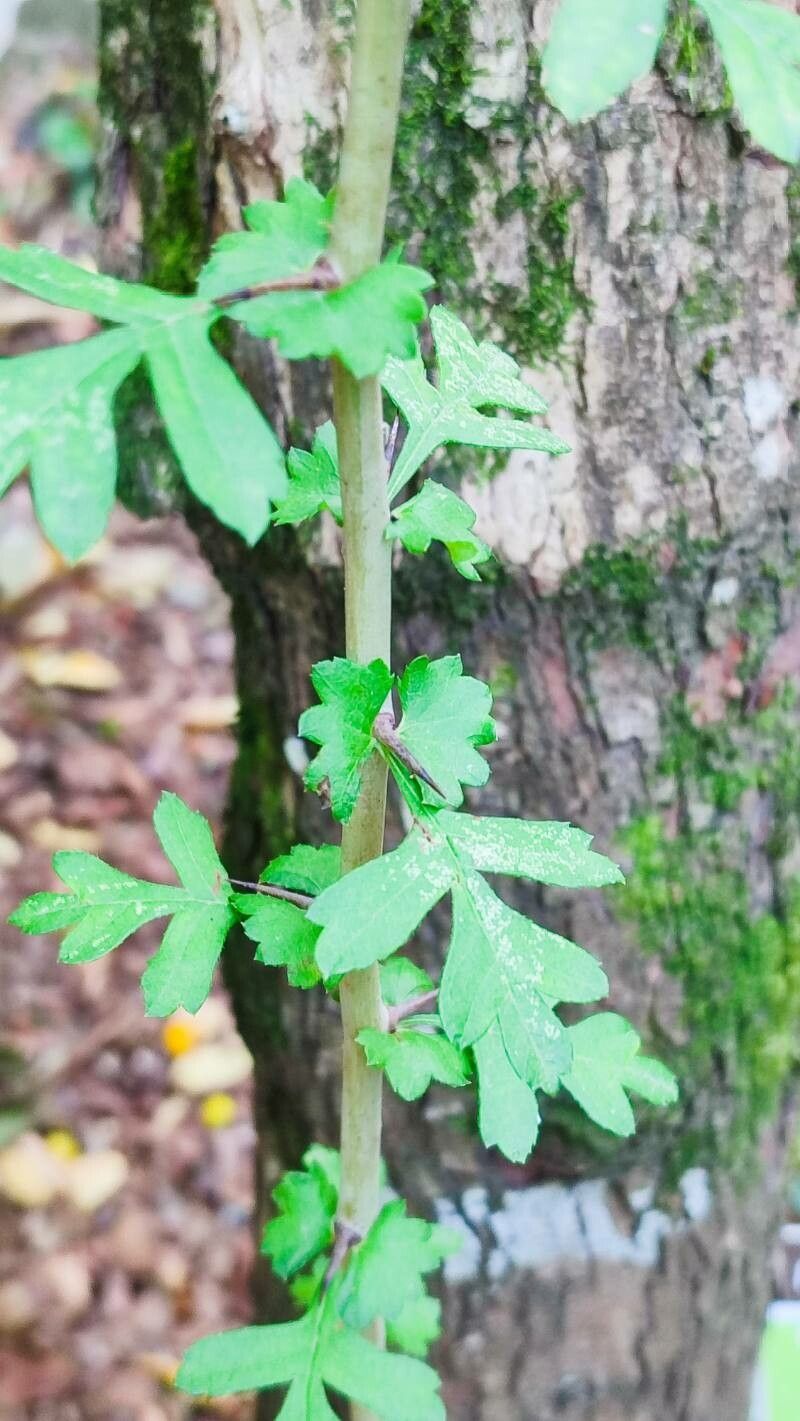
- Select Your Shoots: Look for healthy, non-flowering stems from the current season’s growth. They should be about the thickness of a pencil and at least 6 inches long.
- Make the Cut: Using your sharp pruning shears or craft knife, make a clean cut just below a leaf node. A leaf node is that slightly swollen joint where a leaf grows. This is where the magic happens!
- Prepare the Cuttings: Gently remove any leaves from the bottom half of the stem. You want to expose at least two or three leaf nodes. If your leaves are large, you can cut them in half horizontally to reduce water loss.
- Dip in Rooting Hormone: Dip the cut end of the stem into your rooting hormone, tapping off any excess. Make sure the hormone coats the nodes where you removed the leaves.
- Plant Your Cuttings: Fill your pots or trays with your prepared potting mix. Make a small hole with a pencil or your finger. Gently insert the cutting into the hole, ensuring at least one or two leaf nodes are buried in the soil. Firm the soil gently around the stem.
- Water and Cover: Water the soil lightly but thoroughly. Then, cover the pot completely with a plastic bag or place it inside a propagator. This creates a mini greenhouse effect, keeping the humidity high, which is vital for preventing the cuttings from drying out before they can root.
The “Secret Sauce” (Pro Tips)
Here are a few little tricks I’ve picked up over the years that can really boost your success rate.
- Bottom Heat is Your Friend: If you can, place your propagator or pots on a heated propagator mat. This gentle warmth from below encourages root formation much faster than ambient room temperature alone. It’s like a cozy little sunbath for those nascent roots!
- Don’t Let the Leaves Touch: When you’re misting your cuttings, make sure the leaves don’t sit in water inside the plastic bag. Excess moisture clinging to the leaves can encourage fungal diseases and rot, which is the last thing you want. Give them a gentle shake if needed.
- Air Circulation is Key (Once Rooted): While high humidity is essential for rooting, once you see signs of new growth (tiny leaves unfurling), it’s time to gradually introduce more air. Start by opening the bag for a few minutes each day, slowly increasing the duration over a week or two. This helps the young plant acclimatize to regular conditions and prevents it from getting leggy.
Aftercare & Troubleshooting
Once you spot little roots emerging from the drainage holes (this can take anywhere from 4 to 8 weeks), it’s time to move them to slightly larger pots. Continue to keep them in bright, indirect light and maintain consistent moisture. Don’t let them dry out completely, but also avoid soggy conditions.
The most common issue you’ll encounter is rot. If your cutting turns mushy and black, it’s likely succumbed to rot. This is often due to too much moisture and not enough air circulation. Unfortunately, there’s no coming back from rot, so it’s best to discard it and try again, paying close attention to those air circulation tips. Another sign of failure is if the cutting simply wilts and never recovers, which usually means it didn’t form roots or dried out too much despite the humidity.
A Encouraging Closing
Don’t be discouraged if your first few attempts aren’t picture-perfect. Gardening is a journey, and propagation is an art that you refine with practice. Be patient with your little Mexican hawthorns, enjoy the process of nurturing them, and celebrate each tiny sign of progress. Soon, you’ll have your own beautiful specimens to admire and, perhaps, even share with fellow garden enthusiasts! Happy propagating!
Resource: