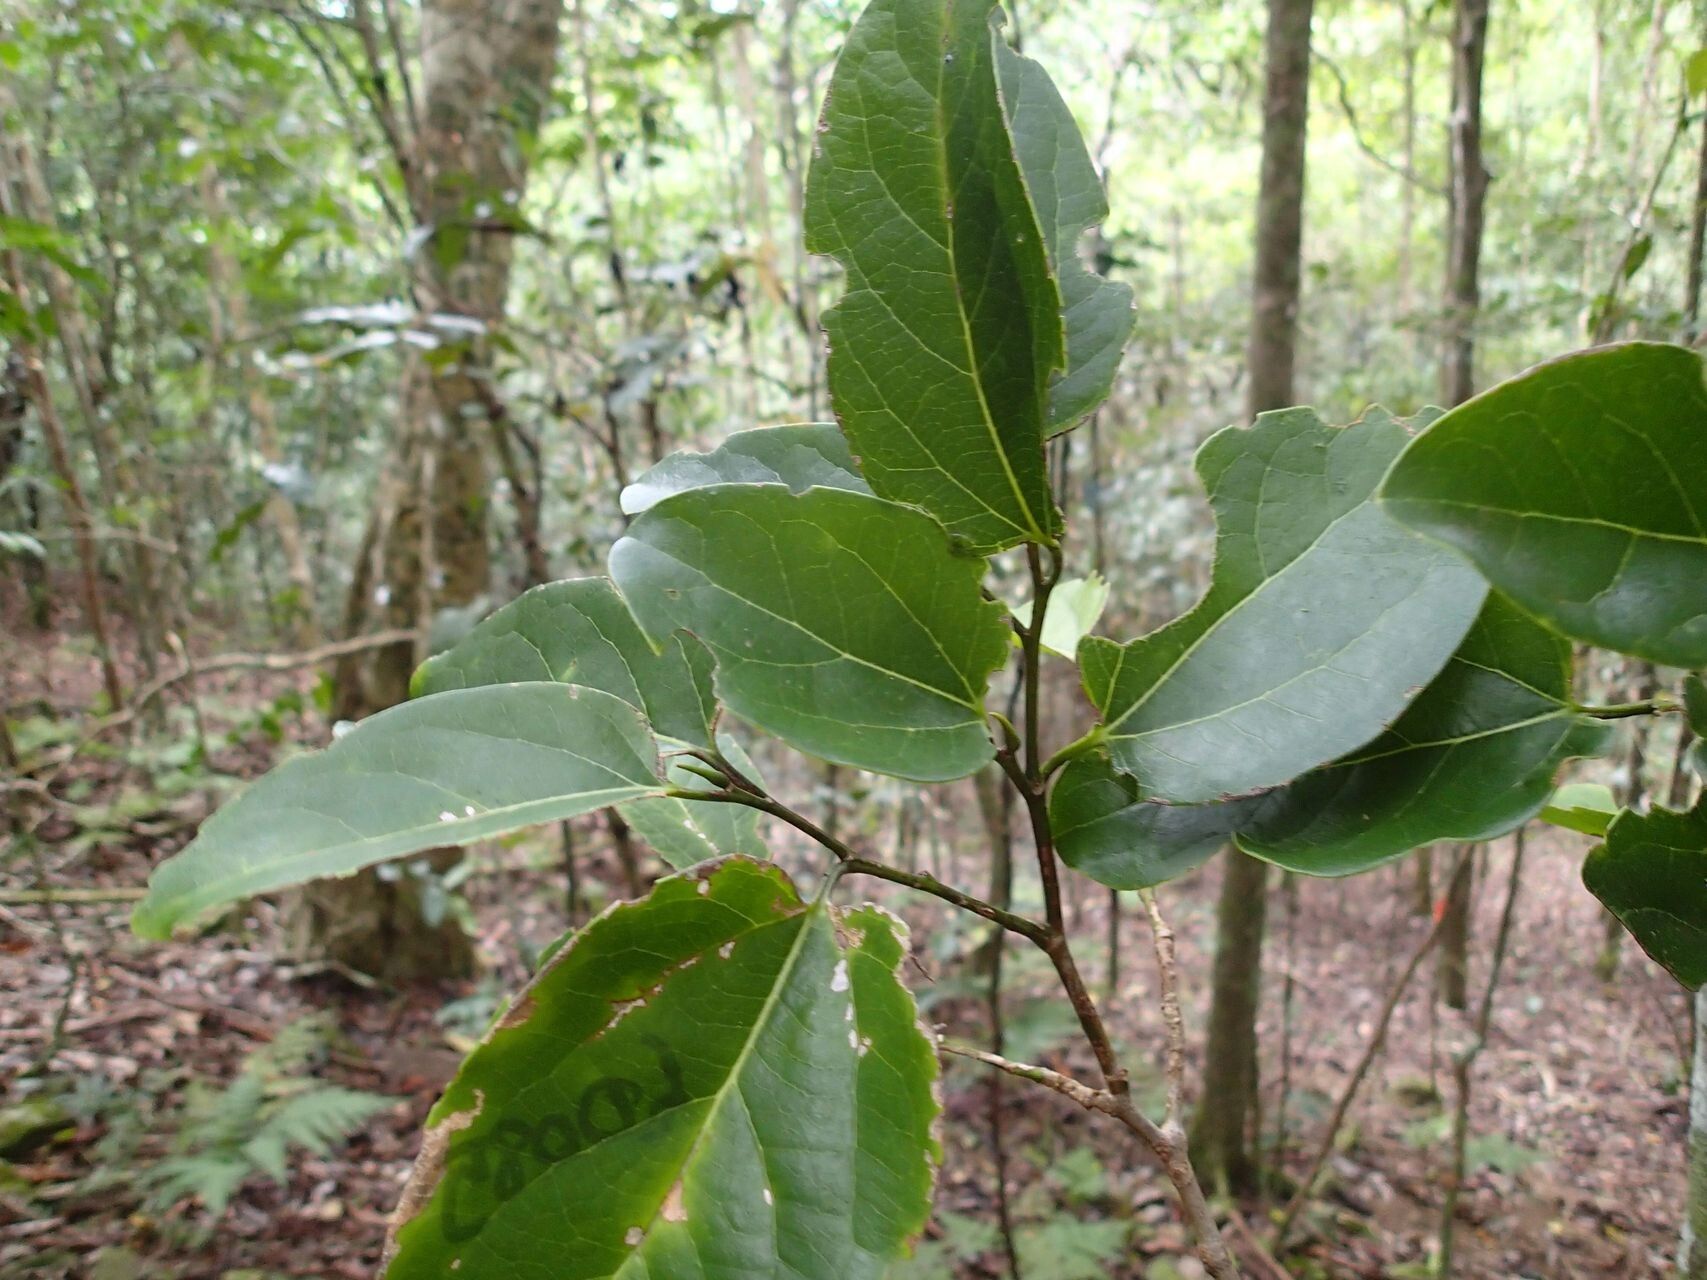
Oh, hello there! Pull up a chair and let’s chat about one of my favorite trees – the humble Celtis conferta. If you haven’t met this beauty before, imagine a tree with a graceful, spreading canopy, often adorned with vibrant fall color. It’s a wonderful native that brings a certain charm to any garden, attracting birds and providing lovely dappled shade. And let me tell you, propagating your own Celtis conferta is such a rewarding experience. It’s not one of those fiddly plants that gives you gray hairs; it’s quite approachable, even for those just dipping their toes into the wonderful world of propagation.
The Best Time to Start
For the best chance of success with Celtis conferta, I’ve found that early spring is your golden window. This is when the plant is just waking up from its winter slumber, full of vigor and ready to put out new growth. You want to aim for cuttings taken just as the new shoots are starting to lengthen but before they become too woody. Think of it as catching them at their peak potential!
Supplies You’ll Need
Gathering your tools before you begin makes the whole process so much smoother. Here’s what I like to have on hand:
- Sharp, sterilized pruning shears or a clean knife: Crucial for making clean cuts that heal well.
- Rooting hormone (powder or gel): This isn’t strictly necessary for Celtis conferta, but it can definitely give your cuttings a helpful boost.
- A well-draining potting mix: I usually use a blend of equal parts peat moss, perlite, and coarse sand.
- Small pots or seed trays: With drainage holes, of course!
- A plastic bag or clear dome: To create a humid environment for your cuttings.
- Water: For preparing your cuttings and for misting.
- Labels and a marker: So you don’t forget what you planted where!
Propagation Methods
While Celtis conferta can also be grown from seed (though it can be a bit slow), stem cuttings are generally my preferred method for getting a new plant up and going relatively quickly.
Stem Cuttings: My Go-To Method
- Take Your Cuttings: In early spring, select healthy, non-flowering shoots that are about 4-6 inches long. Make a clean cut just below a leaf node (the point where a leaf attaches to the stem).
- Prepare the Cuttings: Gently remove the lower leaves, leaving just a couple at the very top. This reduces water loss. If you’re using rooting hormone, dip the cut end of the stem into the powder or gel, tapping off any excess.
- Pot Them Up: Fill your small pots or trays with your prepared potting mix. Make a small hole in the center of the mix with your finger or a pencil.
- Insert the Cuttings: Carefully place the cut end of each cutting into the prepared hole, ensuring at least one leaf node is below the surface of the soil. Gently firm the soil around the stem.
- Water and Cover: Water the soil thoroughly but gently. The goal is to have moist, not soggy, soil. Then, cover the pot or tray with a plastic bag or a clear dome to create a mini-greenhouse. This keeps the humidity high, which is vital for cuttings to root.
The “Secret Sauce” (Pro Tips)
Now, for a couple of little tricks that have served me well over the years:
- Don’t let the leaves touch the water. If you’re working with cuttings that are a bit longer, or if you accidentally leave too many leaves on, make sure none of them are sitting in any excess water that might collect at the bottom of the pot. This is a sneaky way rot can start.
- Consider a little bottom heat. While not absolutely essential for Celtis conferta, placing your pots on a propagation mat or a heat mat that’s designed for seedlings can really speed up root development. It mimics the warmth of spring soil and encourages those sturdy roots to form faster.
Aftercare & Troubleshooting
Once your cuttings are potted, find a bright spot for them that gets indirect light. Think of a spot near a sunny window but out of direct sun, which can scorch those tender new leaves. Keep the soil consistently moist but not waterlogged. You can mist the leaves occasionally, especially if you don’t have a dome or bag.
You’ll know your cuttings are developing roots when you see new leaf growth. This can take anywhere from 4 to 8 weeks, sometimes longer. Gently tug on a cutting; if it resists, you’ve got roots!
Now, what if things don’t go as planned? The most common issue you might encounter is rot. This usually happens because the soil is too wet and there isn’t enough air circulation. If you see your cutting wilting, turning black, or becoming mushy, it’s likely too late for that particular one. Don’t get disheartened! Simply remove the affected cutting and check your watering habits and ensure good drainage for the rest.
A Encouraging Closing
Propagating Celtis conferta is a journey, not a race. Be patient with your little plant babies. Enjoy the process of nurturing them from a tiny cutting into a promising new tree. With a little care and observation, you’ll soon have a whole clan of your own beautiful Celtis conferta to share or plant in your garden. Happy propagating!
Resource:
https://identify.plantnet.org/k-world-flora/species/Celtis%20conferta%20Planch./data