Hey there, fellow garden lovers!
Today, I want to chat about a truly special plant: Garrya fadyenii, often called the Sierra Nevada Silk Tassel. If you’ve ever seen its elegant, cascading catkins shimmering in the late winter sun, you know why it captures our hearts. It’s a bit of a hidden gem, offering a unique texture and bloom when many other plants are still snoozing. And the joy of growing more of these beauties from your own stock? Well, that’s a reward that truly blossoms. For those just dipping their toes into propagation, I’d say Garrya fadyenii is moderately easy – a fun challenge that’s incredibly satisfying when you succeed.
The Best Time to Start
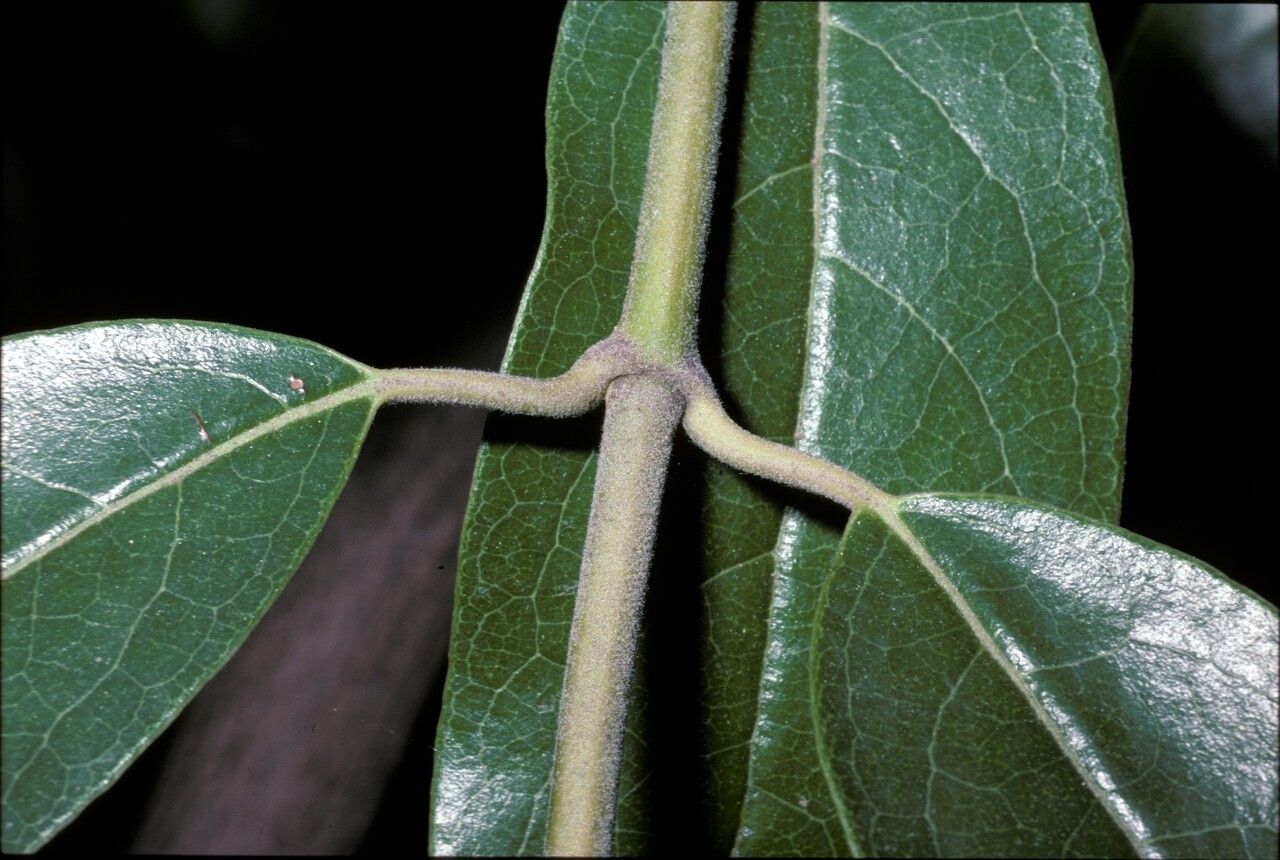
When it comes to getting the best results with Garrya fadyenii, early summer is your golden ticket. Think late May through July, when the plant is actively growing and has a good amount of semi-hardwood cuttings to offer. These are not your brand-new, floppy green shoots, nor are they old, woody stems. Semi-hardwood cuttings, taken when the current season’s growth has started to firm up but still has some flexibility, are generally the easiest to root.
Supplies You’ll Need
Here’s what I always have on hand for a propagation session:
- Sharp pruning shears or a clean, sharp knife: You want to make clean cuts to avoid damaging the plant tissues.
- Rooting hormone: I prefer a powder or gel for stem cuttings. It really gives them a boost.
- Small pots or propagation trays: About 4-inch pots usually work well. Make sure they have drainage holes!
- Potting mix: A good blend is crucial. I like to mix 50% perlite and 50% peat moss or coco coir. This ensures excellent drainage and aeration, which is vital.
- Watering can with a fine rose: Gentle watering is key.
- Plastic bags or domes: To create a humid environment.
- Optional: A heat mat or sunny, warm spot: Bottom heat can significantly speed up rooting.
Propagation Methods
Let’s get our hands dirty with stem cuttings. This is my go-to for Garrya fadyenii.
- Taking the Cuttings: In early summer, select healthy, non-flowering stems. Look for that semi-hardwood stage – they should snap cleanly when bent, not just bend. Using your clean shears, take cuttings that are about 4-6 inches long. Remove any lower leaves, leaving just a few at the top. If the leaves are very large, I’ll even cut them in half to reduce water loss.
- Preparing the Cuttings: Dip the cut end of each stem into your rooting hormone, tapping off any excess. This is where that hormone really helps the plant form new roots.
- Planting the Cuttings: Fill your pots or trays with your prepared potting mix. Make a hole with a pencil or your finger deep enough to insert the cutting. Place the cutting into the hole, ensuring at least one leaf node (where the leaves attach) is below the soil line – that’s where root development truly happens. Gently firm the soil around the base of the cutting.
- Creating Humidity: Water the pots thoroughly until water drains from the bottom. Then, cover each pot loosely with a clear plastic bag or place them in a propagation tray with a dome. This traps moisture, creating a mini-greenhouse effect that prevents the cuttings from drying out before they can root.
The “Secret Sauce” (Pro Tips)
Here’s a little something extra I’ve learned over the years:
- Don’t let the leaves touch the water: If you opt for water propagation (which is less common but possible with Garrya fadyenii), make absolutely sure no leaves are submerged. Any submerged leaf will just rot and can take the whole cutting down with it.
- Bottom heat is your friend: If you have a heat mat, place your pots on it. A consistent soil temperature of around 70-75°F (21-24°C) will dramatically speed up the rooting process. It’s like giving them a cozy warm bed to grow roots in!
- A gentle tug test (eventually!): Don’t be impatient! It can take several weeks, sometimes even a couple of months, for Garrya fadyenii cuttings to root. Resist the urge to pull them out to check. Once you see new leaf growth at the top, that’s a good sign. You can also give a very gentle tug on a cutting; if you feel resistance, it’s likely beginning to root.
Aftercare & Troubleshooting
Once your cuttings have developed a decent root system (you’ll see roots poking out the drainage holes or feel that resistance when tugging), it’s time to give them a bit more room. Carefully transplant your new Garrya fadyenii into slightly larger pots with a good quality, well-draining potting mix. Keep them in a partially shaded spot and water them gently but regularly, allowing the soil to dry out slightly between waterings.
Now, about troubleshooting. The most common culprit for failure is rot. This usually happens because the soil is too wet and lacks air circulation. If you see your cutting wilting, turning black at the stem base, or developing mushy leaves, it’s likely succumbing to rot. This is often caused by overwatering and insufficient drainage. Sometimes, if caught early, you can salvage a cutting by taking a fresh, healthy section and re-rooting it in fresh, dry mix. Another sign of failure is simply no growth after a very long time – it’s possible the cutting just didn’t take. Don’t be discouraged!
Keep Growing!
Propagating plants is a journey of patience and observation. Each cutting is a little experiment, and there’s so much to learn from the process, whether it’s an instant success or a slow bloomer. So gather your supplies, embrace the sunshine and the soil, and enjoy the deeply satisfying journey of growing your very own Garrya fadyenii. Happy gardening!
Resource:
https://identify.plantnet.org/k-world-flora/species/Garrya%20fadyenii%20Hook./data