Grow More of This Lovely Native: A Gardener’s Guide to Propagating Sericocarpus linifolius
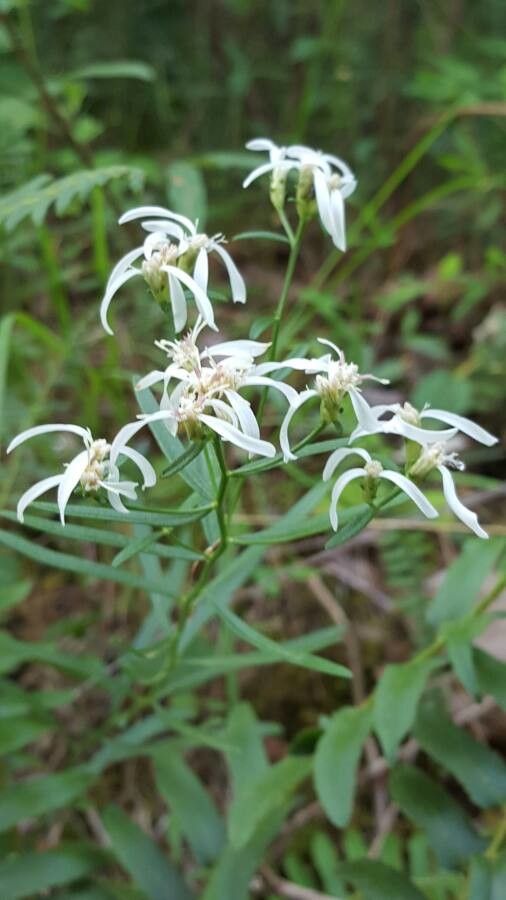
There’s something incredibly satisfying about taking a single plant and coaxing it into several new lives. If you’ve ever admired the delicate, star-like flowers of Sericocarpus linifolius, also known as slender white aster, then I’ve got good news for you: propagating this beauty is totally achievable, and frankly, very rewarding. And don’t let the scientific name fool you, it’s not as fussy as you might think! Even as a beginner, you can definitely get your hands dirty and grow more of these charming natives.
The Best Time to Start
For the highest success rates with Sericocarpus linifolius, I always recommend working with softwood cuttings. The ideal time for this is usually late spring to early summer, just as the new growth is starting to firm up a bit but hasn’t become woody yet. Think of it as taking a cutting from a stem that bends without snapping cleanly. This is when the plant has the most energy to push out roots.
Supplies You’ll Need
Gathering your supplies beforehand makes the whole process smoother. Here’s what I usually have on hand:
- Sharp pruning shears or a clean knife: For taking precise cuttings.
- Rooting hormone powder or gel: This really gives your cuttings a helpful boost.
- Well-draining potting mix: A good blend is key. I often use a mix of peat moss or coco coir with perlite or coarse sand (about a 50/50 ratio). This prevents waterlogging.
- Small pots or seed trays with drainage holes: You don’t need anything fancy.
- Plastic bags or a propagator lid: To create a humid environment.
- Watering can or spray bottle: For gentle watering.
Propagation Methods
The most reliable way I’ve found to propagate Sericocarpus linifolius is through stem cuttings.
- Take Your Cuttings: Using your sharp pruning shears, snip off healthy, non-flowering stems from your parent plant. Aim for cuttings that are about 4-6 inches long. Make the cut just below a leaf node (where a leaf attaches to the stem), as this is where roots tend to form more readily.
- Prepare the Cuttings: Gently remove the lower leaves from the bottom half of each cutting. You want to expose at least two or three leaf nodes.
- Apply Rooting Hormone: Dip the cut end of each prepared cutting into your rooting hormone. Tap off any excess.
- Plant Your Cuttings: Fill your small pots or trays with your well-draining potting mix. Make a small hole with a pencil or your finger and carefully insert the cuttings, ensuring the leaf nodes are buried in the soil. Gently firm the soil around them.
- Create a Humid Environment: Water the soil lightly until it’s moist but not soggy. Then, cover the pots with a plastic bag or propagator lid. This traps moisture and creates the humid microclimate your cuttings need to survive while they root.
The “Secret Sauce” (Pro Tips)
Here are a few things I’ve learned over the years that really make a difference:
- Don’t let the leaves touch the water: If you opt for water propagation (which is possible but I find less reliable for this particular plant), make sure none of the leaves are submerged. They’ll just rot. Keep only the bare stem in the water, and change the water regularly.
- Bottom heat is your friend: While not strictly essential, placing your pots on a gentle heating mat can significantly speed up root formation. It mimics the warmth of spring soil and encourages those roots to get going. Just ensure the mat isn’t too hot – lukewarm is perfect.
Aftercare & Troubleshooting
Once your cuttings have successfully rooted – you’ll usually see new leaf growth within 4-8 weeks – it’s time for a little more attention.
Gently remove the plastic cover or propagator lid to start acclimatizing your new plants to normal humidity. Water them as you would the parent plant, allowing the top inch of soil to dry out between waterings. Keep them in a bright spot, but avoid direct, harsh sunlight for a while; a little dappled shade is ideal.
The most common sign of trouble is rot. If your cuttings turn black and mushy, it’s a sign of too much moisture and not enough air circulation. In this case, it’s probably best to discard them and try again, making sure your soil is well-draining. If they simply fail to root and stay limp, they might not have been healthy to begin with, or the conditions just weren’t quite right. Don’t be disheartened; gardening is often about trial and error.
Happy Propagating!
Watching those tiny roots emerge and then seeing your new Sericocarpus linifolius plants grow is a truly joyful experience. Be patient, give them a good start with the right conditions, and enjoy the garden magic unfold. Happy growing!
Resource: