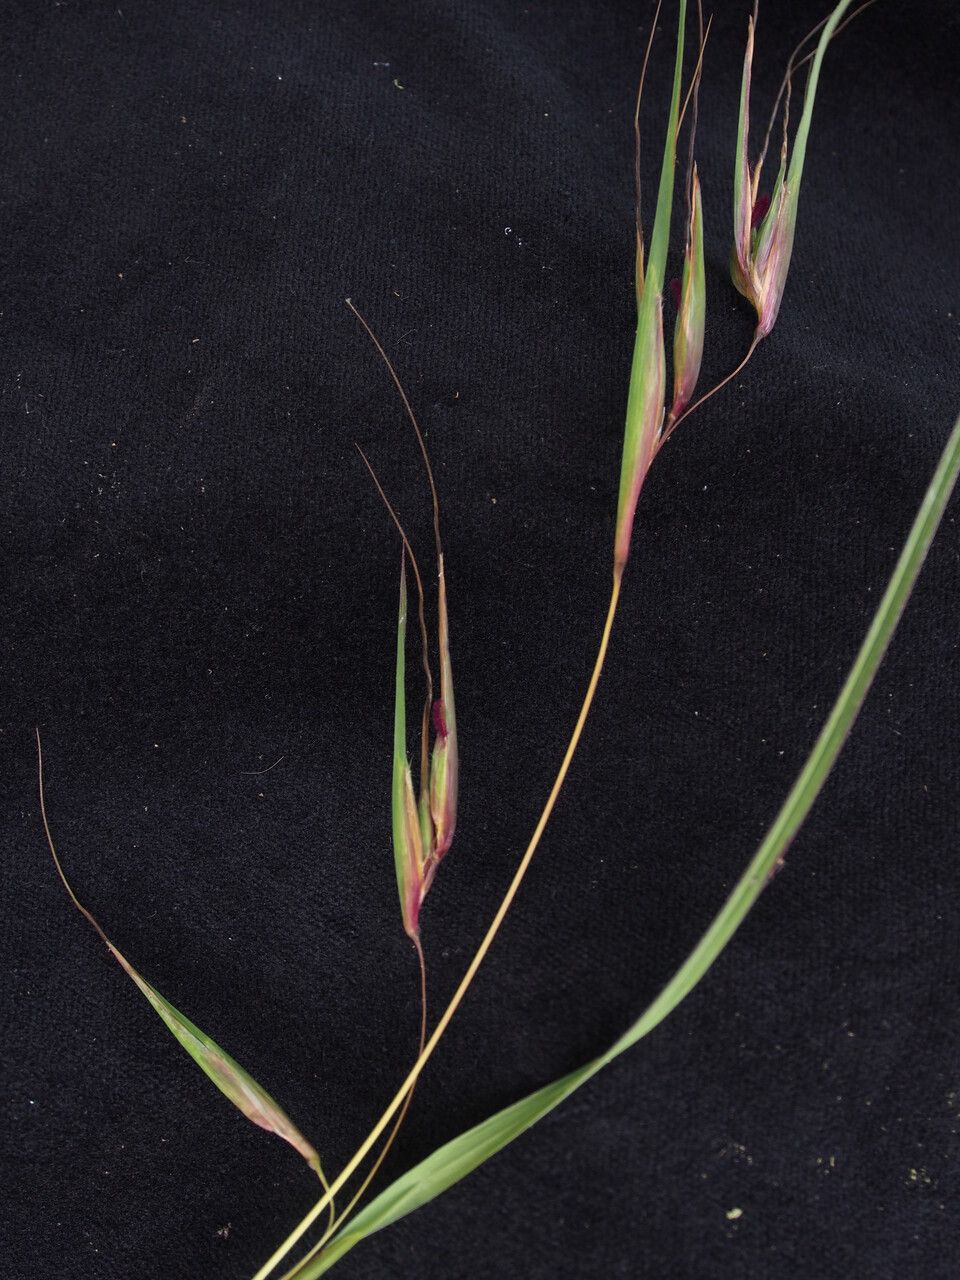
Oh, hello there! Come on in, pull up a chair. Let’s chat about a truly special plant I’ve been nurturing for years: Themeda hookeri. You might know it by its common name, often something like “Kangaroo Grass” or “Hooker’s Kangaroo Grass.” It’s just exquisite, isn’t it? Those delicate, arching leaves, catching the light just so. And the way it dances in the breeze – pure poetry in the garden.
Propagating it felt like a bit of a mystery at first, honestly. It’s not one of those foolproof, beginner weeds you can barely kill. But trust me, with a little patience and the right approach, you can absolutely fill your garden with this beauty, or share it with friends. The satisfaction of watching a tiny clipping transform into a thriving plant is… well, it’s why we do this, isn’t it?
The Best Time to Start
For Themeda hookeri, I’ve found the absolute sweet spot is late spring to early summer. Think of it as the plant hitting its stride, full of vigorous growth and energy. You want to catch it when it’s actively putting out new shoots, not when it’s feeling a bit tired at the end of the season. This is when it has the most “oomph” to push out new roots.
Supplies You’ll Need
Here’s your little toolkit for this adventure:
- Sharp Pruning Shears or a Clean Knife: For making nice, clean cuts.
- Propagating Mix: A light, airy blend. I usually do about 50/50 peat moss and perlite, or you can find specific rooting mixes.
- Small Pots or Trays: Clean ones are a must. Terracotta is lovely for breathability.
- Rooting Hormone (Optional but Recommended): A good powder form is what I prefer.
- Plastic Bags or a Small Greenhouse: To create a humid environment.
- Watering Can with a Fine Rose: For gentle watering.
- Labels: So you don’t forget what you’ve planted!
Propagation Methods
While Themeda hookeri can be divided, my favourite and most consistent method for increasing my stock is through stem cuttings. It’s just so rewarding to see those little roots emerge!
- Select Your Cuttings: On a healthy, actively growing plant, look for softwood cuttings. These are new, green shoots that haven’t started to get woody yet. You want pieces that are about 4-6 inches long.
- Make the Cut: Using your sharp shears or knife, make a clean cut just below a leaf node (that little bump where a leaf joins the stem). This is where roots are most likely to form.
- Prepare the Cutting: Gently remove the lower leaves from the cutting, leaving just a couple of leaves at the very top. This prevents the leaves from rotting in the propagation mix. If your leaves are very large, you can cut them in half to reduce water loss.
- Apply Rooting Hormone (If Using): Dip the cut end of the stem into your rooting hormone, tapping off any excess. This step really gives them a boost.
- Plant Your Cuttings: Fill your small pots with your light propagating mix. Make a small hole in the center of the mix with your finger or a pencil.
- Insert the Cutting: Gently place the prepared cutting into the hole, ensuring the leaf nodes that were just below the removed leaves are covered by the soil. Firm the soil gently around the base of the cutting to ensure good contact.
- Water Gently: Water your cuttings thoroughly but gently. You don’t want to dislodge them.
- Create Humidity: Cover the pots with a plastic bag, propped up with a stick or two so it doesn’t touch the leaves. Alternatively, place them in a small propagation tray with a lid.
The “Secret Sauce”
Now, here are a couple of tricks I’ve learned along the way:
- Bottom Heat is Your Friend: If you can, put your pots on a propagation mat or near a warm, sunny windowsill that gets gentle indirect light. This little bit of warmth from below encourages root development much faster. My cuttings often go on top of the fridge in the kitchen – it’s surprisingly effective!
- Patience with the Leaves: If you choose to do water propagation (which I find less successful for this particular grass, but some people do), absolutely do not let the leaves touch the water. Only the stem should be submerged. I learned that lesson the hard way with a few rotted stems.
Aftercare & Troubleshooting
Once your cuttings are happily settled, keep the propagating mix consistently moist but not soggy. Think of it like a wrung-out sponge. Look for signs of new growth, like tiny new shoots or leaves, which usually indicates roots have formed. This can take anywhere from 4-8 weeks, sometimes longer.
If you notice your cutting turning yellow and looking sad, or developing a fuzzy brown rot, it’s likely too much moisture or not enough light. Sometimes, you just have to toss those and try again. But if you see wilting even though the soil is moist, it often means the cutting hasn’t rooted and is struggling to get water.
Once you see good root development (you might even see roots poking out the drainage holes), it’s time to gradually acclimatise your new plant to normal conditions. Open the plastic bag a little each day for a week, then remove it completely. Then, you can pot them up into their own small pots with a good quality potting mix.
A Little Encouragement
Propagating can feel like a gamble sometimes, and not every attempt will be a roaring success. But that’s the beauty of it! Each time you try, you learn a little more about your plant and your own gardening style. Be patient, enjoy the process of nurturing those tiny beginnings, and soon you’ll have a whole meadow of Themeda hookeri to admire. Happy gardening!
Resource:
https://identify.plantnet.org/k-world-flora/species/Themeda%20hookeri%20(Griseb.)%20A.Camus/data