Oh, hello there! Pull up a chair and let’s chat about one of my favorite springtime delights: Phacelia hirsuta. If you’ve ever seen a patch of these lovely little plants dancing in the breeze, you know exactly why I’m so excited to share this with you.
The Charm of Phacelia hirsuta
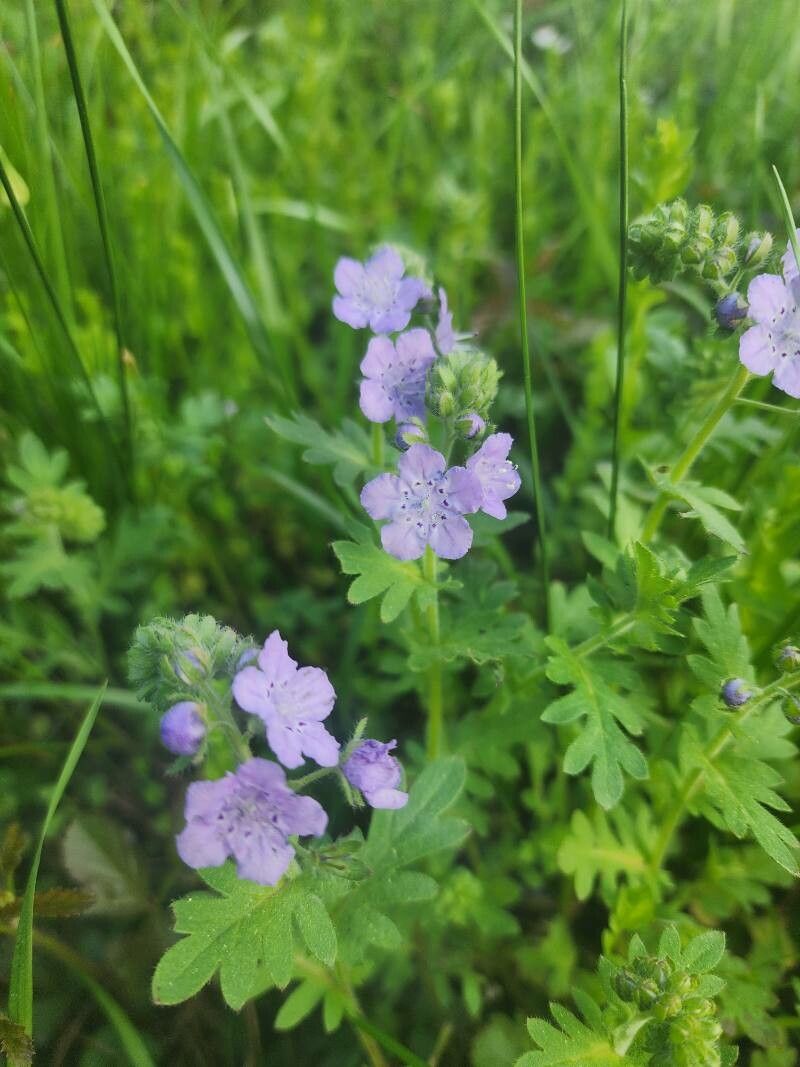
There’s something magical about Phacelia hirsuta. Its delicate, often fuzzy leaves and its charming, bell-shaped flowers, usually in shades of vibrant blue or purple, are a magnet for our buzzy pollinator friends. It’s a wildflower that brings a touch of untamed beauty to any garden, and honestly, watching bees and butterflies flock to it is pure joy. And the best part? Propagating it is a wonderfully rewarding endeavor, and I think you’ll find it’s quite achievable, even for those of you just dipping your toes into the world of gardening.
When is the Best Time to Start?
For Phacelia hirsuta, timing is everything. The sweet spot for propagation is late spring to early summer. This is when the plant is actively growing and has plenty of energy to put into developing new roots. You can often get away with collecting cuttings just after it finishes its main bloom, but aiming for that active growth phase will give you the best odds for success.
Gathering Your Tools
Before we dive in, let’s make sure we have everything we need. It’s always better to be prepared!
- Clean, sharp pruning shears or scissors: Essential for taking clean cuts.
- Small pots or trays: 3-4 inch pots are usually perfect.
- Well-draining potting mix: I like a blend of peat moss or coir with perlite or coarse sand. You want to avoid anything that holds too much moisture.
- Rooting hormone (optional but helpful): A powder or gel can give your cuttings a nice boost.
- Plastic bag or propagation dome: This helps create a humid microclimate.
- Watering can with a fine rose: For gentle watering.
Spreading the Phacelia Love: Propagation Methods
Here in my garden, I find the easiest and most successful way to propagate Phacelia hirsuta is through stem cuttings. It’s pretty straightforward and gives you a good chance of success.
- Collect Your Cuttings: On a slightly overcast morning (this reduces stress on the plant), select healthy, non-flowering stems. Look for stems that are roughly 4-6 inches long. Using your sharp shears, make a clean cut just below a leaf node (where a leaf attaches to the stem).
- Prepare the Cuttings: Gently remove the lower leaves from the bottom half of the stem. You want to expose at least one or two leaf nodes. If you’re using rooting hormone, dip the cut end into the powder or gel now.
- Planting Time: Fill your small pots with your moistened potting mix. Make a small hole in the center of each pot with your finger or a pencil.
- Insert the Cuttings: Carefully place the prepared cuttings into the holes, ensuring that at least one leaf node is buried beneath the soil surface. Gently firm the soil around the stem to ensure good contact.
- Create Humidity: Water the pots gently to settle the soil. Then, cover each pot with a clear plastic bag or place them under a propagation dome. This is crucial for keeping the humidity high, which helps prevent the cuttings from drying out before they can root.
- Find a Cozy Spot: Place your potted cuttings in a bright location but out of direct sunlight. A windowsill that gets indirect light is often ideal.
The “Secret Sauce”: Insider Tips for Success
Now, here are a couple of my personal tricks that have made a world of difference for me:
- The Water Trick for Cuttings: If you’re tempted to try rooting in water (though I find soil to be more reliable for Phacelia), make sure no leaves are submerged in the water. Any leaves sitting in the water will likely rot, and that’s a quick way to lose your cutting. Just the bare stem should be in contact with the water.
- A Warm Foundation: Phacelia cuttings absolutely love a little warmth from below. If you have one, placing your pots on a heated propagation mat can significantly speed up root development. It mimics the warmth of the soil in spring and really encourages those roots to get going.
Aftercare and What to Watch For
Once your cuttings have roots, it’s time for a little extra TLC. You’ll know they’re rooting when you see new leaf growth or gently tug on a cutting and feelresistance.
- Gradual Acclimatization: Once roots have formed and new growth is visible, slowly start to reduce the humidity. Over a few days, poke a few holes in the plastic bag, then lift it off for longer periods. This helps the new plant adjust to normal room humidity.
- Gentle Watering: Keep the soil consistently moist but not waterlogged. Overwatering is the quickest way to invite rot, and no one wants that!
- Signs of Trouble: The most common enemy is rot. If your cutting looks limp, mushy, or has turned black at the base, it’s likely rot. This is often due to too much moisture and not enough air circulation. If you see this, sadly, you’ll need to discard it and try again. Another sign of distress can be wilting, which usually means it’s drying out too quickly.
Be Patient, My Friend
Propagating plants is a bit like watching a seed grow – it takes time and a good dose of patience. Don’t be discouraged if your first few attempts aren’t perfect. Every gardener learns through trial and error, and the satisfaction of seeing your own little Phacelia hirsuta sprout and thrive is absolutely worth it. So, grab your shears, get your hands a little dirty, and enjoy the process of growing more of these beauties! Happy gardening!
Resource:
https://identify.plantnet.org/k-world-flora/species/Phacelia%20hirsuta%20Nutt./data