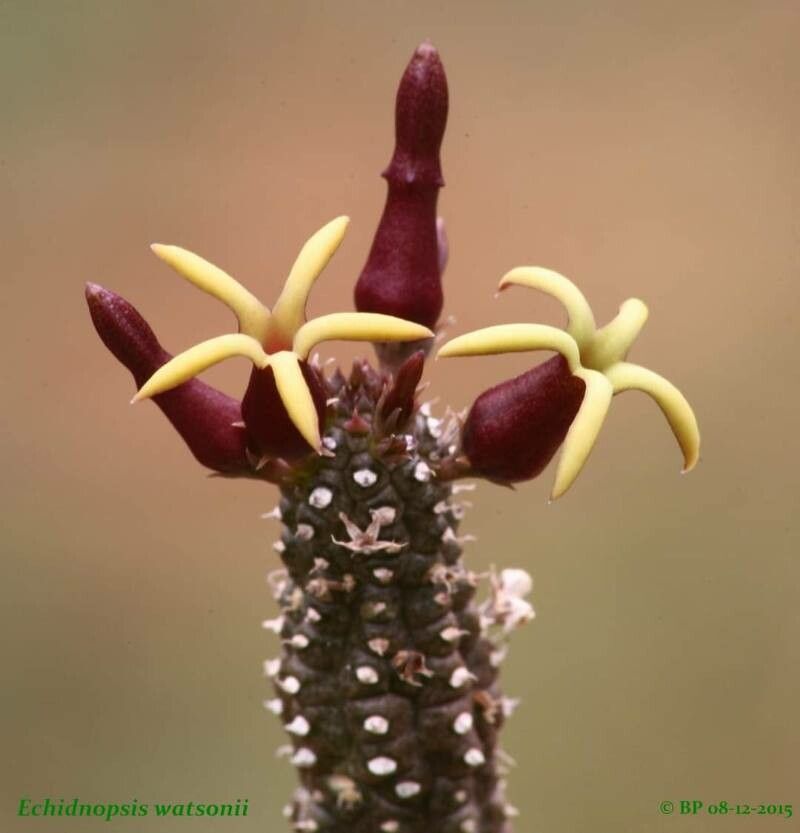
Hello there, fellow plant enthusiasts! Today, we’re diving into the wonderful world of propagating Echidnopsis watsonii. If you haven’t met this little gem, imagine a charming, fuzzy succulent with delicate star-shaped flowers that often surprise you with their beauty. It’s a true delight to have in any collection, and I’ve found that sharing its joy by propagating it is incredibly rewarding. For beginners, I’d say Echidnopsis watsonii is moderately easy, but with a few key tricks up your sleeve, you’ll be a pro in no time.
The Best Time to Start
My experience tells me that spring and early summer are your golden windows for propagation. This is when the plant is actively growing and has the most energy to put into developing new roots. Starting propagation when the days are getting longer and warmer just seems to give cuttings a better start. Avoid trying this when the plant is stressed from extreme heat or cold.
Supplies You’ll Need
Here’s what I always have on hand:
- Well-draining potting mix: I often use a cactus and succulent mix and then add a bit more perlite or pumice to it. You want good airflow around those developing roots.
- Sharp pruning shears or a clean knife: Sterilized, always! This prevents disease.
- Rooting hormone (optional but helpful): A powder or liquid can give your cuttings a little boost.
- Small pots or trays: Clean ones, of course.
- Labels: To remember what you’ve propagated and when!
- Watering can with a fine rose or a spray bottle: Gentle watering is key.
Propagation Methods
There are a couple of ways to go about this, and I find stem cuttings to be the most reliable for Echidnopsis watsonii.
Stem Cuttings:
- Locate healthy growth: Look for a stem that is at least a few inches long and looks plump and green.
- Make the cut: Using your sterilized shears or knife, make a clean cut just above a node (where a leaf or side shoot emerges).
- Let it callus: This is a crucial step for succulents! Place the cutting in a dry, well-ventilated spot, out of direct sunlight, for 2-7 days. You want the cut end to dry and form a protective callus. This stops rot from setting in.
- Prepare the pot: Fill your small pot with your prepared well-draining mix.
- Plant the cutting: Once callused, you can lightly dip the cut end in rooting hormone if you’re using it. Then, simply insert the callused end about an inch deep into the soil. Gently firm the soil around it.
- Initial watering: Wait a day or two after planting before giving it its first, very light watering. You want the soil to be barely moist, not soggy.
The “Secret Sauce” (Pro Tips)
Now, for a little insider knowledge!
- Don’t overwater early on: This is probably the most common mistake. New cuttings are susceptible to rot. Think of it as a gentle encouragement to seek out moisture, not a soaking. I usually wait until I see the soil surface is dry before watering again.
- Warmth helps immensely: If you have a propagation mat or can place your pot somewhere consistently warm (but not hot), it truly speeds up root development. Think of it as giving your little cutting a cozy spot to get established.
- Don’t overcrowd: Give your cuttings a bit of space in their pots or trays. Good air circulation around them is a big help in preventing fungal issues.
Aftercare & Troubleshooting
Once you start seeing signs of new growth or feel a gentle tug when you lightly pull on the cutting, you know roots are forming!
- Gradual watering: As roots develop, you can gradually increase the frequency and amount of watering, but always ensure the soil dries out between waterings.
- Bright, indirect light: Move your new plant to a spot with plenty of bright, indirect light. Avoid intense, hot sun as it can scorch delicate new growth.
- Signs of failure: The biggest culprit is rot. If your cutting turns dark, mushy, or just looks sad and withered when it should be plumping up, it’s likely rot. This usually means it got too much water and not enough air circulation. Unfortunately, if rot sets in, it’s often game over for that cutting. Another sign is if the cutting shrivels up completely. This can mean it just didn’t have enough stored energy to root or that it dried out too quickly.
Encouraging Closing
Propagating plants is a journey, and sometimes there are more lessons learned than successes. But with Echidnopsis watsonii, the effort is so worth it for those charming blooms. Be patient, enjoy the simple act of nurturing new life, and savor the satisfaction when your little cuttings flourish. Happy propagating!
Resource:
https://identify.plantnet.org/k-world-flora/species/Echidnopsis%20watsonii%20P.R.O.Bally/data