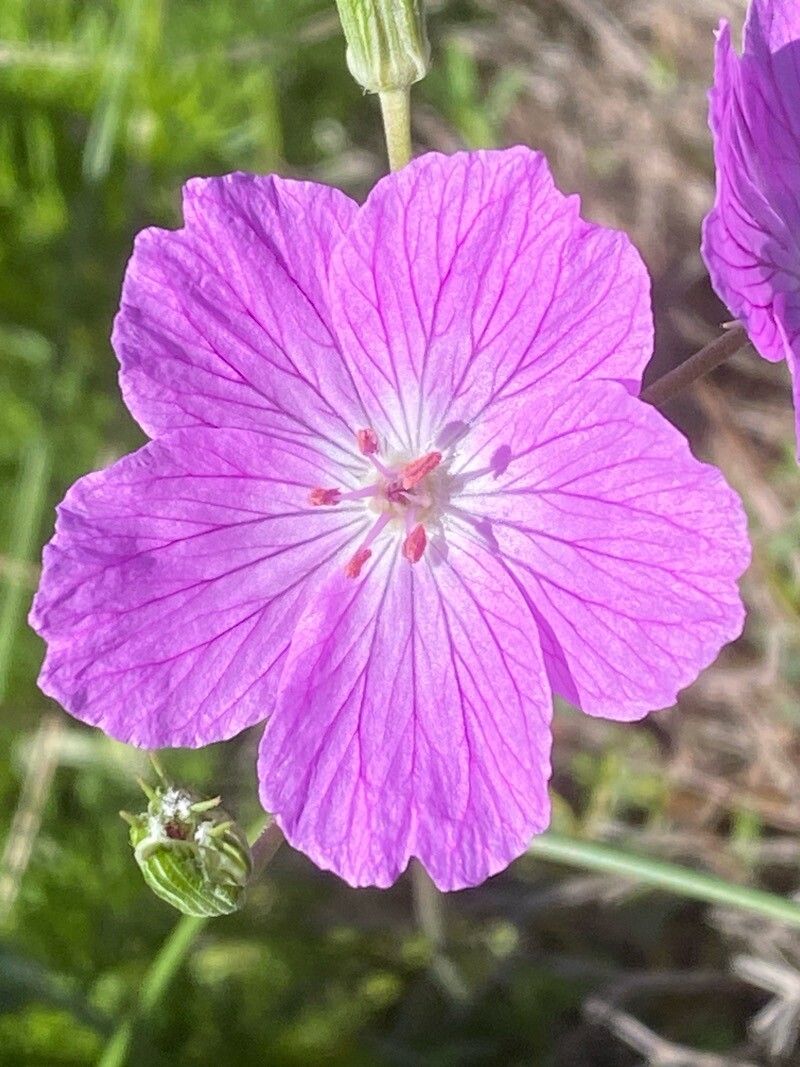
Hey there, fellow garden enthusiasts! Today, I want to chat about a gem that’s captured my heart over the years: Erodium rodiei. If you’re looking for a delicate beauty with lovely, often pink or purplish, delicate flowers that dance in the breeze, you’re in for a treat. It’s a relatively unfussy plant once established, and the joy of nurturing a new life from a tiny piece of your established favorite is truly something special. For those just dipping their toes into the world of propagation, I’d say Erodium rodiei falls into the moderately easy category. With a little patience and these tips, you’ll be well on your way!
The Best Time to Start
For Erodium rodiei, my go-to time to begin propagating is during the late spring or early summer, just as the plant is really hitting its stride. You want to work with healthy, actively growing stems, not those that are old and woody, or brand new and delicate. This is when they have the most energy for rooting.
Supplies You’ll Need
Gathering your supplies beforehand makes everything so much smoother! Here’s what I always have on hand:
- Sharp pruning shears or a clean craft knife: For making precise cuts.
- Rooting hormone (optional but recommended): I usually opt for a gel form.
- Well-draining potting mix: A blend of potting soil, perlite, and coarse sand works wonders. Think “chunky” and airy.
- Small pots or seed trays: Cleaned thoroughly.
- Clear plastic bags or a propagator lid: To create a humid environment.
- Watering can with a fine rose or mister: For gentle watering.
- Labels: To keep track of your precious cuttings!
Propagation Methods
While there are a few ways to go, I find that stem cuttings are the most reliable and rewarding method for Erodium rodiei.
Stem Cuttings:
- Take Cuttings: Early in the morning, when the plant is turgid, select a healthy, non-flowering stem. Using your sharp shears or knife, make a clean cut just below a leaf node (where a leaf attaches to the stem). You’re aiming for cuttings that are about 3-4 inches long. Remove any lower leaves, leaving just a few at the top to prevent excessive moisture loss.
- Prepare the Cuttings: If you’re using rooting hormone, dip the cut end of each stem into the powder or gel, tapping off any excess.
- Plant the Cuttings: Fill your small pots with the well-draining potting mix. Make a small hole with your finger or a pencil, and gently insert the hormone-treated end of the cutting. Firm the soil gently around the stem.
- Water and Cover: Water the soil thoroughly but gently. Then, cover the pot with a clear plastic bag or a propagator lid to maintain high humidity. This is crucial!
The “Secret Sauce” (Pro Tips)
Here are a few little tricks I’ve picked up that really boost success:
- My absolute favorite tip for cuttings is “Don’t let the leaves touch the water or damp soil.” When you water, ensure the leaves stay above the soil line. If they sit in moisture, they’ll just rot before they can root.
- While Erodium rodiei isn’t as fussy as some, giving your cuttings a gentle misting with water daily inside their humid environment can be a lifesaver, especially if your home is on the drier side.
- If you have one, a little bottom heat from a propagator mat can significantly speed up root development. It’s not strictly necessary, but it’s a nice boost!
Aftercare & Troubleshooting
Once your cuttings have been planted, place them in a bright location out of direct, scorching sunlight. Keep the soil consistently moist but not waterlogged. You’re looking for the first signs of new growth, which usually indicates that roots have formed. This can take anywhere from 3 to 6 weeks, so be patient!
The most common sign of failure is wilting and browning leaves, or the stem turning mushy and dark. This usually signals rot, often caused by too much moisture and not enough air circulation. If you see this, it’s likely the cutting won’t recover. On the flip side, if you see a little bit of new leaf development, that’s your cue to slowly start acclimating them to the open air. Gradually lift the plastic bag for a few hours each day over a week or so before removing it entirely.
A Little Encouragement
Propagating plants is such a fulfilling part of gardening. It teaches you patience and observation. Don’t be discouraged if your first attempt isn’t perfect – gardening is all about learning and adapting. Enjoy the process of coaxing new life from your beloved Erodium rodiei, and soon you’ll be sharing these beauties with friends! Happy growing!
Resource:
https://identify.plantnet.org/k-world-flora/species/Erodium%20rodiei%20(Braun-Blanq.)%20Poirion/data