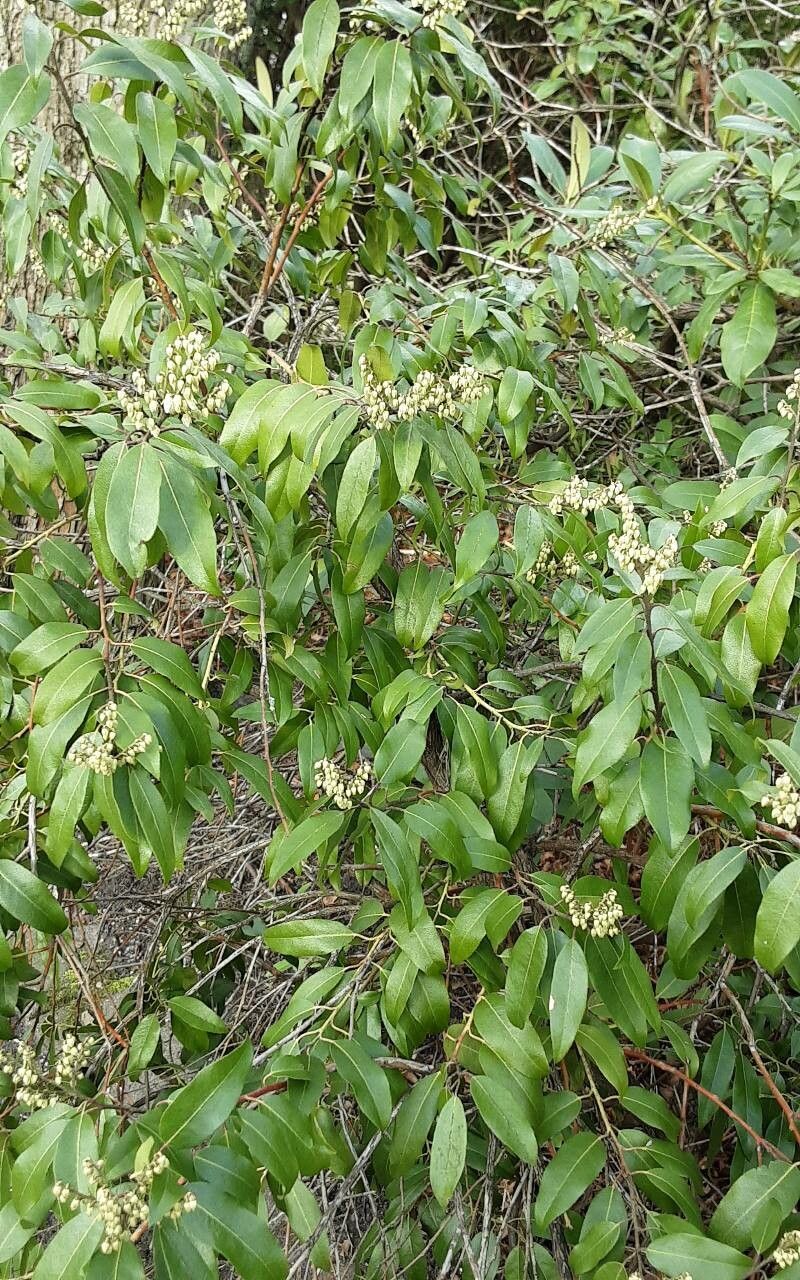
Hello fellow plant lovers! Today, we’re going to dive into the wonderful world of Pieris floribunda, also known as mountain pieris or mountain andromeda. I absolutely adore this evergreen shrub. Its cascading clusters of white, bell-shaped flowers in late winter and early spring are a true delight, especially when everything else is still asleep. The glossy, dark green leaves provide evergreen interest year-round, and the new growth often has a lovely reddish tint.
Propagating Pieris floribunda can feel a bit daunting at first. It’s not quite as straightforward as some common houseplants, but trust me, with a little patience and the right approach, it’s absolutely achievable and incredibly rewarding. Seeing a tiny slip of a plant grow into a beautiful specimen you started yourself? Pure magic!
The Best Time to Start
For the highest success rate with Pieris floribunda, I find that late spring to early summer is your prime time. This is when the plant is actively growing, and you can take semi-hardwood cuttings. These cuttings are just firm enough to hold their shape but still flexible and full of youthful vigor, making them more receptive to rooting.
Supplies You’ll Need
Gathering your supplies beforehand makes the whole process smoother. Here’s what I recommend:
- Sharp Pruning Shears or a Sharp Knife: For clean cuts, which are essential.
- Rooting Hormone: A powder or gel specifically for woody plants.
- Small Pots or Trays: With drainage holes, of course!
- A Well-Draining Potting Mix: I like to use a blend of peat moss or coco coir, perlite, and a bit of compost. A good general-purpose potting mix amended with perlite works well too.
- Plastic Bags or a Clear Dome: To create a humid environment for your cuttings.
- A Small Watering Can or Spray Bottle: For gentle watering.
- Optional: Bottom Heat Mat: This can significantly speed up rooting.
Propagation Methods
While you can try water propagation for some plants, stem cuttings are my go-to for Pieris floribunda. It offers the best chance of establishing a healthy root system from the get-go.
Stem Cuttings:
- Select Your Cuttings: On a healthy Pieris floribunda plant, look for new growth that has started to firm up. You’re aiming for stems that are pliable but no longer floppy green. They should be about 4-6 inches long. Pinch off any flowers or flower buds; we want all the plant’s energy to go into rooting.
- Prepare the Cuttings: Using your sharp shears or knife, make a clean cut just below a leaf node (where a leaf joins the stem). Remove the leaves from the bottom half of the cutting. This is important to prevent them from rotting in the soil and to encourage rooting from the nodes.
- Apply Rooting Hormone: Dip the bottom, de-leafed end of each cutting into your rooting hormone, tapping off any excess.
- Plant Your Cuttings: Fill your pots or trays with your prepared, moistened potting mix. Make a small hole with a pencil or your finger, and insert the cutting. Gently firm the soil around the stem.
- Create Humidity: Water the cuttings gently. Then, cover the pots with a clear plastic bag (supported with stakes if needed so it doesn’t touch the leaves) or place them under a clear dome. This traps moisture and creates that crucial humid microclimate.
- Provide Light and Warmth: Place the pots in a location that receives bright, indirect light. Avoid direct sun, which can scorch the young cuttings. If you have a bottom heat mat, now is the time to use it – it can really make a difference!
The “Secret Sauce” (Pro Tips)
Over the years, I’ve learned a few things that really seem to nudge these cuttings in the right direction.
- Don’t Over-Water, But Keep Them Consistently Moist: This is a delicate balance. You want the soil to feel like a wrung-out sponge – moist but not soggy. Soggy soil is the fastest way to invite rot, which is the enemy of successful propagation. I often check by gently pressing the soil.
- Bottom Heat is Your Friend: Seriously, if you can swing it, a gentle bottom heat mat can dramatically speed up root development. It mimics the warmth of the soil in summer and encourages those roots to form much more quickly. Just make sure it’s not too hot – think lukewarm bath water, not boiling.
- Air Circulation is Key: While you want to maintain humidity, don’t seal the bag completely airtight all the time. Every few days, I like to lift the bag for a few minutes to allow for some air exchange. This helps prevent fungal issues.
Aftercare & Troubleshooting
You’ll know your cuttings are happy when you start to see new leaf growth appearing. This is usually a good sign that roots are forming. Gently tugging on a cutting is not the best test (you can damage developing roots!), but if it resists slightly, that’s promising. Another way is to look for roots emerging from the drainage holes.
Once you see signs of rooting, you can gradually acclimate them to lower humidity by opening the bag or dome a little more each day. When they’re actively growing, you can transplant them into individual pots. Continue to keep them in bright, indirect light and water when the top inch of soil feels dry. They’ll likely need a year or two to reach a decent size before you consider planting them in the garden.
The most common issue you’ll encounter is rot. If you see your cuttings turning black and mushy, it’s usually due to too much moisture and poor air circulation. Unfortunately, if this happens, it’s best to discard them, clean your pots, and start again, learning from what went wrong.
A Encouraging Closing
Propagating Pieris floribunda takes a bit of dedication, but the satisfaction of creating new plants from your own is immense. Be patient with the process. Don’t get discouraged if your first attempt isn’t a roaring success – gardening is all about learning and experimenting. So grab your shears, get your hands dirty, and enjoy the journey of growing your own beautiful mountain andromedas! Happy propagating!
Resource: