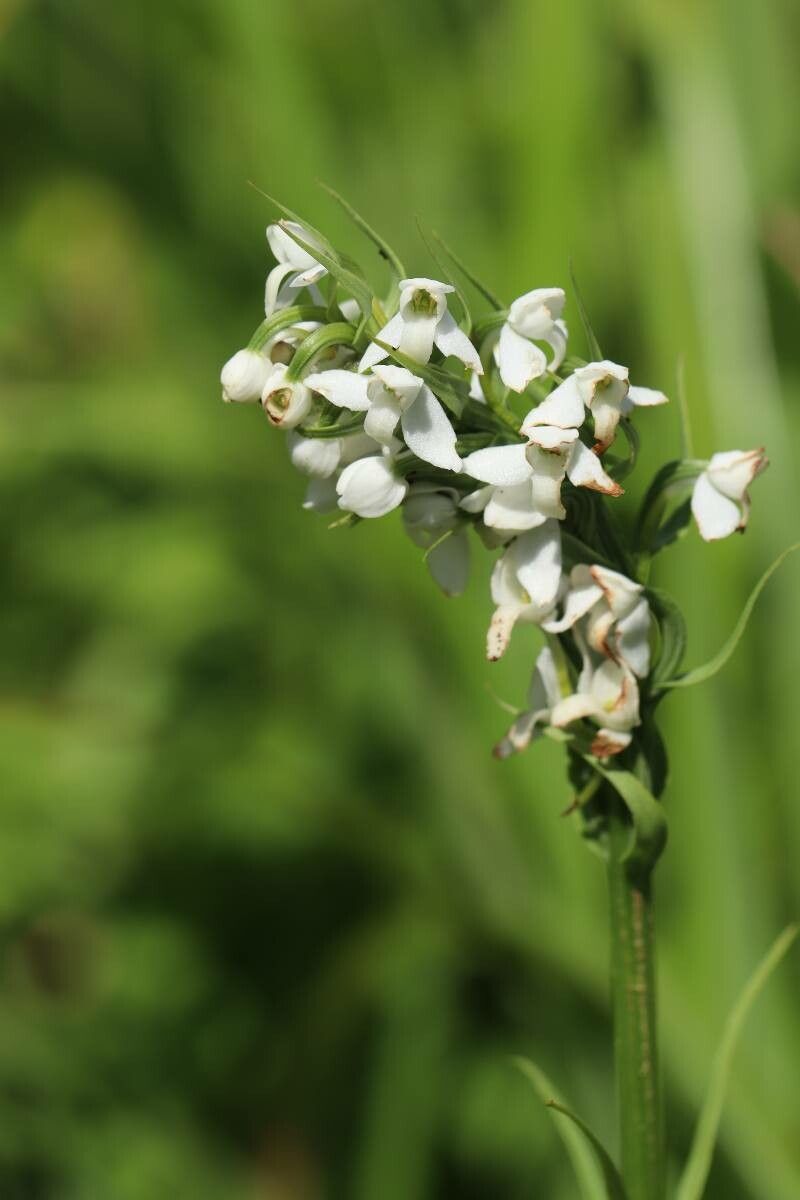
Hello fellow plant lovers! Today, we’re diving into the wonderful world of propagating Platanthera hologlottis. If you’re not familiar with this beauty, imagine delicate, star-shaped flowers, often in shades of white or pale green, that can bring a touch of woodland magic to your garden. Growing them from seed can be a bit of a journey, but propagating existing plants? That feels like unlocking a garden secret. It’s incredibly satisfying to watch a piece of a plant you already cherish grow into a whole new specimen. Now, I’ll be honest, Platanthera hologlottis isn’t the absolute easiest plant for a complete beginner to propagate. It likes specific conditions, but with a little careful attention, you can absolutely succeed!
The Best Time to Start
For Platanthera hologlottis, the sweet spot for propagation is typically late spring or early summer, right after the plant has finished flowering but before it starts to die back for its dormancy period. You’re looking for actively growing shoots or the development of new offsets. This is when the plant has the most energy stored to push out new roots. Trying to propagate too early, when it’s still focused on blooming, or too late, when it’s winding down, can significantly reduce your chances of success.
Supplies You’ll Need
Here’s what you’ll want to have on hand:
- Sharp, sterile pruning shears or a clean knife: For making precise cuts.
- A well-draining potting mix: I like a blend of orchid bark, perlite, and a bit of coco coir for these types of plants. You want it airy and moisture-retentive, but not soggy.
- Small pots or trays: Clean ones, of course!
- Rooting hormone (optional but helpful): A powder or gel can encourage faster root development.
- A spray bottle: For misting.
- Labels and a marker: To keep track of what you’ve propagated and when.
- Gloves (optional): If you have sensitive skin.
Propagation Methods
Platanthera hologlottis is best propagated through division. This means separating naturally occurring offsets or plantlets from the mother plant.
- Gently Unpot: Carefully remove the mother plant from its current pot. It’s best to do this when the soil is slightly moist, not bone dry or soaking wet. This makes it easier to handle and reduces stress on the roots.
- Examine the Base: Look for any smaller, distinct sections that are already forming their own root systems. These are your potential new plants! You might see them nestled around the base of the main plant.
- Make Your Cut: Using your sharp, sterile shears, carefully cut through the connecting tissue that joins the offset to the mother plant. Ensure that the offset you remove has its own roots. If it doesn’t, it’s likely too young to survive on its own.
- Potting Up: Fill your clean pots with your prepared potting mix. Make a small hole in the center of the soil and gently place the base of your divided offset into it.
- Secure and Water: Firm the soil gently around the base of the offset, ensuring it’s stable. Then, give it a light watering. You don’t want to drown it.
The “Secret Sauce”
Here are a couple of things I’ve learned over the years that make a big difference:
- Don’t Overwater New Divisions: This is crucial for orchids and similar plants. They are susceptible to rot. Water thoroughly once after potting, and then wait until the potting mix is nearly dry before watering again. A light misting can help keep humidity up without waterlogging.
- Consider a “Healing” Period: After dividing, I often let my new divisions sit in a bright, indirect light spot for a few days before their first proper watering. This allows any small cuts or nicks on the roots or base to callus over, reducing the risk of infection.
Aftercare & Troubleshooting
Once your Platanthera hologlottis offsets are potted, place them in a spot with bright, indirect light. Avoid direct sun, which can scorch delicate new growth. Keep the soil consistently moist but not waterlogged. You should see signs of new growth – tiny leaves or a tentative flower spike – within a few weeks to a couple of months.
The most common sign of failure is rot. If you notice your division becoming mushy, dark, or developing a foul smell, it’s likely due to too much moisture. Unfortunately, if rot sets in, it’s often difficult to save. This is why proper drainage and careful watering are so important. Wilting can also occur if the plant is too dry or experiencing transplant shock. Make sure the roots are making contact with the soil and misting lightly can help.
A Encouraging Closing
Propagating plants is an act of patience and hope. There’s a unique joy in nurturing a tiny piece of a plant into something vibrant and new. Don’t be discouraged if your first attempt isn’t perfect. Each plant, and each propagation, is a learning experience. Keep watching, keep caring, and enjoy the process of multiplying the beauty in your garden. Happy growing!
Resource:
https://identify.plantnet.org/k-world-flora/species/Platanthera%20hologlottis%20Maxim./data