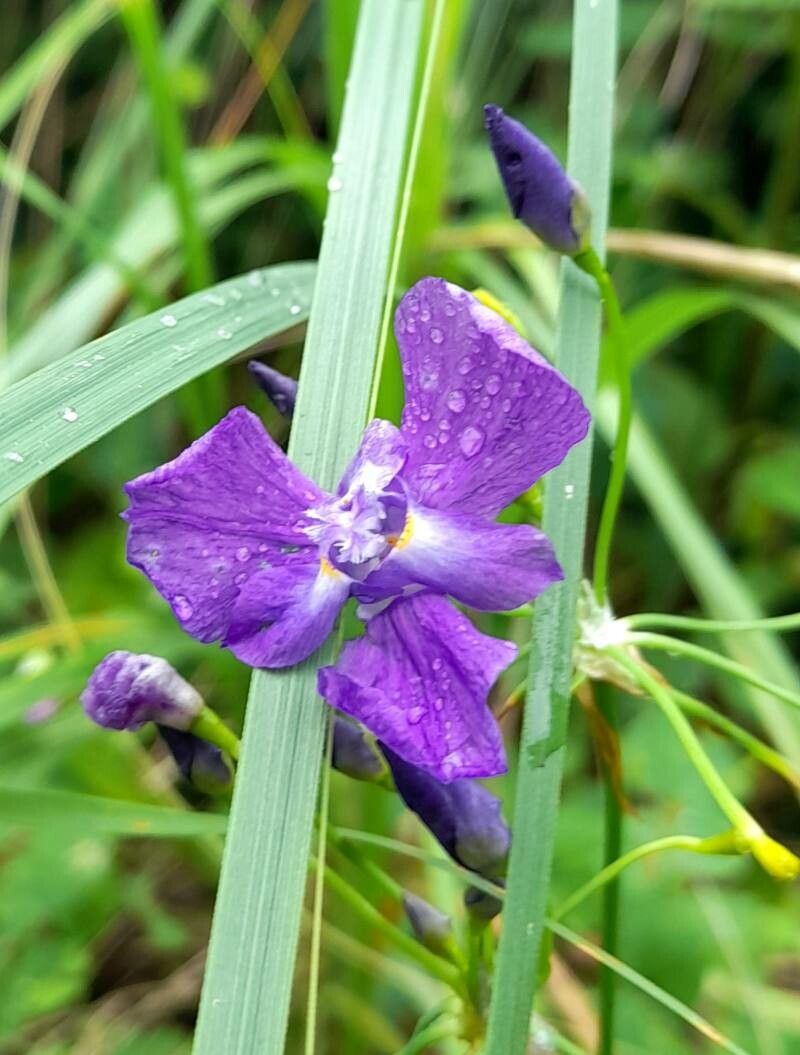
Hello there, fellow plant lovers! If you’re anything like me, you’ve probably fallen head over heels for the charm of Ennealophus fimbriatus. This special orchid, with its delicate, fringed blooms, truly is a showstopper. Imagine the satisfaction of creating more of these beauties from your very own plants! I’m here to guide you through the process, and while it takes a little care, it’s absolutely achievable, even for those of you who are just starting to explore the wonderful world of orchid propagation.
The Best Time to Start
For Ennealophus fimbriatus, the sweet spot for propagation is usually in late spring to early summer. This is when the plant is actively growing after its blooming period, and its energy is all about putting out new shoots and roots. You’ll have the best chance of success if you start when the plant is healthy and showing vigorous new growth.
Supplies You’ll Need
Gathering your tools before you begin makes everything so much smoother. Here’s what I always have on hand:
- Sharp, sterilized pruning shears or a clean razor blade.
- A well-draining potting mix. For orchids, a bark-based mix is usually best, perhaps with a bit of perlite for extra aeration.
- Small terracotta or plastic pots (think 3-4 inch size).
- Rooting hormone (optional, but can give an extra boost).
- A spray bottle filled with clean water.
- A label and waterproof marker to keep track of your new creations!
Propagation Methods
The most reliable way to propagate Ennealophus fimbriatus is through division. This orchid doesn’t readily produce keikis (baby plantlets) in the same way some other orchids do, so dividing the pseudobulbs is your best bet.
Here’s how I do it:
- Gently Unpot: Carefully remove your Ennealophus fimbriatus from its current pot. It’s a good idea to do this when the potting medium is slightly dry, making it easier to loosen.
- Inspect the Roots: Gently tease away the old potting mix from the roots. You’re looking for the pseudobulbs, which are the swollen, stem-like structures at the base of the plant. You want to divide the plant into sections that have at least two or three healthy pseudobulbs and some good roots attached.
- Make the Cut: Using your sterilized shears or razor, make a clean cut between the sections you want to divide. Ensure each section has enough of its own root system to survive and grow. If some roots are damaged, don’t worry too much, but try to preserve as many healthy ones as possible.
- Pot Them Up: Fill your new pots with your chosen orchid mix. Place each divided section into its own pot, positioning it so the base of the pseudobulbs is at the soil level. Gently firm the mix around the roots.
- Initial Watering: Water your newly potted divisions thoroughly. This helps settle the potting mix around the roots.
The “Secret Sauce” (Pro Tips)
Over the years, I’ve learned a few tricks that make a real difference. Here are a couple of my favorites for orchid propagation:
- Don’t Overwater Initially: After dividing, the new sections have to rely on their existing roots. It’s tempting to drench them, but a little restraint is key. Water thoroughly right after potting, but then wait until the mix feels almost dry before watering again. This encourages the roots to seek out moisture and grow stronger. Overwatering at this stage is a fast track to rot.
- Mimic Their Natural Environment: Ennealophus fimbriatus appreciates good air circulation. When you’ve just potted your divisions, avoid stuffing them into a humid greenhouse without any airflow. A bright spot with gentle air movement will help prevent fungal issues and promote healthy root development.
Aftercare & Troubleshooting
Once your divisions are potted, place them in a bright spot with good indirect light, away from harsh sun. Keep them consistently moist but not soggy. You can start a very dilute feeding schedule once you see signs of new growth, usually after a few weeks.
Now, what if things don’t go perfectly? The most common issue you’ll encounter is rot. This usually looks like mushy, browning pseudobulbs or roots. It’s almost always a sign of too much moisture combined with poor air circulation. If you see rot, you may need to unpot the plant, trim away the infected parts with your sterilized tools, and repot into fresh, dry mix.
Another sign that things aren’t happy is if the pseudobulbs start to shrivel significantly. This can indicate either not enough water or that the roots haven’t established well enough to draw moisture from the potting mix. Double-check your watering routine and ensure the light levels are appropriate.
A Encouraging Closing
Propagating orchids like Ennealophus fimbriatus is a journey, and like all good journeys, there will be ups and downs. Be patient with your new plants. Sometimes it takes them a while to settle in and show you they mean business with new growth. Enjoy the process of nurturing something new, and soon you’ll have more of these incredible blooms to share or simply to enjoy yourself. Happy propagating!
Resource:
https://identify.plantnet.org/k-world-flora/species/Ennealophus%20fimbriatus%20Ravenna/data