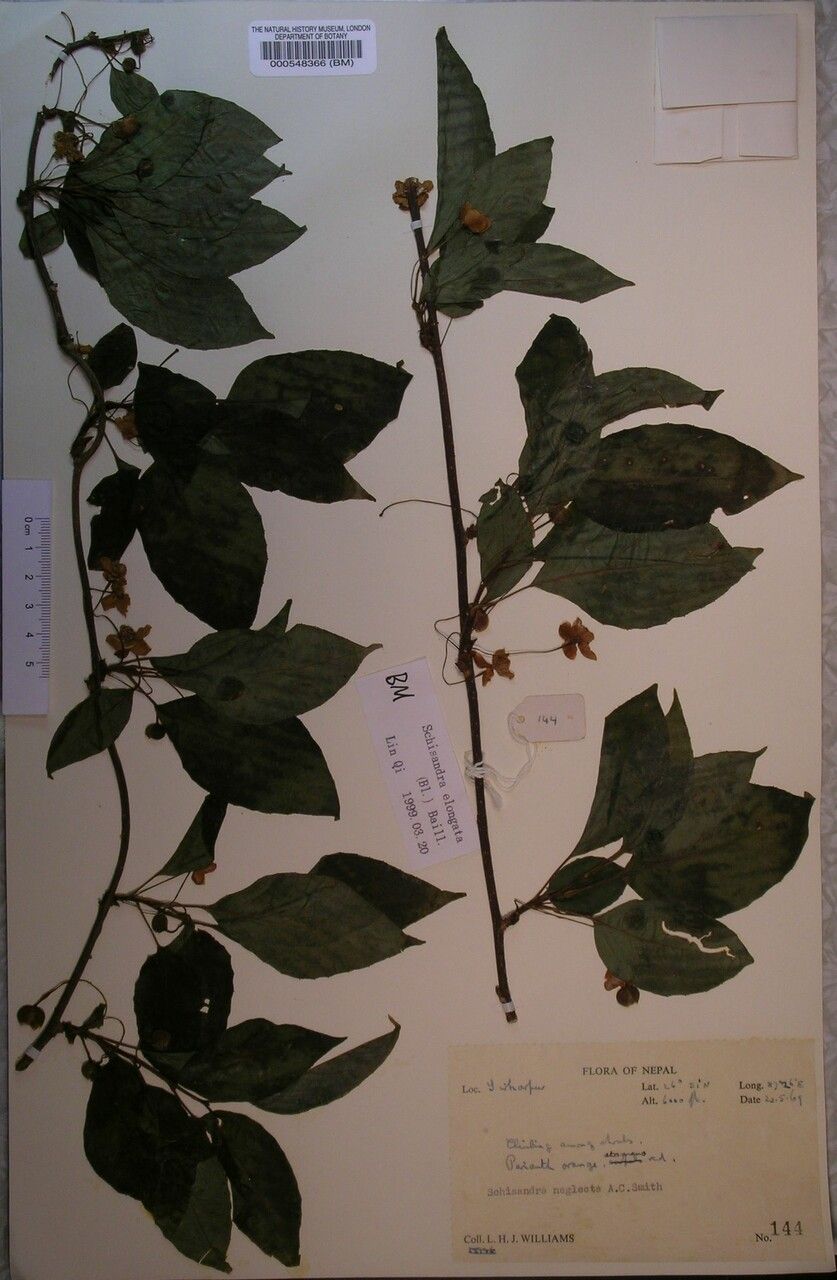
Hello, fellow plant lovers! Today, we’re diving into the delightful world of Schisandra neglecta, often called the “five-flavor berry” for its taste sensations. This vine is a real gem a bit of a hidden treasure, really. It offers beautiful, fragrant flowers and, if you’re lucky, those intriguing berries. Growing your own from scratch is incredibly rewarding, letting you expand your collection or share the magic with friends. Now, for the honest truth: Schisandra neglecta can be a little bit of a diva when it comes to propagation. It’s not the absolute easiest plant for a complete beginner, but with a bit of patience and following these steps, you can absolutely achieve success. Think of it as a rewarding challenge, not an insurmountable obstacle.
The Best Time to Start
When should you get your hands dirty? For Schisandra neglecta, the sweet spot is generally late spring to early summer. This is when the plant is actively growing, and its stems have started to mature but aren’t fully woody yet. You’re looking for semi-hardwood cuttings. These are stems that were once soft and green but have begun to firm up. They have a better balance of flexibility and resilience, making them perfect for rooting.
Supplies You’ll Need
Gathering your tools is half the battle! Here’s what I recommend having on hand:
- Sharp, clean pruning shears or a sharp knife: Essential for getting clean cuts.
- Rooting hormone (powder or gel): This really gives your cuttings a boost.
- A well-draining potting mix: I like a blend of perlite, peat moss, and a bit of coarse sand. Avoid heavy garden soil.
- Small pots or a propagation tray: Clean containers are key to preventing disease.
- Plastic bags or a propagator lid: To keep humidity high around your cuttings.
- Optional: Bottom heat mat: This can significantly speed up rooting by keeping the soil warm.
- Watering can or spray bottle: For gentle watering.
Propagation Methods: Stem Cuttings
This is generally the most effective way to propagate Schisandra neglecta.
- Take Your Cuttings: On a pleasant spring or early summer day, select healthy, non-flowering stems from a mature plant. Using your clean shears, take cuttings about 4-6 inches long. Make your cuts just below a leaf node (where a leaf attaches to the stem).
- Prepare the Cuttings: Gently remove the lower leaves, leaving only the top 2-3 leaves intact. If the remaining leaves are very large, I like to cut them in half horizontally. This reduces water loss while still allowing for photosynthesis.
- Apply Rooting Hormone: Dip the cut end of each stem into rooting hormone, ensuring it’s coated well. Tap off any excess.
- Plant the Cuttings: Fill your pots or trays with your well-draining potting mix. Make a small hole with a pencil or your finger, then insert the treated cutting. Gently firm the soil around the stem.
- Create a Humid Environment: Water the soil gently. Then, cover the pots with a plastic bag or use a propagator lid, making sure the leaves don’t touch the plastic if possible. This traps moisture and creates the humid microclimate cuttings need.
The “Secret Sauce” (Pro Tips)
Here are a few tricks I’ve learned over the years that can make a big difference:
- Bottom Heat is Your Friend: Seriously, if you can invest in a bottom heat mat, do it. For Schisandra, keeping the soil consistently warm (around 70-75°F or 21-24°C) can drastically speed up root development. It’s like a cozy spa day for your cuttings!
- Don’t Be Afraid to Be Ruthless (with Leaves): I cannot stress enough the importance of removing lower leaves. Too many leaves mean the cutting loses energy trying to keep them all alive, and often, the lower ones will just rot in the humid environment anyway, inviting fungal issues. Less is more here!
- Cleanliness is Crucial: I know I mentioned it with the shears, but it bears repeating. Everything must be meticulously clean – pots, tools, your hands. Schisandra cuttings are susceptible to fungal diseases, and good sanitation is your first line of defense.
Aftercare & Troubleshooting
Once your cuttings are planted and cozy in their humid environment, patience is key!
- Check for Moisture: Mist the leaves lightly every few days or so, and check the soil moisture. It should always be evenly moist, but not waterlogged. If the soil feels dry, water gently.
- Look for Roots: You’ll start to see new leaf growth appearing. This is a good sign, but it doesn’t always mean roots have formed yet. The best way to tell is to give the cutting a very gentle tug. If you feel resistance, congratulations, you have roots! This can take anywhere from 4 to 8 weeks, sometimes longer.
- Signs of Trouble: The most common culprit is rot. If you see the stem turning mushy and black, or the leaves are wilting and yellowing significantly, it might be rot setting in. This is usually due to overwatering and poor air circulation. You might need to remove infected cuttings and ensure better drainage and more ventilation. Another issue is simply no root development. This could be due to the cutting being too old, too young, or not enough humidity/warmth.
A Encouraging Closing
So there you have it – your guide to propagating the lovely Schisandra neglecta! Remember, gardening is a journey, and not every attempt will be a resounding success. The most important thing is to be patient, observe your plants, and learn from each experience. Don’t get discouraged if your first batch doesn’t take. Keep trying, keep learning, and before you know it, you’ll be surrounded by your own beautiful Schisandra vines, ready to share their unique flavors and fragrances. Happy propagating!
Resource:
https://identify.plantnet.org/k-world-flora/species/Schisandra%20neglecta%20A.C.Sm./data