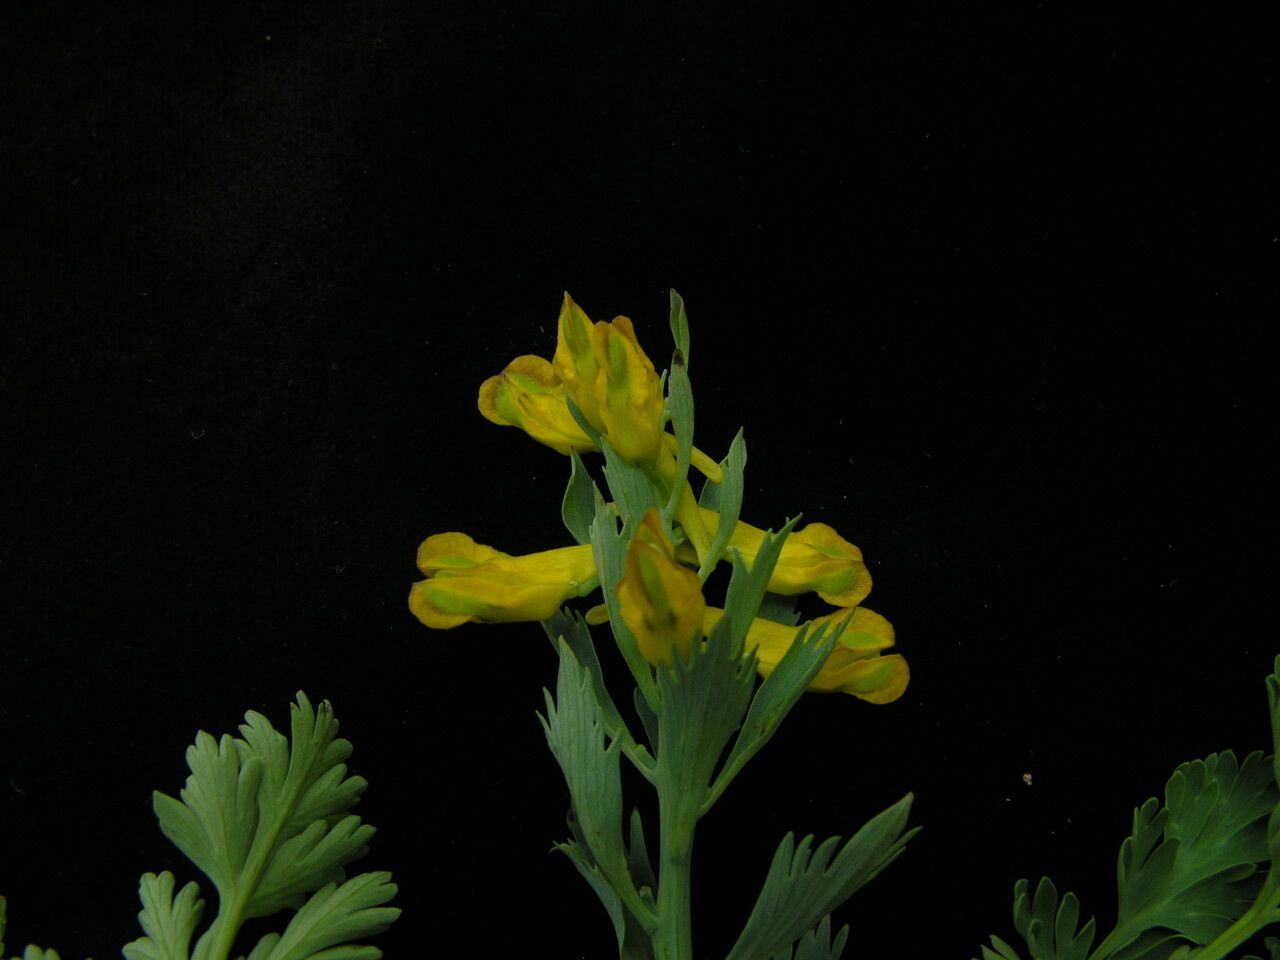
Hello, fellow garden enthusiasts! It’s wonderful to have you back in my little corner of the internet. Today, we’re diving into the delightful world of Corydalis govaniana. Have you ever seen those delicate, often vibrant blooms cascading through a woodland garden or peeking out from shady nooks? That’s often the magic of Corydalis! Corydalis govaniana, with its lovely foliage and charming flowers, is a real gem for adding grace and color to those dappled areas of your yard.
Propagating it yourself is a truly satisfying endeavor. It’s a way to multiply your joy and expand your garden’s beauty without spending a dime. Now, if you’re new to the plant propagation game, I’ll be honest – Corydalis can be a little bit of a diva. It’s not impossible for beginners, but a touch of patience and a few key techniques will go a long way. Don’t let that deter you, though! With a little guidance, you’ll be well on your way to success.
The Best Time to Start
For Corydalis, I find the sweet spot for propagation is generally late spring to early summer. This is when the plant is actively growing and has plenty of energy to put into root development. You want to look for new, but not overly woody, growth. Think of it as the plant’s prime time – full of vigor and ready to make more of itself!
Supplies You’ll Need
Gathering your supplies beforehand makes the whole process much smoother. Here’s what I usually have on hand:
- Sharp Pruning Shears or a Craft Knife: Clean cuts are crucial for healthy healing and rooting.
- Potting Mix: A well-draining, sterile seed-starting mix or a blend of peat moss and perlite is ideal. Avoid heavy garden soil.
- Small Pots or Seed Trays: Clean containers are a must to prevent disease.
- Rooting Hormone (Optional but Recommended): A powdered or liquid rooting hormone can give your cuttings a significant boost.
- Clear Plastic Bags or Domes: These create a humid microclimate for your cuttings.
- Watering Can with a Fine Rose Sprinkler: Gentle watering prevents disturbing your cuttings.
Propagation Methods
Corydalis can be a bit particular, but we’ll focus on two of the most reliable methods: stem cuttings and seed starting. Division can also work, but let’s master these first!
Stem Cuttings
This is my go-to method for many perennials, and Corydalis is no exception.
- Take Your Cuttings: Select healthy, non-flowering shoots that are about 4-6 inches long. Using your sharp pruning shears or knife, make a clean cut just below a leaf node (where a leaf attaches to the stem).
- Prepare the Cuttings: Gently remove the lower leaves, leaving just a couple at the top. This prevents them from rotting in the soil. If you’re using rooting hormone, dip the cut end into it according to the product’s instructions.
- Plant Your Cuttings: Fill your small pots or trays with your prepared potting mix. Make a small hole with a pencil or your finger and insert the cutting, ensuring the leaf nodes are below the soil surface. Gently firm the soil around the base.
- Create Humidity: Water the soil gently. Then, cover the pots with a clear plastic bag or a propagation dome to maintain high humidity. You can secure the bag with a rubber band.
- Provide Light and Warmth: Place the pots in a bright location, but out of direct sunlight. A warm spot, perhaps on a heating mat (if you have one, this is where it shines!), will encourage faster root development.
Seed Starting
If you’re patient, starting Corydalis from seed can also be rewarding.
- Collect Seeds: Harvest seeds when they are ripe, usually in late summer or fall. They should be dark and plump.
- Stratification (Important!): Many Corydalis species require a period of cold, moist conditions, known as stratification, to break dormancy. Mix your seeds with a slightly damp medium like peat moss or vermiculite in a resealable plastic bag.
- Refrigerate: Store the bag in your refrigerator for 1-3 months, checking periodically to ensure the medium stays slightly moist and that no mold develops.
- Sowing: After stratification, sow the seeds on the surface of your well-draining potting mix in a tray or pot. Lightly press them in.
- Germination: Keep the soil consistently moist and maintain a cool to moderate temperature. Germination can be slow and erratic, so be patient!
The “Secret Sauce” (Pro Tips)
Here are a few things I’ve learned over the years that make a difference with Corydalis:
- Don’t Drown Them: While they need humidity, overwatering is the quickest way to lose your cuttings. The soil should be consistently moist, not waterlogged. Let the surface dry slightly between waterings.
- Bottom Heat Works Wonders: If you choose to use a gentle heating mat, it can really speed up root formation for cuttings. It mimics the warmth of the soil as the parent plant is actively growing.
- Patience is a Virtue (Especially with Seeds): Corydalis seeds can be notoriously slow to germinate. Don’t give up if you don’t see sprouts immediately. Sometimes they’ll surprise you weeks later!
Aftercare & Troubleshooting
Once your cuttings have developed a good root system – you’ll know when you gently tug and feel resistance – or your seeds have germinated and have a couple of true leaves, it’s time for a little more advanced care.
- Acclimatize: Gradually remove the plastic bag or dome over a few days to allow the new plants to adjust to normal humidity.
- Transplant: Once they are substantial enough to handle, gently transplant them into their own small pots. Use a good quality, well-draining potting mix.
- Watering: Continue to water them regularly, but allow the surface of the soil to dry out slightly between waterings.
- Troubleshooting: The most common problem you’ll encounter is rot, often due to overwatering or poor drainage. If you see a cutting turning black or mushy at the base, it’s usually a lost cause. Discard it immediately to prevent it from spreading.
A Encouraging Closing
Propagating Corydalis govaniana might take a little extra care, but the reward of seeing those new plants thrive is truly special. Remember, gardening is a journey, and every little sprout is a victory. Be patient with yourself and with your plants. Enjoy the process, learn from each attempt, and soon you’ll have a whole garden full of these lovely Corydalis! Happy gardening!
Resource:
https://identify.plantnet.org/k-world-flora/species/Corydalis%20govaniana%20Wall./data