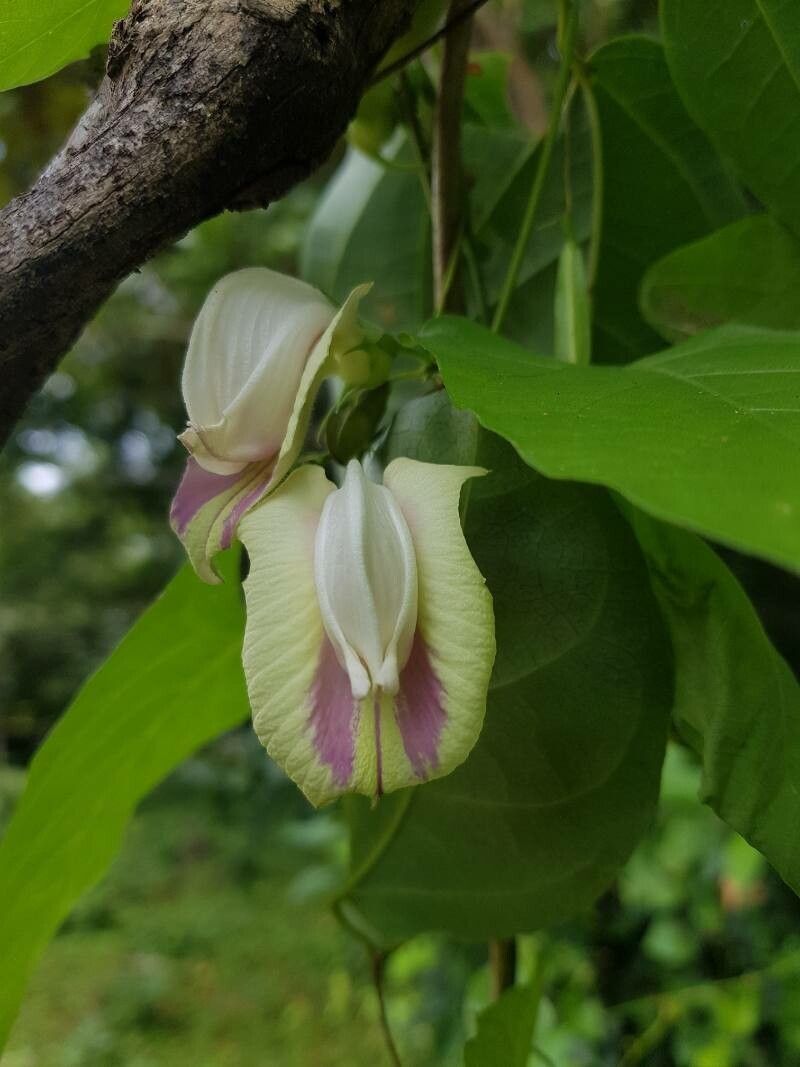
Oh, hello there, fellow garden enthusiast! I’m so glad you’re curious about Centrosema sagittatum. This lovely native sprawls with beautiful, butterfly-attracting flowers, and honestly, coaxing a new plant from an existing one is one of the most satisfying things you can do in the garden. Think of it as sharing a bit of your plant magic!
Is it easy for beginners? Well, honestly, it’s moderately easy. With a little care and attention to a few key details, you’ll have plenty of success. Don’t let that deter you; it’s a truly rewarding experience!
The Best Time to Start
For Centrosema sagittatum, the sweet spot for propagation is definitely late spring through early summer. This is when the plant is actively growing, meaning it has the energy and resources to put into developing new roots. You want to be looking for healthy, but not overly woody, stem growth. Think of those vibrant, pliable stems that are just starting to mature.
Supplies You’ll Need
Gathering your supplies beforehand makes the whole process much smoother. Here’s what I usually have on hand:
- Sharp pruning shears or a clean knife: For making clean cuts.
- Rooting hormone (optional but helpful): A small amount can give cuttings a boost.
- Well-draining potting mix: A mix of perlite, peat moss, and coir works wonders. You can also use a commercial seed-starting mix.
- Small pots or seed trays with drainage holes: Whatever suits the size of your cuttings.
- A clear plastic bag or propagation dome: To maintain humidity.
- Watering can or spray bottle: For gentle watering.
- A warm location: With indirect sunlight.
Propagation Methods
There are a couple of ways to go about this with Centrosema, and I find stem cuttings to be the most reliable.
Stem Cuttings
This is my go-to method for Centrosema. It’s straightforward and effective.
- Select your cutting: Choose a healthy stem that’s about 4-6 inches long and has at least two sets of leaves. Make a clean cut just below a leaf node (where the leaf attaches to the stem). This is where the magic of root formation often begins.
- Prepare the cutting: Gently remove the lower leaves from the bottom half of the cutting. If the leaves are large, you can even cut them in half to reduce water loss.
- Apply rooting hormone (optional): Dip the cut end of the stem into rooting hormone, tapping off any excess.
- Plant your cutting: Fill your small pots or trays with your well-draining mix. Make a small hole in the center with your finger or a pencil and gently insert the cutting. Firm the soil around the base to ensure good contact.
- Water and cover: Water the pot gently to moisten the soil. Then, cover the pot with a clear plastic bag or propagation dome to create a humid environment. You want to keep that humidity high!
Water Propagation
This is a more visual method, great for seeing your progress.
- Select and prepare your cutting: Follow steps 1 and 2 from the stem cutting method.
- Place in water: Fill a small jar or glass with clean water. Place the cutting in the water, ensuring that the leaf nodes are submerged, but never let leaves touch the water surface. This can lead to rot.
- Change the water regularly: Refresh the water every few days to keep it clean and oxygenated.
- Await roots: You’ll start to see tiny white roots appearing from the submerged nodes. Once the roots are about an inch long, you can carefully transplant them into potting mix.
The “Secret Sauce” (Pro Tips)
Now, for a few little tricks I’ve picked up over the years that can make a big difference:
- Don’t overwater your cuttings! This is probably the most common mistake. The soil should be consistently moist, not soggy. Soggy soil is a fast track to rot.
- Bottom heat is your friend: If you have the option, placing your pots on a gentle heating mat can significantly speed up root development. It mimics the warmth of the soil the plant experiences naturally.
- Be patient with wilting: Sometimes, cuttings will wilt a bit as they adjust. As long as the stem is still firm and green, don’t give up just yet! The humidity you’ve created should help them recover.
Aftercare & Troubleshooting
Once your cuttings have developed a good root system (you’ll know when you see roots poking out the drainage holes or gently tug on the cutting and feel resistance), it’s time for a little more independence.
- Gradually acclimate: If your cuttings have been under a dome, slowly remove the covering over a few days to get them used to less humidity.
- Watering: Continue to keep the soil consistently moist, but allow the top inch to dry out slightly between waterings.
- Light: Move your new plants to a spot with bright, indirect sunlight. Direct sun can scorch tender new growth.
Signs of trouble? The most common issue is rot. If your cutting turns brown and mushy, it’s a sign of too much moisture and not enough air circulation. Overwatering is usually the culprit here. If you see leaves turning yellow and dropping, it could be under-watering or shock. Just keep an eye on them and adjust your care as needed.
A Encouraging Closing
See? It’s not as daunting as it might seem. Propagation is a journey, and every gardener has their little setbacks. The key is to be observant, be patient, and most importantly, enjoy the process. There’s a wonderful satisfaction in nurturing a new plant to life. Happy propagating!
Resource: