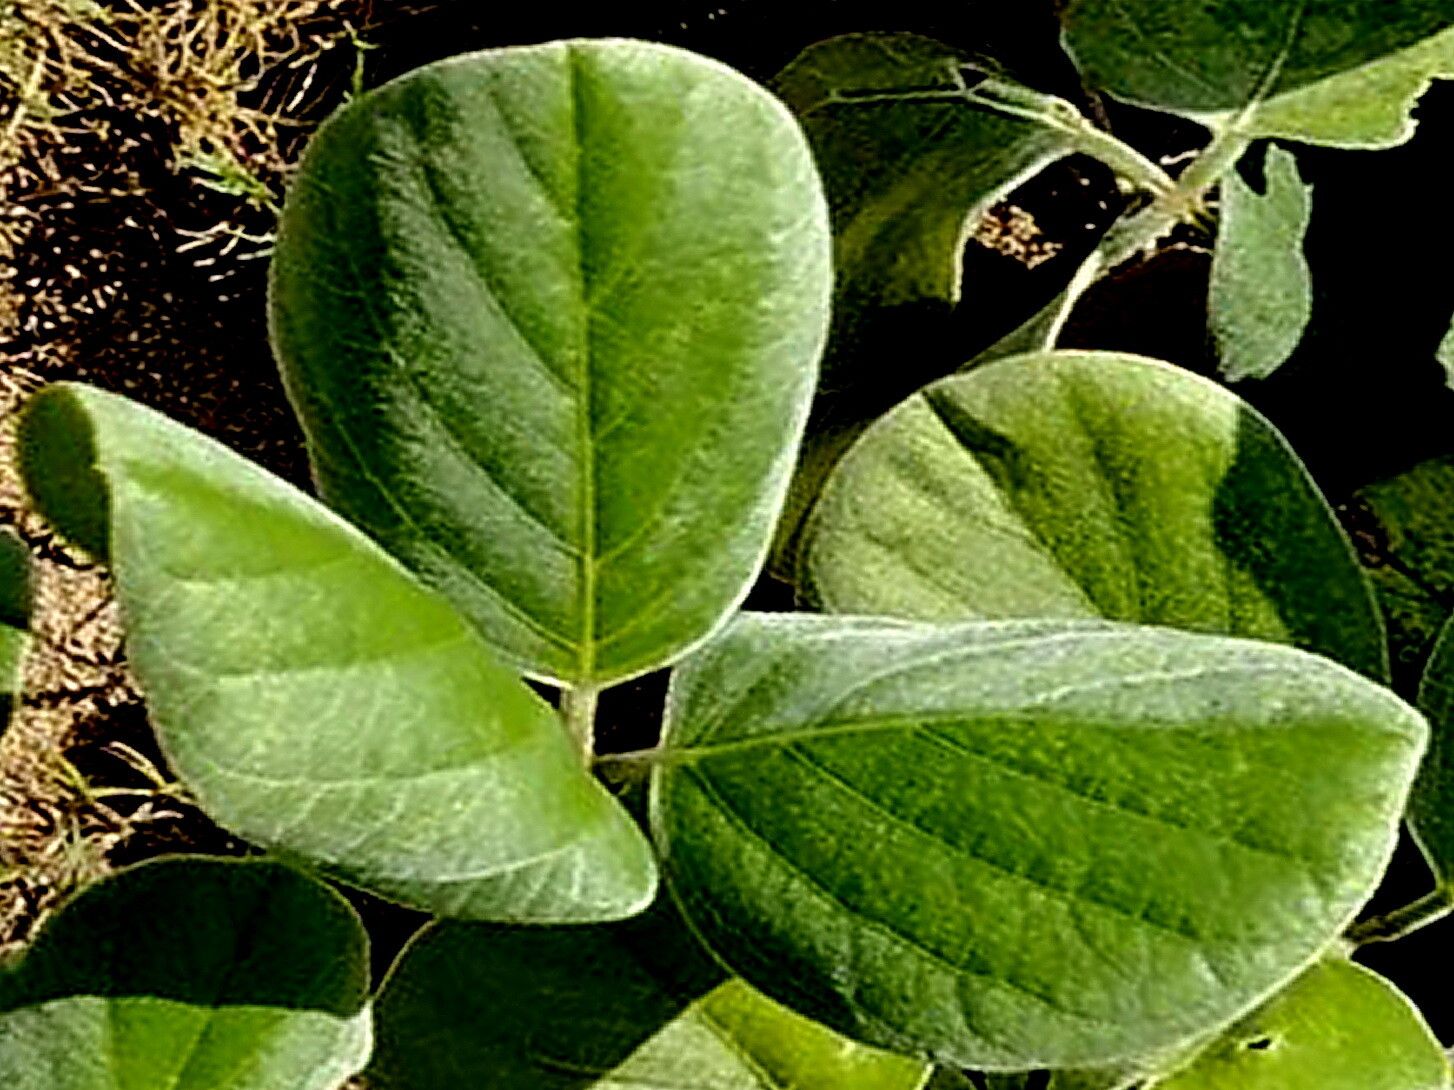
Hello my fellow plant enthusiasts! I’m so excited to chat with you today about a truly special plant: Canavalia sericea, also known as the silky bean or sea bean. This coastal gem is a stunner with its beautiful, glossy green leaves and often, charming pink or purple flowers, followed by those characteristic bean-like pods. Growing it from scratch feels like unlocking a secret, and it’s surprisingly rewarding.
Now, if you’re new to the gardening scene, don’t shy away from this one. Propagating Canavalia sericea isn’t about wrestling with fussy cuttings or complicated techniques. It’s actually quite forgiving, making it a wonderful project for beginners and seasoned gardeners alike. Getting new plants from your existing ones is always a thrill, and this one is a joy to share.
The Best Time to Start
For the absolute best chance of success with your Canavalia sericea propagation, aim for the late spring or early summer. This is when the plant is actively growing and has a good surge of energy. You’ll find it much easier to take cuttings or work with divisions when the new growth is vigorous and healthy. Waiting until after the main flowering period can also give you access to those lovely mature seed pods.
Supplies You’ll Need
Gathering your supplies beforehand makes the whole process so much smoother. Here’s what I usually have on hand:
- Sharp pruning shears or a clean, sharp knife: For taking clean cuts without crushing stems.
- Well-draining potting mix: A mix designed for succulents or cacti works beautifully, or you can create your own by combining peat moss, perlite, and sand.
- Small pots or trays: Clean terracotta pots are my absolute favorite because they breathe.
- Rooting hormone (optional but recommended): A powder or liquid to give your cuttings a little boost.
- Watering can with a fine spray nozzle: To avoid disturbing your delicate cuttings.
- A clear plastic bag or humidity dome: To maintain moisture around the cuttings.
- Labels and a permanent marker: So you don’t forget what you’ve planted where!
- Mature seed pods (if propagating from seed): Look for pods that are starting to dry but aren’t completely brittle.
Propagation Methods
Canavalia sericea is pretty adaptable, and I’ve had great luck with a couple of different methods.
1. Stem Cuttings: This is my go-to method for creating new plants quickly.
- Take Your Cuttings: In late spring or early summer, select healthy, non-flowering stems that are about 4-6 inches long. Make a clean cut just below a leaf node. This is the point where a leaf attaches to the stem, and it’s where new roots are most likely to form.
- Prepare the Cuttings: Gently remove the lower leaves from your cutting, leaving just a few at the very top. If you’re using rooting hormone, dip the cut end into it.
- Plant Your Cuttings: Fill your small pots with your well-draining potting mix. Make a small hole in the center with a pencil or your finger. Insert the cut end of the stem into the hole, ensuring the node is buried. Gently firm the soil around the base of the cutting.
- Create a Humid Environment: Water the soil lightly with your fine-spray nozzle. Then, cover the pot with a clear plastic bag or place it under a humidity dome. This traps moisture and keeps the air around your cuttings nice and humid, which is crucial for root development. Place the pot in a bright spot, but out of direct, harsh sunlight.
2. From Seed: If you’re lucky enough to find mature seed pods, this is another wonderfully rewarding way to grow Canavalia sericea.
- Harvest Your Seeds: Let the pods dry on the plant until they rattle slightly when shaken. Carefully open them and extract the seeds. You want seeds that look plump and healthy.
- Scarify the Seeds: The seeds of Canavalia sericea have a hard outer coat, which can make germination a bit slow. To help them along, I like to gently nick the seed coat with a small file or sandpaper, being careful not to damage the embryo inside. Another effective method is to soak them in warm water for 24 hours.
- Sow Your Seeds: Plant your prepared seeds about an inch deep in your well-draining potting mix. You can sow them directly into pots or a seed tray.
- Provide Warmth and Moisture: Keep the soil consistently moist but not waterlogged. A bit of gentle warmth from a heat mat can really speed up germination, which usually takes anywhere from 10 days to a few weeks.
The “Secret Sauce” (Pro Tips)
Here are a few little tricks I’ve learned over the years that seem to make all the difference:
- Don’t Overwater those Cuttings: This is a classic mistake! While they need moisture, soggy soil is a fast track to rot. Let the surface of the soil dry out slightly between waterings. If you’re using a plastic bag, check condensation – too much means you might need to open it for a bit to let it vent.
- Bottom Heat is Your Friend: For both cuttings and seeds, providing a little warmth from below makes a huge difference. A seedling heat mat is perfect for this. It encourages root development and can significantly shorten the time it takes for your new plants to establish.
- Patience with Seeds: Canavalia sericea seeds can be a bit stubborn sometimes. If a few don’t sprout right away, don’t give up! They can often surprise you by germinating weeks later. Just keep them consistently moist and warm.
Aftercare & Troubleshooting
Once you start to see little roots peeking out from the bottom of the pot or new leaves forming on your cuttings, hooray! This is the exciting part.
- Acclimatize Gradually: If you’ve used a plastic bag or dome, start by removing it for a few hours each day, gradually increasing the time it’s off. This helps the new plant adjust to less humid conditions.
- Watering: Continue to water your new plants when the top inch of soil feels dry. They’re still young and establishing, so they’ll appreciate consistent moisture, but always ensure good drainage.
- Repotting: Once your new plants have a decent root system and are actively growing, you can transplant them into slightly larger pots.
- Troubleshooting: The most common issue you might encounter is rot. This usually happens from overwatering and poor drainage. If you see wilting, yellowing leaves, or a mushy stem base, it’s often a sign of too much moisture. Sadly, rot can be hard to recover from, so good drainage and careful watering are key to prevention. Another sign of stress can be dropping leaves, which might indicate too much direct sun or inconsistent watering.
A Little Encouragement
So there you have it – a simple guide to getting more of those beautiful Canavalia sericea plants to enjoy. Remember, gardening is a journey, and propagation is a wonderful part of it. Be patient with your little charges, celebrate every new leaf and root, and most importantly, have fun with the process. Happy growing!
Resource:
https://identify.plantnet.org/k-world-flora/species/Canavalia%20sericea%20A.Gray/data