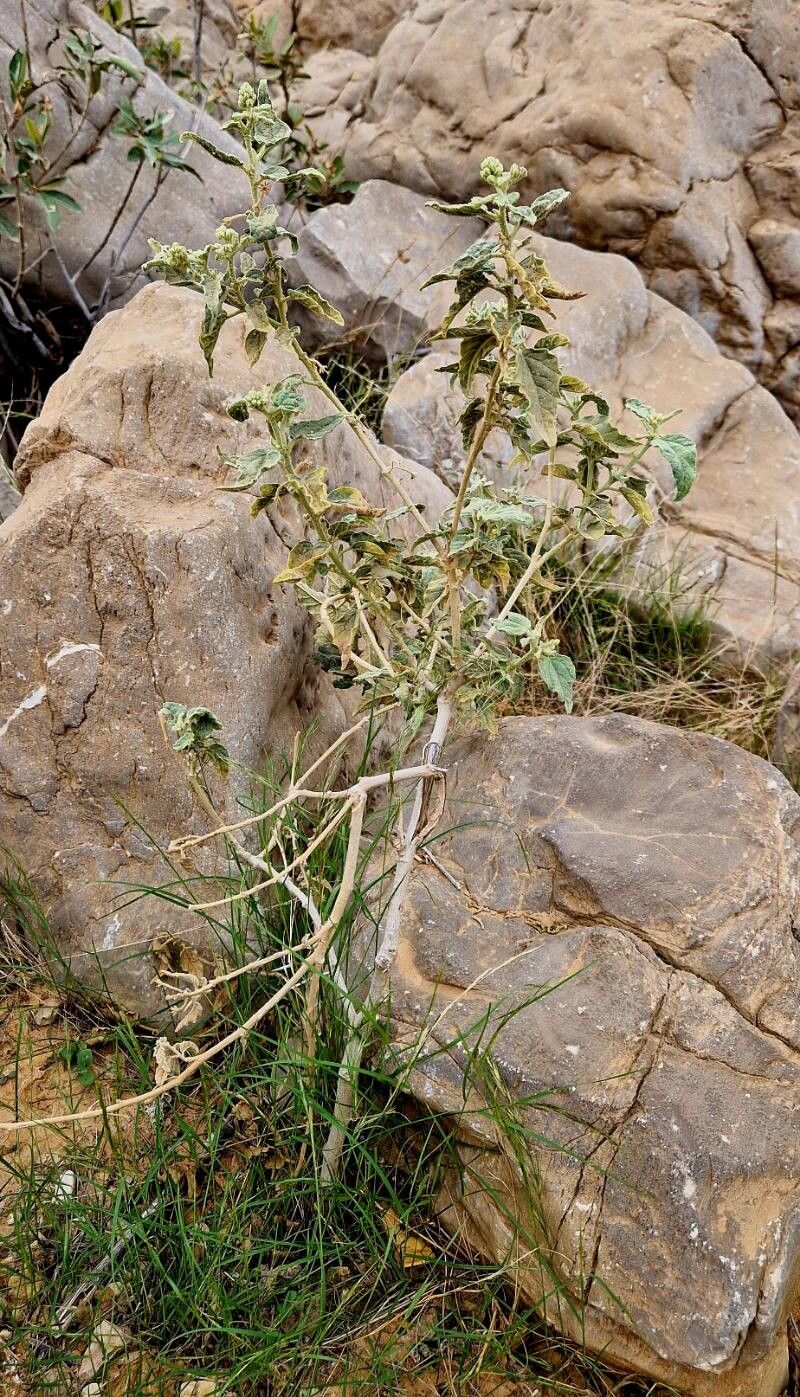
Hello, fellow garden enthusiasts! Today, we’re diving into a plant that’s been catching my eye lately: Chrozophora oblongifolia. You might know it by its common name, the Lollipop Plant, and honestly, that name just perfectly captures its charm. It’s got these quirky, upright flower spikes that really add a unique flourish to any garden. And the best part? Propagating it is a wonderfully rewarding way to get more of these beauties to grace your space. Now, for beginners, I’d say Chrozophora oblongifolia sits in the “moderately easy” category. It’s not tricky, but it does appreciate a little thoughtful attention.
The Best Time to Start
My experience tells me that late spring to early summer is your sweet spot for propagating Chrozophora oblongifolia. Think of it as when the plant is in its most vigorous growth phase. New, soft growth is usually your best bet for cuttings. This is when they have the most energy and are most likely to take to rooting.
Supplies You’ll Need
To give your cuttings the best chance, gather these essentials:
- Sharp, clean pruning shears or a craft knife: For making clean cuts.
- Rooting hormone powder or gel (optional but recommended): Helps stimulate root development.
- Well-draining potting mix: I like a blend of equal parts perlite and potting soil for cuttings. You can also use a seed-starting mix for a finer texture.
- Small pots or trays: Clean ones, please! Small 4-inch pots are usually perfect.
- Plastic bags or a propagator: To create a humid environment.
- Watering can with a fine rose or a spray bottle: For gentle watering.
Propagation Methods
Let’s get our hands dirty with the main ways to bring new Chrozophora oblongifolia plants to life.
Stem Cuttings
This is my go-to method and usually the most successful.
- Take your cuttings: In late spring or early summer, select healthy stems from your mature plant. Look for shoots that are firm but still have a bit of flexibility. Aim for cuttings that are about 4-6 inches long. Make your cut just below a leaf node (that’s where the leaves attach to the stem).
- Prepare the cuttings: Gently remove the lower leaves, leaving just a few at the tip. This prevents them from rotting when they’re in the soil. If your cuttings have flowers, it’s a good idea to pinch those off so the plant can focus its energy on rooting.
- Apply rooting hormone: Dip the cut end of each stem into your rooting hormone powder or gel. Tap off any excess.
- Plant your cuttings: Fill your small pots with your prepared well-draining mix. Make a small hole in the center of the soil with your finger or a pencil. Carefully insert the cut end of the cutting into the hole, ensuring the nodes where you removed leaves are buried. Gently firm the soil around the stem.
- Create humidity: Water the soil gently. Then, cover the pot with a clear plastic bag or place it in a propagator. This traps moisture and keeps the humidity high, which is crucial for cuttings. You can secure the bag with a rubber band around the pot. Make sure the leaves aren’t touching the plastic if possible.
Water Propagation (Less Common, but Possible)
While stem cuttings in soil are my preference for Chrozophora, you can try water propagation for some varieties, though success can be a bit more hit-or-miss.
- Take cuttings as described above.
- Place cuttings in water: Put them in a clean jar or vase filled with fresh water.
- Position them carefully: Make sure no leaves are submerged in the water. Only the stem should be in contact with the water.
- Change water regularly: Swap out the water every few days to keep it fresh and prevent bacteria buildup.
- Watch for roots: You’ll see tiny white roots emerge from the nodes. Once these roots are about an inch long, you can try potting them in soil.
The “Secret Sauce” (Pro Tips)
Here are a few things I’ve learned over the years that really make a difference:
- Bottom Heat is Your Friend: Honestly, if you can provide a little warmth from below, your cuttings will root so much faster. A heating mat designed for seedlings works wonders. It mimics the warmer soil temperatures of spring and really encourages root growth.
- Don’t Rush Watering: While the cuttings need moisture, overwatering is a surefire way to invite rot. Let the surface of the soil dry out slightly between waterings. It’s better to be a touch dry than soaking wet.
- Be Patient with Leaf Drop: If a cutting loses a few of its top leaves, don’t despair! Sometimes the plant sheds leaves as it adjusts. As long as the stem is firm and green, there’s still hope.
Aftercare & Troubleshooting
Once you see signs of new growth popping up from the base of your cutting, that’s a good indication that roots are forming!
- Gradual acclimatization: If you’ve covered your cuttings, slowly begin to remove the plastic bag over a week or so. This helps them adjust to the drier air in your home.
- Potting up: Once the roots are well-established and starting to fill the pot, you can gently transplant your new Chrozophora oblongifolia into a slightly larger pot with fresh, good-quality potting soil.
- Watch for rot: The most common sign of failure is a cutting turning mushy or black, often starting at the base. This is almost always due to too much moisture. If you see this, sadly, it’s best to discard the affected cutting and try again, ensuring better drainage and less watering next time. Wilting can also be a sign that the cutting is too dry or hasn’t rooted yet and is struggling to take up water.
So there you have it! Propagating Chrozophora oblongifolia is a fantastic way to expand your collection and share these unique plants. Don’t get discouraged if your first few attempts aren’t perfect. Gardening is a journey, and every plant we nurture teaches us something new. Enjoy the process, celebrate each tiny root, and happy gardening!
Resource: