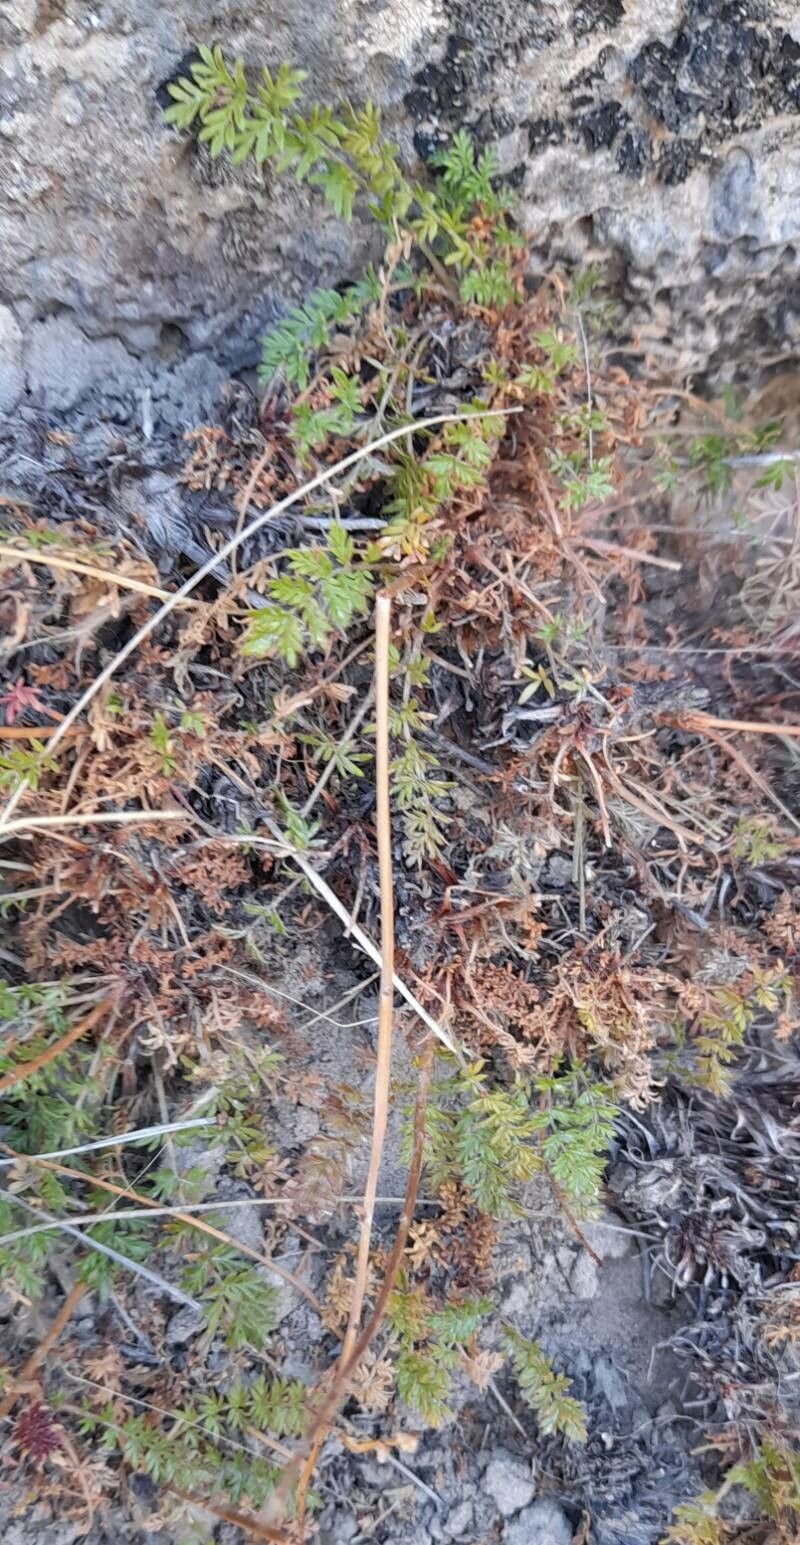
Oh, Acaena poeppigiana! What a gem to have in the garden. Its delicate, fern-like foliage and those charming, fuzzy seed heads (they look like little burrs, don’t they?) add such a lovely texture. And the way it spreads, creating a soft, cascading carpet – it’s simply delightful.
Many of you have asked me about propagating this beauty, and I’m thrilled to share my experiences. The good news? It’s generally a very rewarding plant to work with, and with a little patience, even beginners can find success. Don’t be shy!
The Best Time to Start
For Acaena poeppigiana, I find late spring to early summer is truly the sweet spot. This is when the plant is actively growing and has plenty of energy to put into developing new roots. Starting then gives your new babies a good long growing season to establish themselves before winter.
Supplies You’ll Need
Here’s what I usually have on hand when I’m ready to propagate:
- Sharp, clean pruning shears or a hobby knife: For making neat cuts.
- Small pots or trays: With drainage holes, of course!
- A good, well-draining propagation mix: I often use a blend of equal parts peat moss or coco coir, perlite, and coarse sand. A standard potting mix can work if you amend it well with perlite.
- Rooting hormone (optional, but helpful): A powdered or gel form can give your cuttings a little boost.
- A mister or spray bottle: For keeping things humid.
- Plastic bags or cloches: To create a mini-greenhouse effect.
- Labels: Don’t forget to label your pots!
Propagation Methods
I primarily rely on stem cuttings for Acaena poeppigiana. It’s my go-to method for this plant.
- Take your cuttings: On a bright, but not scorching hot, day, select healthy, non-flowering stems. Look for stems that are a little bit firm but still pliable, not old and woody. Using your clean pruners, take cuttings that are about 4-6 inches long. Make your cut just below a leaf node (where a leaf joins the stem); this is where roots are most likely to form.
- Prepare the cuttings: Gently strip off the lower leaves from your cuttings, leaving just 2-3 leaves at the very top. If the leaves are very large, you can even cut them in half to reduce water loss.
- Apply rooting hormone (if using): Dip the cut end of each stem into your rooting hormone, tapping off any excess.
- Plant your cuttings: Fill your small pots or trays with your prepared, moist propagation mix. Make a small hole in the center with your finger or a pencil. Carefully insert the cut end of the stem into the hole, ensuring the lower leaf nodes are below the soil surface. Gently firm the soil around the stem to ensure good contact.
- Water and cover: Water the soil lightly, but thoroughly. Then, cover the pots or trays with a plastic bag or a clear plastic dome to maintain high humidity. You can prop the bag up with a few small stakes to prevent it from touching the leaves. Place the pots in a bright location out of direct sunlight.
The “Secret Sauce” (Pro Tips)
Here are a few little tricks I’ve learned over the years that really seem to help boost success:
- The “Heel” Trick: Sometimes, when I’m taking cuttings, I’ll try to take a small piece of the older stem along with the new growth. It’s like giving the cutting a little bit of a head start. You want a small sliver of the parent stem attached to your new cutting.
- Bottom Heat is Your Friend: While not absolutely essential, placing your pots on a gentle heat mat set to around 70°F (21°C) can significantly speed up root development. This is especially helpful if your greenhouse or growing space isn’t consistently warm.
- Don’t Let Them Drown: When watering, be gentle. We want the soil to be consistently moist, but never waterlogged. That’s the fastest way to encourage rot.
Aftercare & Troubleshooting
Once your cuttings are planted, the key is consistent moisture and humidity. Check the soil moisture regularly; it should feel damp to the touch. If the soil starts to dry out, give it a gentle misting or a light watering. Peek inside the plastic bag daily to release excess condensation if needed.
You’ll know your Acaena poeppigiana cuttings have rooted when you see new leaf growth or feel a slight resistance when you gently tug on the stem. This usually takes anywhere from 3-6 weeks, sometimes a little longer.
Now, what if things go wrong? The most common issue is rot. If your cuttings turn black and mushy at the base, or if leaves start to yellow and fall off quickly, it’s usually a sign of too much moisture and not enough air circulation. If you see this, try to remove the affected cutting immediately, let the soil dry out a bit more, and ensure you have good airflow. Don’t be discouraged if a few don’t make it – that’s part of the gardening journey!
A Encouraging Closing
Propagating Acaena poeppigiana is a wonderfully satisfying process. It’s a chance to connect with your plants on a deeper level and to share their beauty with others. Be patient with your little cuttings, give them the care they need, and celebrate every sign of progress. Happy propagating!
Resource:
https://identify.plantnet.org/k-world-flora/species/Acaena%20poeppigiana%20Gay/data