Hello there, fellow garden enthusiasts!
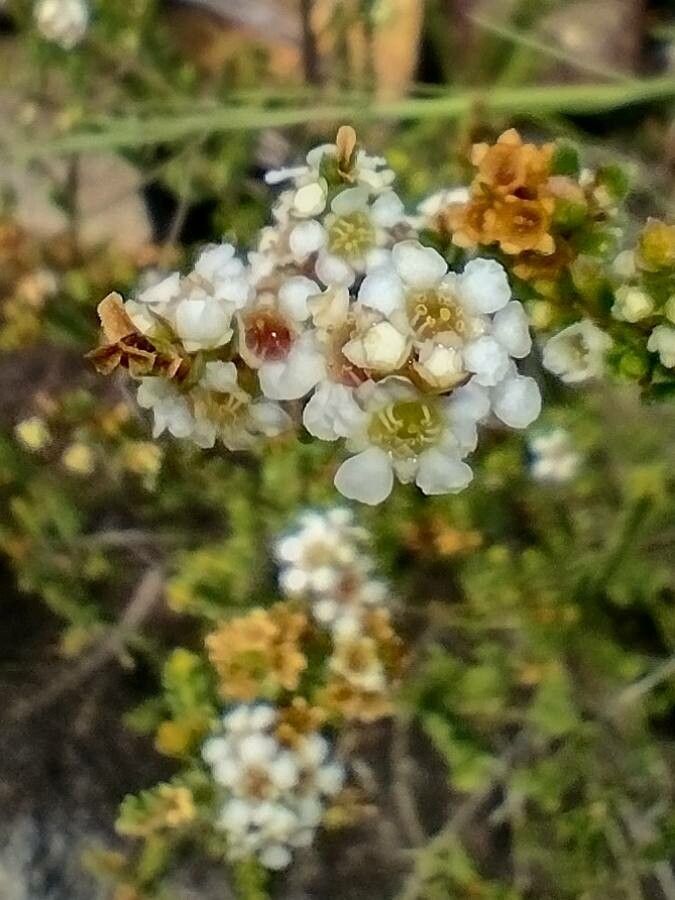
If you’ve ever admired the delicate beauty of Baeckea diosmifolia – with its tiny, star-shaped flowers and neat, shrubby form – you’ve probably wondered if you could bring more of that charm into your own garden. I’m here to tell you, yes, you absolutely can! Propagating this lovely Australian native is not only a fantastic way to multiply your plants but also incredibly rewarding. It’s a great project for anyone looking to stretch their gardening skills; while not quite a “set it and forget it” plant for absolute beginners, it’s certainly approachable with a little guidance.
The Best Time to Start
For Baeckea diosmifolia, the sweet spot for propagation is generally during the active growing season. Think late spring through to mid-summer. This is when the plant has the most energy to put into developing new roots. You’re looking for healthy, new growth, not the old, woody stems.
Supplies You’ll Need
Before we dig in, let’s gather our tools. Having everything on hand makes the process so much smoother:
- Sharp, clean pruning shears or a razor blade: For taking clean cuts.
- Potting mix: A well-draining mix is crucial. I like to use a blend of perlite and peat moss (around a 50/50 ratio) or a specialized cuttings mix.
- Small pots or trays: With drainage holes, of course!
- Rooting hormone (optional but recommended): A powder or gel designed to encourage root development.
- Watering can or spray bottle: For gently watering your cuttings.
- Plastic bag or propagation dome: To create a humid microclimate.
Propagation Methods
We’ll focus on the most reliable methods for Baeckea diosmifolia: stem cuttings.
Stem Cuttings
This is my go-to method for many shrubs, and it works beautifully for Baeckea.
- Take your cuttings: In late spring or early summer, select healthy, non-flowering shoots that are about 3-4 inches long. Using your clean shears, make a cut just below a leaf node (where a leaf attaches to the stem).
- Prepare the cuttings: Gently strip off the lower leaves from the bottom inch or so of each cutting. This prevents them from rotting when buried in the soil. If your cuttings are a bit soft, you can carefully trim some of the remaining leaves in half to reduce water loss through transpiration.
- Apply rooting hormone: Dip the cut end of each cutting into a rooting hormone powder or gel. Tap off any excess.
- Pot them up: Fill your small pots or trays with your prepared, moistened potting mix. Use a pencil or your finger to make a small hole in the center of the soil.
- Insert the cuttings: Gently insert the treated end of each cutting into the hole, ensuring the nodes where you removed leaves are below the soil surface. Firm the soil gently around the base of each cutting. You can fit several cuttings into one pot, leaving a little space between them.
- Create humidity: Water the soil lightly to settle it around the cuttings. Then, cover the pots with a plastic bag or a propagation dome. This traps moisture and creates the humid environment cuttings need to thrive before they’ve developed roots. Place the pots in a bright location out of direct sunlight.
The “Secret Sauce” (Pro Tips)
Here are a few things I’ve learned over the years that really make a difference:
- Bottom heat is your friend: If you can, place your pots on a heat mat designed for seedlings. This gentle warmth stimulates root growth from below, significantly speeding up the process and increasing your success rates. It’s like giving them a little encouragement from the ground up!
- Don’t let those leaves dunk: If you’re trying water propagation for any reason (though I stick to soil for Baeckea), make sure no leaves are touching the water. Submerged leaves will rot, which is the last thing you want. Even in soil, avoid overcrowded cuttings where leaves might be perpetually damp.
- Be patient with the woodiness: Baeckea can sometimes be a bit slower to root than other plants. Don’t pull up a cutting too early to check for roots. Wait at least 4-6 weeks before giving it a gentle tug. If there’s resistance, that’s a good sign!
Aftercare & Troubleshooting
Once you see new growth, or feel that resistance when you gently tug, congratulations! Your cuttings have likely rooted.
- Acclimatization: Gradually introduce your rooted cuttings to normal room conditions. First, remove the plastic cover for a few hours each day, slowly increasing the duration over a week.
- Potting on: Once they are well-established, you can transplant them into individual pots with a standard, well-draining potting mix for shrubs.
- Troubleshooting: The most common issue is rot. This usually happens due to overwatering or poor drainage. If a cutting turns black and mushy, it’s time to discard it and start again, focusing on that good drainage and careful watering. Yellowing leaves can also be a sign of stress or too much direct sun.
Propagating Baeckea diosmifolia is a journey that rewards your patience. Watching those tiny stems transform into new, independent plants is one of gardening’s greatest joys. So, grab your shears, get your hands dirty, and enjoy the process. Happy growing!
Resource:
https://identify.plantnet.org/k-world-flora/species/Baeckea%20diosmifolia%20Rudge/data