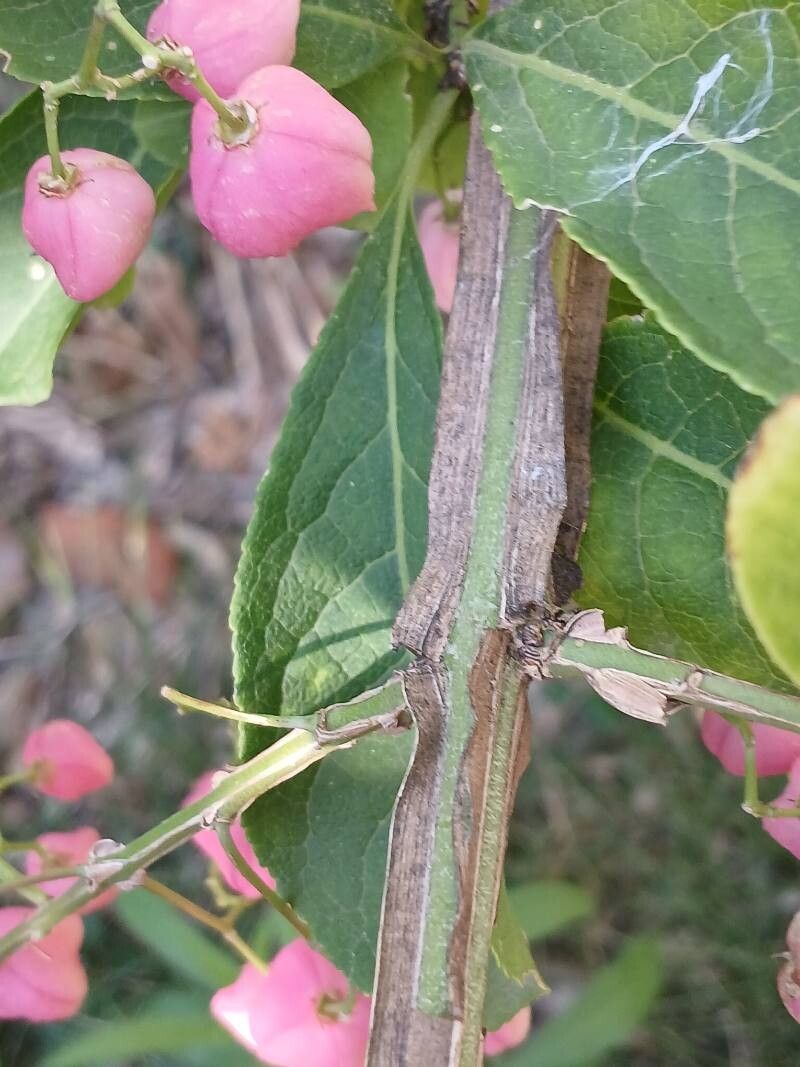
Oh, Euonymus phellomanus, a true gem for any garden! You know, watching a little piece of a plant grow into its own magnificent specimen is one of the most satisfying things we gardeners get to do. And this particular Euonymus, with its lovely structure and often colorful foliage depending on the variety, is no exception. Propagating it yourself is not only incredibly rewarding but also a fantastic way to expand your plant collection without spending a fortune. I’ve found it to be a genuinely beginner-friendly plant to get started with, which is always a plus in my book!
The Best Time to Start
For Euonymus phellomanus, I’ve found the absolute sweet spot for taking cuttings is late spring to early summer. This is when the plant is actively growing, and the new shoots are semi-hardwood. They have enough rigidity to hold their shape but are still flexible enough to root relatively easily. You can try in autumn with ‘hardwood’ cuttings, but I find spring always gives a bit more of a reliable kickstart.
Supplies You’ll Need
Gathering your supplies before you start makes the whole process so much smoother. Here’s what you’ll want to have on hand:
- Sharp, clean pruning shears or a sharp knife: Cleanliness is key to preventing disease.
- Rooting hormone (powder or gel): This really gives your cuttings a boost. I prefer a gel myself, but either works wonders.
- Small pots or seed trays: Clean, with drainage holes.
- A good potting mix: I like a blend of equal parts peat moss and perlite for excellent drainage, or a good quality seed-starting mix.
- A spray bottle: For misting.
- Clear plastic bags or a propagator lid: To create a humid environment.
- Labels and a permanent marker: Don’t forget to label your babies!
Propagation Methods
You’ve got a couple of excellent ways to get more Euonymus phellomanus going. I usually stick to stem cuttings because they’re so straightforward.
Stem Cuttings
This is my go-to method for this plant. It’s simple and highly effective.
- Take your cuttings: In late spring or early summer, look for healthy, non-flowering shoots that are about 4-6 inches long. Cut just below a leaf node (where a leaf attaches to the stem). This is where roots are most likely to form.
- Prepare the cuttings: Gently remove the lower leaves, leaving just two or three at the very top. You can then dip the cut end into your rooting hormone, making sure it’s well-coated. Tap off any excess.
- Plant the cuttings: Fill your pots with your prepared potting mix. Make a small hole with your finger or a pencil, and then insert the cutting, ensuring the nodes where you removed the leaves are buried in the soil. Gently firm the soil around it.
- Water and cover: Water thoroughly, but let any excess drain away. Then, cover the pot with a clear plastic bag or a propagator lid to maintain high humidity. You can prop up the bag with a stick if needed, so it doesn’t touch the leaves.
Water Propagation (Less Common, but Possible)
While I prefer the soil method for Euonymus, you can try water propagation.
- Prepare your cuttings: Follow steps 1 and 2 above about taking and preparing the cuttings.
- Place in water: Put the cuttings in a clean jar or glass of water, ensuring that no leaves are submerged below the water line. Any leaves in the water will rot and can affect the cutting.
- Reservoir: Keep the water fresh by changing it every few days. Place it in a bright spot, but out of direct sunlight.
The “Secret Sauce” (Pro Tips)
After years of getting my hands dirty, a few little tricks have really made a difference for me:
- Bottom Heat is Your Friend: If you have a heat mat, placing your pots on it can significantly speed up root development. It mimics the warmth of spring soil and encourages those roots to get going faster.
- Don’t Be Impatient with the Leaves: Seriously, this is huge for water propagation, but also for stem cuttings in soil. If even one leaf is submerged in water or resting on damp soil, it’s a prime candidate for rot. Keep those aerial parts dry and airy!
- A Gentle Mist Now and Then: While you want to maintain humidity, don’t let the soil get waterlogged. A light misting of the leaves with your spray bottle every day or two can help keep the cuttings turgid while they’re waiting for roots.
Aftercare & Troubleshooting
Once you start to see signs of rooting – like new leaf growth or a gentle tug on the cutting encountering resistance – congratulations! It’s time for a little adjustment.
- Gradual Acclimation: If you’ve used a plastic bag, slowly start to introduce your new plant to drier air. Open the bag for a few hours each day, gradually increasing the time until it’s completely removed.
- Potting Up: Once the roots have filled the small pot or are clearly visible through the drainage holes, it’s time to pot them up into a slightly larger container with regular potting soil.
- Signs of Trouble: The most common issue you’ll see is rot. If a cutting turns black and mushy, it’s usually a sign of too much moisture and not enough air circulation, or a bacterial issue. Unfortunately, rotted cuttings are usually a lost cause. The other sign is simply no growth and the cutting shriveling. This could mean it just didn’t take, or it might need more consistent moisture or warmth.
A Little Patience Goes a Long Way
So there you have it! Propagating Euonymus phellomanus is a simple pleasure, and I hope this guide makes you feel confident to give it a try. Don’t be discouraged if your first few don’t make it; that’s just part of the learning curve we all navigate. Just keep trying, observe your plants, and enjoy the process of bringing new life into your garden. Happy propagating!
Resource:
https://identify.plantnet.org/k-world-flora/species/Euonymus%20phellomanus%20Loes./data