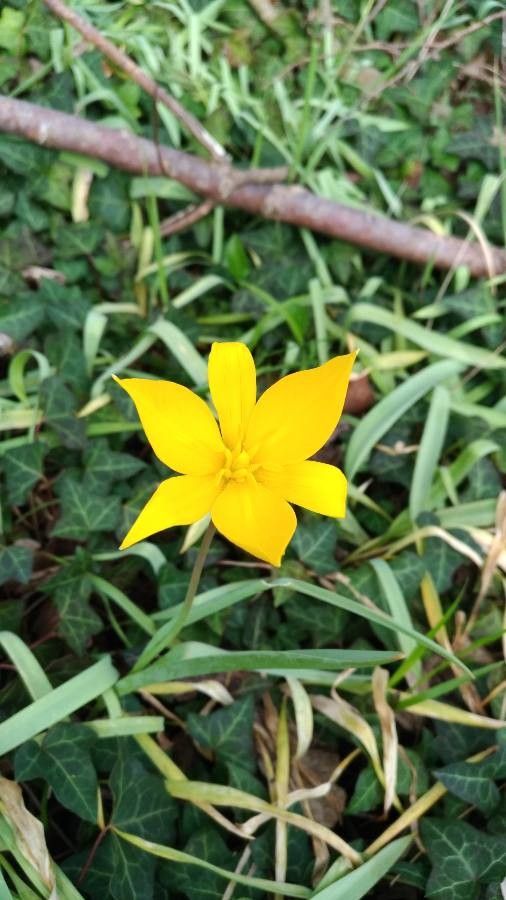
Oh, hello there! It’s lovely to share a spot of gardening chat with you. Today, I want to talk about a real gem, a true sign of spring’s gentle arrival: Tulipa sylvestris, the wild tulip. You know, the one with those delicate, nodding yellow flowers that seem to glow in the early spring sunshine. There’s something incredibly satisfying about coaxing new life from a plant, and this shy beauty is no exception. While Tulipa sylvestris isn’t quite as straightforward as some of its garden hybrid cousins, with a little patience, you can absolutely have success. It’s a lovely project for a keen beginner ready to learn.
The Best Time to Start
For Tulipa sylvestris, the key is working with its natural cycle. The absolute best time to propagate it is right after the foliage has died back in late spring or early summer. This is when the bulbs have finished their energy production for the year and are in their dormant phase. Trying to do anything when the plant is actively growing or flowering will just stress it out, and you won’t get the results you’re hoping for. Think of it as letting the plant have its moment, and then we’ll take care of things.
Supplies You’ll Need
You don’t need a whole shed full of fancy gadgets for this, just a few essentials:
- Clean, sharp pruning shears or a knife: We want to make clean cuts.
- A well-draining potting mix: A bark-based mix or a blend of potting soil and perlite/grit works wonderfully. We don’t want soggy feet for these little ones.
- Small pots or seed trays: Something that will hold your new propagules comfortably.
- Labels: Trust me, you’ll thank yourself later!
- Watering can with a fine rose: For gentle watering.
- (Optional) Rooting hormone: While not strictly necessary for Tulipa sylvestris, it can give an extra boost.
Propagation Methods
Tulipa sylvestris primarily reproduces through its bulb offsets and bulbils. These are like tiny baby bulbs that the main bulb produces.
1. Bulb Division (The Most Reliable Method):
This is the method I recommend most heartily for Tulipa sylvestris.
- Dig carefully: When the foliage has completely yellowed and died back (usually late May or June), gently dig around the main bulb clump. Be very careful not to damage the bulbs. Imagine you’re excavating a delicate treasure.
- Separate the offsets: You’ll notice smaller bulbs, called offsets, attached to the main bulb. Some might be quite small, while others are already a decent size. You can gently twist or cut these offsets away from the parent bulb. If an offset has a tiny bit of basal plate (the bottom where roots grow from), that’s ideal.
- Clean them up: Gently brush off any excess soil. If you’re opting for rooting hormone, now’s the time to dip the basal plate of the offset into it.
- Pot them up: Plant each offset in its own small pot filled with your well-draining potting mix. They don’t need to be planted very deeply, about as deep as they are tall.
- Water gently: Give them a light watering.
2. Propagating Bulbils:
Sometimes, after flowering, the tulip will produce tiny, pea-sized bulbils at the base of the bulb. These are much slower to mature.
- Locate the bulbils: After digging up your bulbs in summer, look for these small bulbils.
- Sow them like tiny seeds: Plant them in a pot or tray filled with your gritty mix, barely covering them.
- Be patient: These will take a few years to reach flowering size, so this method is more of a long-term project.
The “Secret Sauce” (Pro Tips)
- Think “Dry Summer”: Once planted, the young offsets and bulbils prefer a dry summer rest. Don’t be tempted to overwater them while they are dormant. Let the soil dry out between waterings, and only water if the pot feels exceptionally light. This mimics their natural habitat.
- The Crisp Air Advantage: When your newly planted offsets are ready for their first spring, try to ensure they’re in a spot that isn’t prone to late frosts. A cool greenhouse or cold frame can be beneficial if you’ve planted them in pots, just to protect those tender new shoots from harsh weather.
- Don’t Rush the Flower: Even if an offset looks like a decent size the following spring, it might be wiser to let it grow another season without letting it flower. This allows it to build up more energy and produce a stronger bulb for future years. It’s a sacrifice now for bigger rewards later!
Aftercare & Troubleshooting
Once your newly potted offsets have started to show signs of life in the spring – new shoots pushing through the soil – it’s time for a little more attention.
- Watering: Water them consistently as they grow, but always allow the top inch of soil to dry out before watering again. Good drainage is paramount. Avoid letting them sit in water.
- Light: They’ll appreciate a spot with bright, indirect light as they develop.
- Fertilizing: You can give them a very dilute liquid feed once or twice during their active growth phase, but don’t go overboard.
- Troubleshooting: The most common issue you might encounter is rot. This is almost always caused by too much moisture and poor drainage. If you see a bulb looking mushy and dark when you dig it up, it’s likely rotted. Another sign is yellowing leaves that don’t die back naturally. If you notice this early, try increasing the drainage and reducing watering. Don’t be discouraged if a few don’t make it; it’s part of the learning process!
A Encouraging Closing
So there you have it – a little peek into the world of propagating Tulipa sylvestris. It requires a gentle touch and a good dose of patience, but watching those delicate yellow blooms grace your garden from your own efforts? Well, that’s a truly special kind of magic. Don’t be afraid to get your hands dirty, and remember, every gardener has had their share of little setbacks. Enjoy the journey, and soon you’ll be sharing your wild tulip bounty! Happy gardening!
Resource:
https://identify.plantnet.org/k-world-flora/species/Tulipa%20sylvestris%20L./data