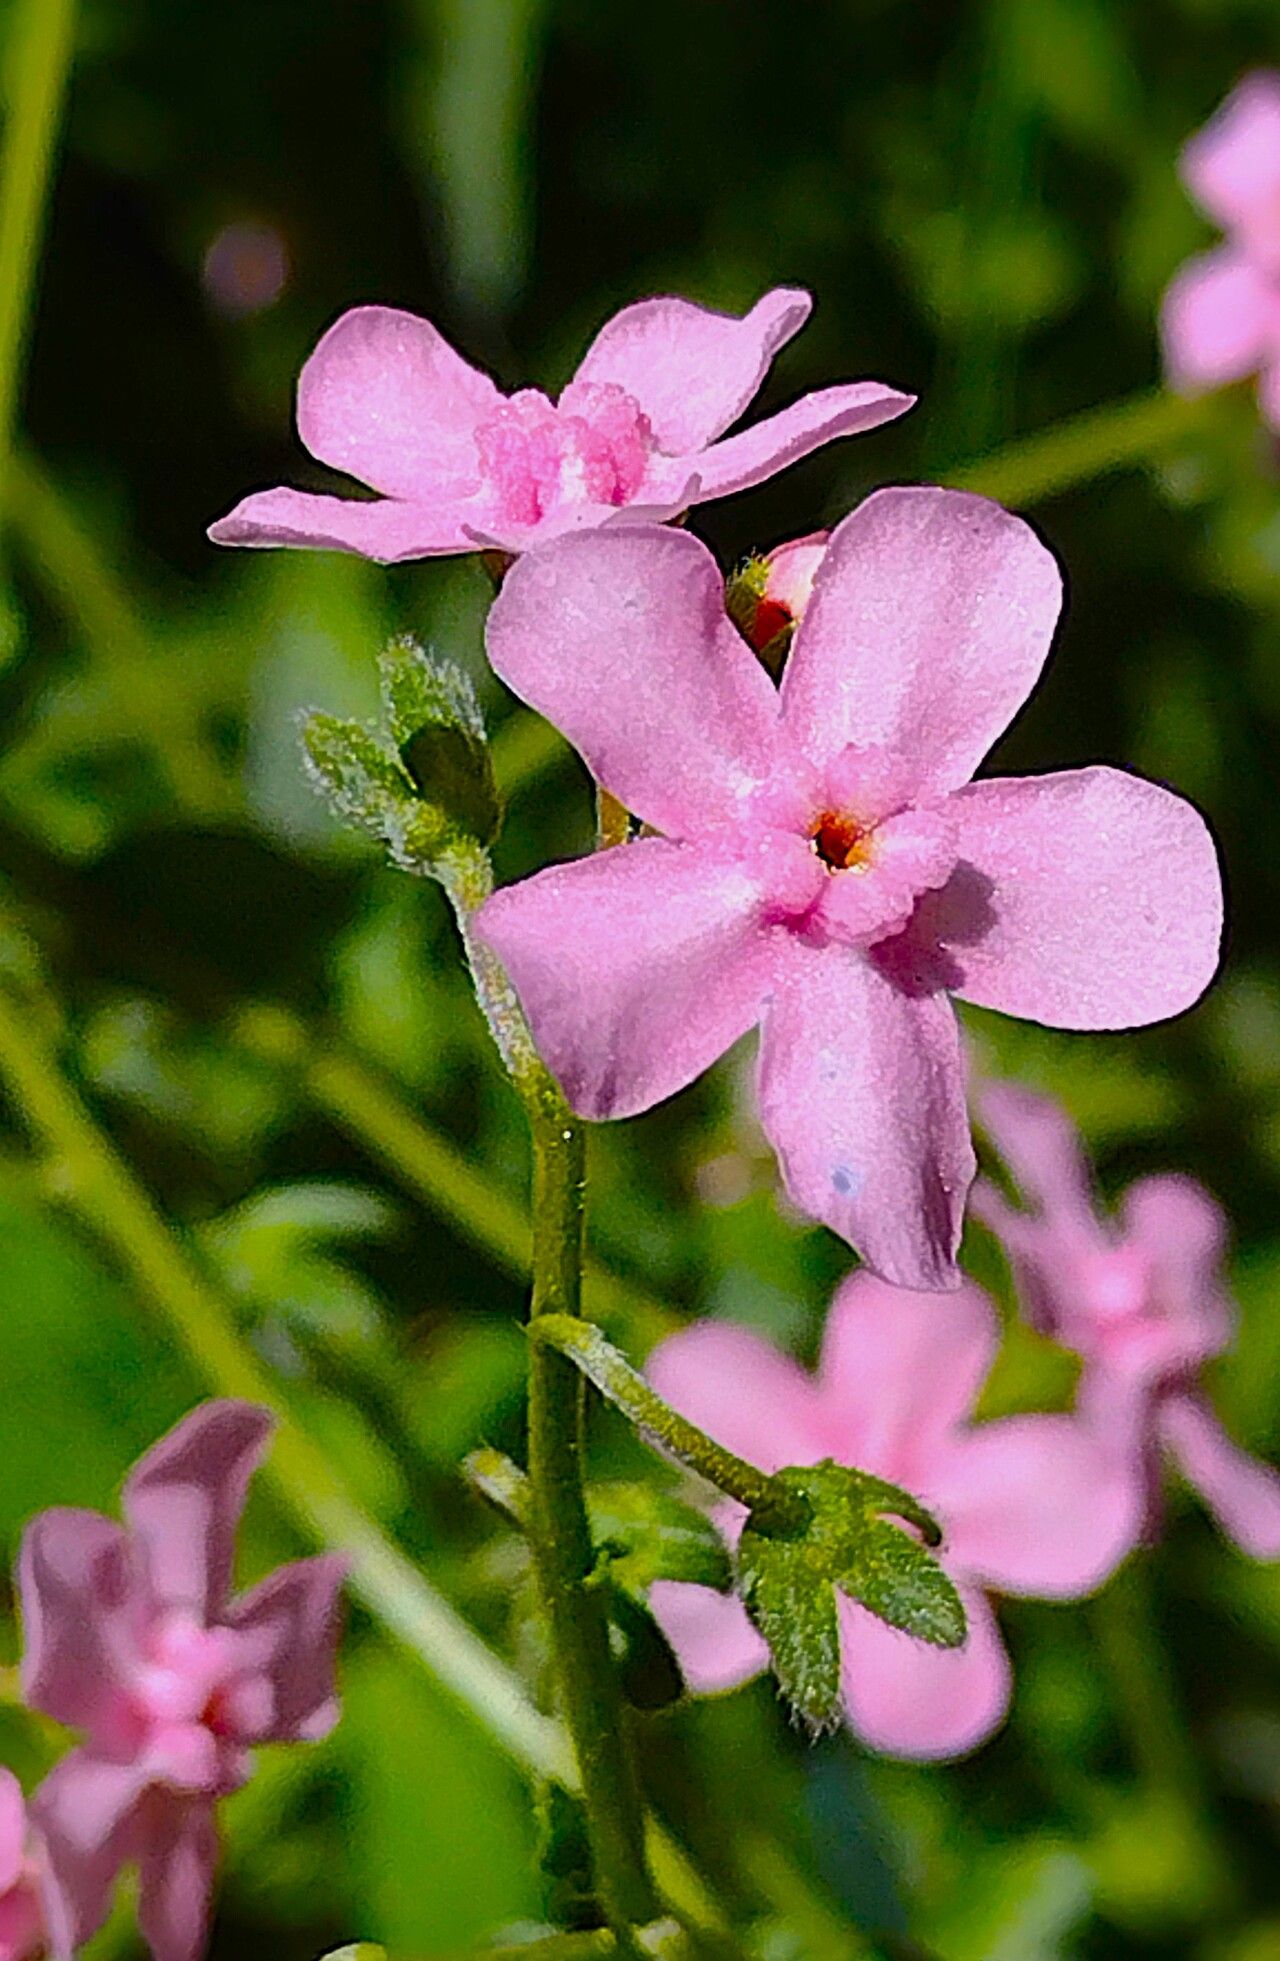
Oh, hello there! Come on in, pull up a chair. I’ve been meaning to chat with you about Hackelia mundula, also known as the Nevada stickseed. If you’ve ever seen this little gem in bloom, you’ll understand why I’m so smitten. Its delicate blue flowers are just utterly charming, like tiny forget-me-nots that decided to be a bit more… unique. And the best part? You can share that charm!
Now, let’s be honest, is Hackelia mundula the absolute easiest plant for a brand-new gardener to propagate? Perhaps not. It’s not overly fussy, but it does appreciate a bit of know-how. Still, with a little patience and these tips, I’m confident you’ll have success. It’s incredibly rewarding to grow a whole patch of these beauties from just one!
The Best Time to Start
When it comes to getting your Hackelia mundula going, spring is your friend. Specifically, I like to get started just as the plant begins its active growth phase, usually after the last frost. This means your parent plant is full of vigor and ready to give you some good material to work with. You’ll find it’s much easier to get cuttings to root and seeds to germinate when the weather is warming up.
Supplies You’ll Need
Here’s what I always have on hand when I’m propagating:
- Sharp pruning shears or a clean knife: For making those crucial, clean cuts. A dull blade can crush stems and invite disease.
- A well-draining potting mix: I usually do a 50/50 blend of perlite and peat moss or coco coir. Good aeration is key!
- Small pots or seed trays: Whatever you have will do, as long as they have drainage holes.
- Rooting hormone (optional, but recommended): A little powder or gel can give your cuttings a real boost.
- A mister or spray bottle: For keeping things humid without waterlogging.
- Labels: Trust me, you’ll thank yourself later for labeling what you’ve planted!
Propagation Methods
Hackelia mundula can be propagated in a couple of ways, and I find the easiest for home gardeners is stem cuttings.
Stem Cuttings:
- Take your cuttings: In spring, select healthy, non-flowering stems from your mature plant. Look for stems that are about 4-6 inches long. Using your sharp shears, make a clean cut just below a leaf node (where a leaf attaches to the stem). Remove the lower leaves, leaving just a couple at the top.
- Dip in rooting hormone: If you’re using rooting hormone, dip the cut end into the powder or gel. Tap off any excess.
- Plant the cuttings: Fill your small pots with your prepared potting mix. Make a small hole in the center with a pencil or your finger. Gently insert the cutting into the hole, ensuring the leaf nodes are below the soil surface. Firm the soil gently around the stem.
- Water and cover: Water the soil thoroughly but avoid drowning it. You’ll want it moist, not soggy. To create a mini-greenhouse effect, you can cover the pot with a clear plastic bag (secured with a rubber band) or place it in a propagator. This helps maintain humidity.
- Provide light and warmth: Place the pots in a bright location, but out of direct, harsh sunlight. A warm spot is ideal.
The “Secret Sauce” (Pro Tips)
- Don’t let the leaves touch the water: If you happen to be trying water propagation (which I don’t always recommend for stickseed, but can work sometimes!), make sure the leaves of your cutting are well above the water level. Rot sets in fast when leaves are submerged.
- Bottom heat is your friend: For cuttings, placing your pots on a seedling heat mat can speed up root development significantly. It’s like giving the roots a cozy warm bed to grow into.
- Be patient with those nodes: Those little bumps below the leaves? That’s where the magic happens! They are your best bet for rooting, so make sure you have at least one or two submerged in the soil when you plant your cutting.
Aftercare & Troubleshooting
Once you see new growth, that’s a great sign! It usually means roots are forming. Keep the soil consistently moist – not wet, not dry. As the cuttings get stronger, you can gradually introduce them to more light and remove the plastic covering or open up the propagator a bit more each day to acclimate them.
What if things don’t go as planned? The most common issue is rot. If your cuttings turn mushy and brown, it’s usually a sign of too much moisture and not enough air circulation. Dispose of them and try again with drier soil and better ventilation. Yellowing leaves could mean it’s not getting enough light, or perhaps the soil is too wet.
A Warm Closing
Growing plants from cuttings is such a wonderfully satisfying experience. It connects you to the cycle of life in the garden and allows you to share these beautiful plants with friends or simply expand your own collection. Don’t get discouraged if your first attempt isn’t perfect. Gardening is a journey, and every little sprout is a success. Keep at it, enjoy the process of nurturing these new lives, and soon you’ll be admiring your own thriving Hackelia mundula blooms! Happy gardening!
Resource:
https://identify.plantnet.org/k-world-flora/species/Hackelia%20mundula%20(Jeps.)%20Ferris/data