Oh, hello there! Come on in, pull up a chair. Let’s chat about one of my absolute favorite little garden treasures: Ranunculus ficaria, or as many of us fondly call it, Lesser Celandine.
Why Grow Lesser Celandine?
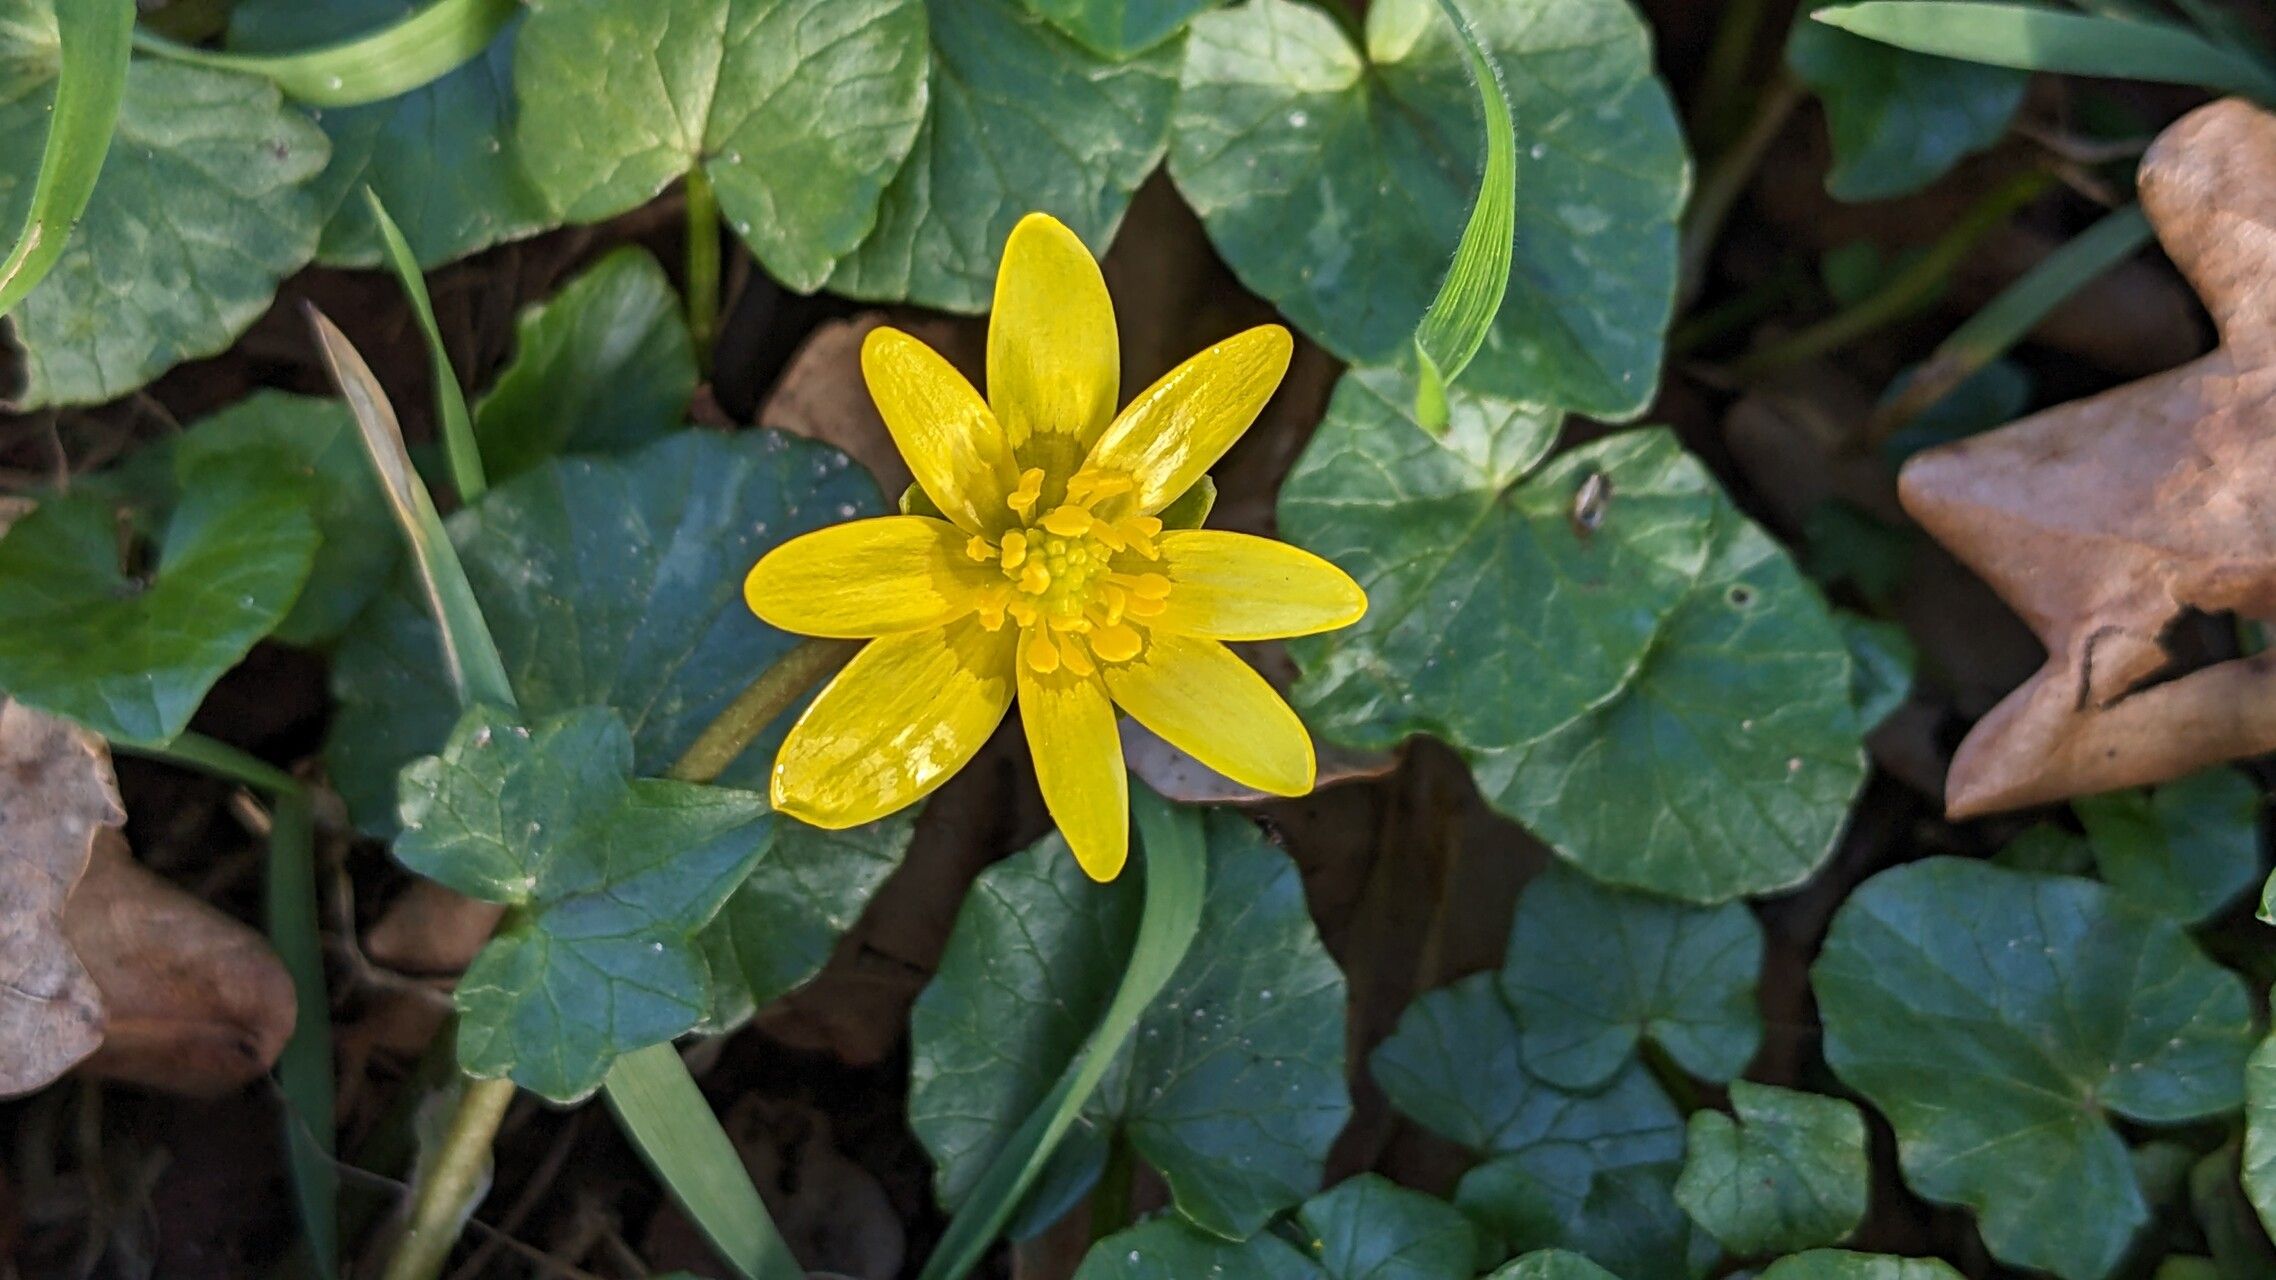
There’s a certain magic to Lesser Celandine, isn’t there? Its glossy, heart-shaped leaves and those bright, cheerful yellow buttercup flowers feel like a little burst of sunshine, especially in early spring. It’s one of the first things to wake up in my garden, bringing a much-needed splash of color when everything else is still yawning and stretching. And guess what? Propagating it is a fantastic way to multiply that joy and share it with friends, or just fill up those bare patches you’ve been eyeing. Don’t let the fancy name fool you; this one is wonderfully approachable, even if you’re just starting to get your hands dirty.
The Best Time to Start
For the absolute best success rate, I find you want to tackle propagation right after the plant has finished flowering and is starting to look a little tired. Think late spring to early summer. The energy the plant is putting into seeds can be redirected into new roots if you catch it at this stage. Trying too early, when it’s still putting on a bloom show, or too late, when it’s completely gone dormant, can be a bit more hit-and-miss.
Supplies You’ll Need
Gathering your tools beforehand makes the whole process so much smoother. Here’s what I usually have on hand:
- Sharp pruning shears or a clean, sharp knife: For making precise cuts.
- Small pots or trays: With good drainage holes, of course!
- Well-draining potting mix: I like a blend of peat moss, perlite, and a little bit of compost. Something that won’t hold too much moisture is key.
- Rooting hormone (optional but helpful): Especially if you’re doing stem cuttings.
- Watering can or spray bottle: For gentle watering.
- Labels: So you don’t forget what you planted!
Propagation Methods
Lesser Celandine is quite generous with its multiplication methods! Here are the two I rely on most:
1. Division (The Easiest Way!)
This is truly my go-to. Lesser Celandine forms little tuberous roots, and they love to clump up.
- Step 1: Dig ’em Up. Gently dig around the base of a mature clump. I usually start with a trowel and carefully loosen the soil. You’ll see those little fleshy tubers.
- Step 2: Separate the Roots. Once you’ve unearthed the clump, you can usually just tease the tubers apart with your fingers. If they’re a bit stubborn, use your clean knife or shears to carefully divide them. Make sure each division has at least one healthy-looking tuber and a bit of stem or leaf.
- Step 3: Replant Immediately. Find a nice spot in your garden or pop them into pots with your well-draining mix. Plant them about an inch deep. Water them in gently.
2. Stem Cuttings (A Bit More Involved)
This method takes a little more patience but is incredibly rewarding when you see those roots form.
- Step 1: Take Your Cuttings. In late spring or early summer, as the plant finishes blooming, select healthy stems that are about 3-4 inches long. Make your cut just below a leaf node, which is where the leaf attaches to the stem.
- Step 2: Prepare the Cutting. Gently remove the leaves from the bottom inch of the stem. If you’re using rooting hormone, dip the cut end into it now.
- Step 3: Pot Them Up. Fill your small pots with your well-draining mix. Make a hole in the center with your finger or a pencil.
- Step 4: Insert the Cutting. Place the stem into the hole, making sure the leaf node is buried in the soil. Gently firm the soil around it.
- Step 5: Water and Wait. Water gently, just enough to moisten the soil. Place the pots in a bright spot, but out of direct, harsh sunlight.
The “Secret Sauce” (Pro Tips)
After years of this, I’ve learned a few little tricks that seem to make all the difference:
- Think “Moist but Not Soaked.” This is crucial, especially for cuttings. Lesser Celandine roots absolutely hate sitting in soggy soil. It’s the quickest way to invite rot. Good drainage is your best friend here.
- Consider a “Mini Greenhouse.” For stem cuttings, you can pop a clear plastic bag or dome over your pots. This keeps the humidity high, which is what those cuttings need to encourage rooting without drying out. Just be sure to ventilate it daily to prevent fungal issues.
- Bottom Heat Can Be Wonderful. If you’re serious about speeding things up with cuttings, a heated propagation mat can really encourage root development. These mats provide gentle warmth from below, mimicking ideal soil temperatures.
Aftercare & Troubleshooting
Once your divisions are replanted or your cuttings show signs of new growth (which is a great sign of roots forming!), keep them consistently moist but not waterlogged. As they grow, you can treat them much like any other young perennial.
The biggest troubleshooting issue you’ll face is rot. If your cutting looks slimy or mushy, or if your division seems to be darkening and wilting unnaturally, it’s usually a sign of too much moisture. Don’t be afraid to pull it out, inspect the roots, and replant in fresh, drier soil if there’s any hope. Sometimes, you just lose one, and that’s part of the learning curve. Don’t beat yourself up about it!
Happy Little Plants Growing!
See? It’s really not as daunting as it might sound. Propagation is all about observation and a little bit of patience. Watch your plants, feel the soil, and enjoy the process of coaxing new life from your existing ones. Before you know it, you’ll have more of those cheerful yellow blooms to brighten your garden. Happy gardening!
Resource:
https://identify.plantnet.org/k-world-flora/species/Ranunculus%20ficaria%20L./data