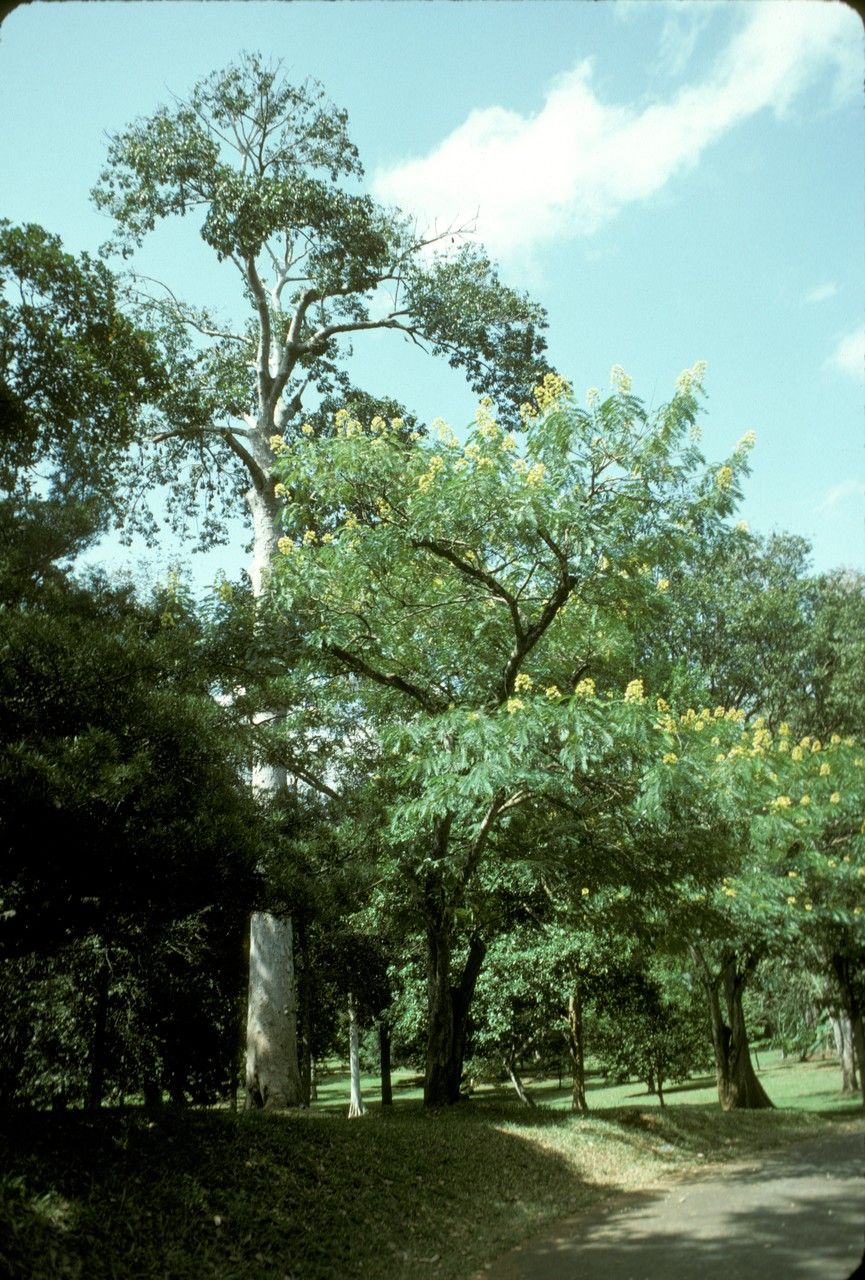
Hello, fellow plant lovers! I’m so excited to chat with you today about a truly gorgeous tree: Canarium bengalense. You might know it by its common names, like the Bengal almond or the Indian almond (though be careful not to confuse it with Tropical Almond, Terminalia catappa). I’ve always been drawn to its elegant, spreading canopy and the way its leaves catch the light. Plus, the idea of growing your own from scratch? Pure gardening joy! Now, let’s get down to business. Is Canarium bengalense easy for beginners? Honestly, it can be a little finicky, but with a bit of know-how and patience, I promise you can absolutely succeed.
The Best Time to Start
For us to give our new Canarium bengalense the best start, timing is everything. I find the late spring or early summer to be ideal. This is when the plant is actively growing and has that vital energy to push out new roots. You want to work with cuttings that are mature but not woody – think of them as being in their prime, full of life and ready to tackle a new adventure.
Supplies You’ll Need
Here’s what you’ll want to have on hand before you get started:
- Sharp Pruning Shears or a Craft Knife: For clean cuts, which are so important!
- Rooting Hormone (Powder or Gel): This is a real game-changer for encouraging root development.
- Well-Draining Potting Mix: I like a blend of peat moss, perlite, and a bit of coarse sand. Think airy!
- Small Pots or Seed Starting Trays: Something to give your cuttings a cozy home.
- Plastic Bags or a Propagation Dome: To create a humid environment.
- A Spray Bottle: For misting.
- Gloves (Optional): Sometimes sap can be a bit sticky.
Propagation Methods
While Canarium bengalense can be a bit particular, I’ve had the most success with stem cuttings. Let’s walk through it:
- Take Your Cuttings: Choose a healthy, vigorous branch from your mature plant. Using your sharp shears, cut a section that’s about 6-8 inches long. Make the cut just below a leaf node – that’s the small bump where a leaf attaches to the stem. This is where roots love to emerge.
- Prepare the Cuttings: Gently remove the lower leaves from your cutting, leaving just a few at the top. This prevents them from rotting in the soil. If your leaves are very large, you can even cut them in half to reduce water loss.
- Apply Rooting Hormone: Dip the cut end of the stem into your rooting hormone, tapping off any excess. This really gives your cutting a boost.
- Plant the Cuttings: Moisten your well-draining potting mix. Make a hole with your finger or a pencil and gently insert the cutting, ensuring the node where you removed the leaves is buried. Firm the soil around the stem.
- Create a Humid Environment: Water the soil gently. Then, cover the pot loosely with a plastic bag or place it under a propagation dome. This traps moisture and mimics the humid conditions the cutting needs. Make sure the bag doesn’t touch the leaves too much!
- Provide Warmth and Light: Place the pots in a bright spot that receives indirect sunlight. A little warmth from the bottom can also be very beneficial – think of it as a cozy heated blanket for those roots.
The “Secret Sauce” (Pro Tips)
Here are a couple of tricks I’ve learned over the years that can make a real difference:
- Don’t Let the Leaves Touch the Water: If you are trying water propagation (though I find it less reliable for this one), it’s crucial that no leaves are submerged. Rot sets in quickly if they are. Just the stem should be in the water.
- Bottom Heat is Your Friend: I can’t stress this enough for Canarium bengalense. A small seedling heat mat under the pots provides consistent, gentle warmth that encourages root formation much faster than ambient room temperature alone. It’s like giving your cuttings a perpetual sunny windowsill but from below!
- Patience is Key (and a Little Air Circulation): While you want humidity, don’t completely seal the deal. I like to vent the plastic bag or dome briefly each day for a few minutes. This allows for some air exchange and helps prevent fungal issues. And seriously, just breathe and be patient. It can take weeks, sometimes even a couple of months, to see good root development.
Aftercare & Troubleshooting
Once you start to see new leaf growth and feel a gentle tug when you lightly wiggle the cutting, you know roots are forming! Gradually remove the plastic bag or dome over a few days to acclimate your new plant to normal humidity. Continue to keep the soil lightly moist – not soggy.
What if things go wrong? The most common issue you’ll encounter is rot. If your cutting turns black or mushy, it’s usually a sign of too much moisture and not enough air circulation. Unfortunately, once rot sets in, it’s hard to save. If leaves start to yellow and drop without new growth, it might mean it’s too dry or not getting enough light. Don’t be discouraged if your first few attempts don’t work out. Every plant, and every cutting, is a learning experience.
A Little Bit of Patience Goes a Long Way
Growing Canarium bengalense from cuttings is a wonderfully rewarding journey. It takes a bit of attention, a dash of technique, and a whole lot of patience. But trust me, the first time you see those delicate roots emerge and nurture a brand-new tree of your own, you’ll feel an incredible sense of accomplishment. So, go ahead, get your hands dirty, and enjoy the beautiful process of bringing new life into your garden! Happy growing!
Resource:
https://identify.plantnet.org/k-world-flora/species/Canarium%20bengalense%20Roxb./data