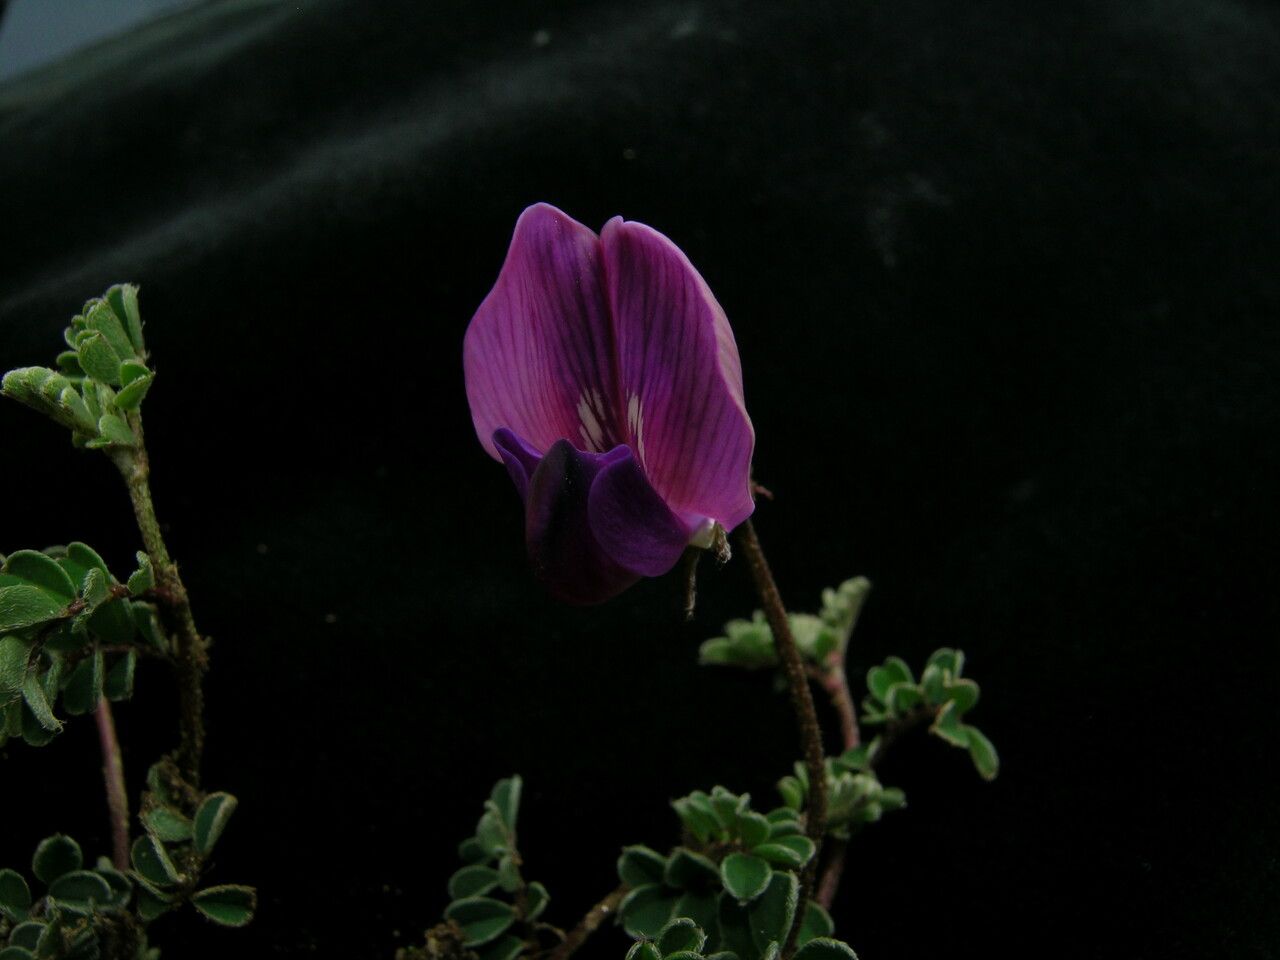
Oh, hello there, fellow plant lover! I’m so glad you’re interested in Phyllolobium donianum. I’ve been growing this beauty for years, and let me tell you, it’s a real showstopper. Its delicate, bell-shaped flowers and lovely foliage bring such an elegant touch to any garden or indoor space. And the best part? Seeing a tiny cutting transform into a thriving plant is one of the most satisfying feelings a gardener can experience. Now, is it a walk in the park for absolute newbies? I’d say it’s more of a pleasant stroll with a few mindful steps. It’s not notoriously difficult, but a little attention to detail will get you the best results.
The Best Time to Start
For Phyllolobium donianum, the sweet spot for propagation is during its active growing season. Think late spring through early summer. This is when the plant has plenty of energy and sap flowing, giving your cuttings the best chance to establish roots. Trying to propagate when the plant is dormant is like asking it to run a marathon on an empty stomach – not ideal!
Supplies You’ll Need
Gathering your tools beforehand makes the whole process so much smoother. Here’s what you’ll want:
- Sharp Pruning Shears or a Craft Knife: Clean cuts are crucial for preventing disease.
- Rooting Hormone (Optional but Recommended): This gives your cuttings a little boost. Look for one formulated for softwood cuttings.
- Well-Draining Potting Mix: A good blend is key. I love using a mix of equal parts peat moss, perlite, and a bit of coarse sand. You can also find pre-made succulent or cactus mixes that work well.
- Small Pots or Seedling Trays: Clean pots are a must! Sterilize old ones if you’re reusing them.
- Plastic Bags or a Propagator: This helps maintain humidity.
- Clear Water: For water propagation.
- Labeling Stakes: Don’t forget to label your cuttings!
Propagation Methods
Phyllolobium donianum can be easily propagated using a couple of common methods. Let’s get our hands dirty!
Stem Cuttings
This is my go-to method for Phyllolobium donianum.
- Select a Healthy Stem: Look for a vigorous, non-flowering stem that’s about 4-6 inches long.
- Make the Cut: Using your clean shears or knife, make a clean cut just below a leaf node. The nodes are those little bumps where leaves emerge – that’s where the magic happens for root development.
- Prepare the Cutting: Gently remove the lower leaves, leaving just a few at the top. This prevents them from rotting in the soil.
- Apply Rooting Hormone (If Using): Dip the cut end into your rooting hormone, tapping off any excess.
- Pot Up: Moisten your well-draining potting mix. Make a hole in the center with your finger or a pencil and insert the cutting, ensuring the lower nodes are buried. Gently firm the soil around it.
- Create a Humid Environment: Water lightly and cover the pot with a clear plastic bag or place it in a propagator. Make sure the leaves aren’t touching the sides of the bag. Mist the inside of the bag gently if it looks dry.
- Provide Light: Place the pot in a bright spot with indirect sunlight. Avoid direct sun, which can scorch the delicate cuttings.
Water Propagation
This method is wonderfully visual and can be very rewarding.
- Take Your Cutting: Follow steps 1-3 from the stem cutting method.
- Place in Water: Fill a clean jar or glass with fresh water and place your cutting in it. Make sure the leaf nodes that you removed the leaves from are submerged.
- Change the Water Regularly: This is important! Change the water every 2-3 days to keep it fresh and prevent bacterial growth.
- Observe Root Development: You’ll start to see tiny white roots emerge from the nodes. This usually takes a few weeks.
- Pot Up: Once the roots are about an inch long, you can carefully transplant your cutting into a small pot filled with your well-draining potting mix, following a similar process to the stem cutting method.
The “Secret Sauce” (Pro Tips)
Here are a few little tricks I’ve learned over the years that can really make a difference:
- Don’t Overwater! This is the number one killer of cuttings. The soil should be consistently moist, not waterlogged. It’s better to err on the side of too dry than too wet, especially when they’re first trying to root.
- Bottom Heat is Your Friend: If you have a heat mat designed for seedlings, place your pots on it. This gentle warmth encourages root development much faster. It’s like a little underground spa treatment for your cuttings!
- Patience with the Leaves: When doing water propagation, never let the leaves touch the water. Only the nodes should be submerged. Leaves sitting in water will quickly rot and can take your whole cutting down with them.
Aftercare & Troubleshooting
Once you start seeing new growth, that’s a great sign your cutting has rooted!
- Gradual Acclimatization: If you’ve been using a plastic bag or propagator, gradually remove it over a week or so. This allows your new plant to adjust to the normal humidity levels.
- Watering: Water when the top inch of soil feels dry. Don’t let it sit in water.
- Light: Continue to provide bright, indirect light. You can slowly introduce them to a bit more direct sun as they get stronger.
Now, what if things don’t go as planned? The most common issue is rot. If your cutting turns mushy, black, or smells unpleasant, it’s likely succumbed to rot, usually from too much moisture. Don’t be disheartened! It happens to all of us. Just toss the affected cutting, clean your pot thoroughly, and try again with a fresh one, paying extra attention to watering and drainage. Sometimes, a cutting simply won’t root, and that’s okay too.
A Encouraging Closing
Gardening is a journey, and propagation is a wonderful part of that adventure. Be patient with your little Phyllolobium donianum cuttings. Celebrate every tiny sign of progress, and don’t be afraid to experiment. The joy of nurturing a new plant from a small piece of the parent is truly unmatched. Happy propagating!
Resource: