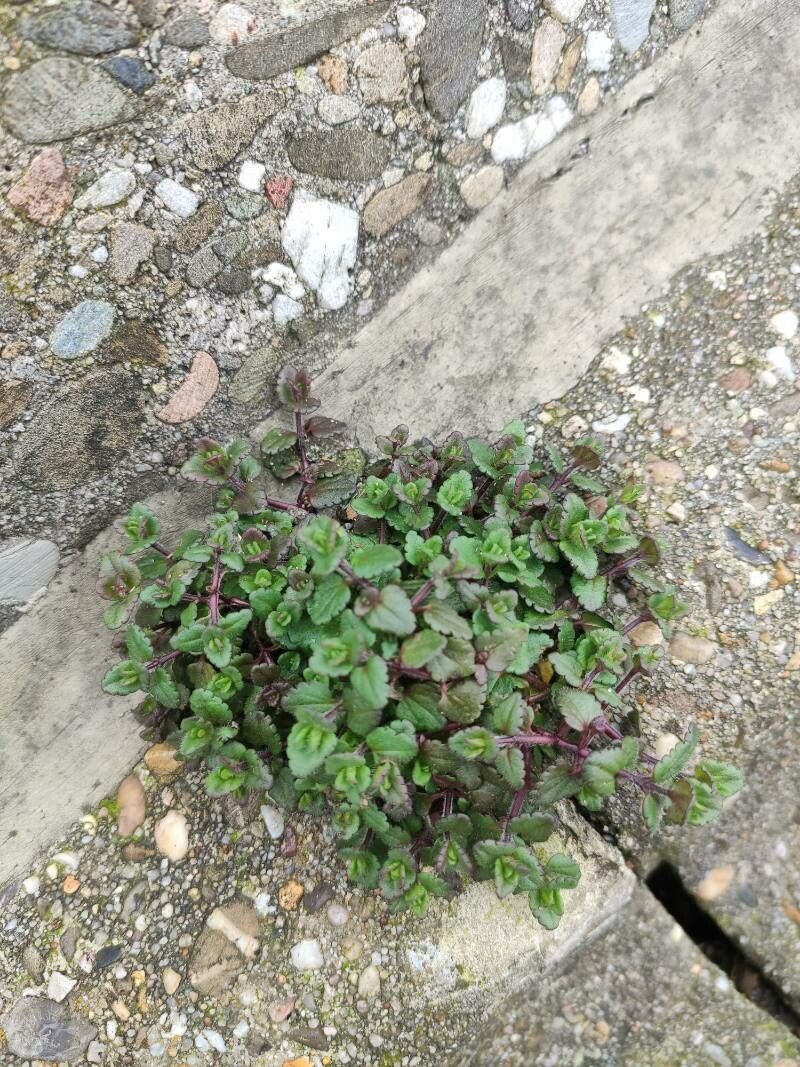
Oh, hello there! Come on in, grab a mug. So, you want to get your hands dirty with Veronica agrestis? Excellent choice! This little gem, often found gracing meadows and woodland edges with its charming blue flowers, is a delight to have in the garden. And the best part? It’s incredibly rewarding to multiply it yourself. For us gardeners, seeing a tiny piece of a plant transform into a whole new life is pure magic. Don’t worry if you’re new to this; Veronica agrestis is wonderfully forgiving, making it a fantastic plant for beginners looking to dip their toes into propagation.
The Best Time to Start
Timing is everything, isn’t it? For Veronica agrestis, your best bet is to start in late spring or early summer. This is when the plant is actively growing, and its stems are still young and flexible, making them ideal for taking cuttings. You’ll find the plant has plenty of energy to put into rooting at this time.
Supplies You’ll Need
Before we dive in, let’s round up our tools. You don’t need anything too fancy:
- Sharp pruning shears or scissors: Cleanliness is key to prevent disease.
- A well-draining potting mix: Something light, like a blend of peat moss, perlite, and a little compost, works wonders.
- Small pots or seed trays: Clean ones, always!
- Rooting hormone (optional but helpful): This gives cuttings a little boost.
- A spray bottle: For keeping things nice and humid.
- A plastic bag or propagation dome: To create a mini greenhouse effect.
Propagation Methods
Veronica agrestis is a real trooper, and there are a couple of easy ways to get more plants.
Stem Cuttings: My Go-To Method
This is probably the most common and reliable way to propagate Veronica agrestis.
- Take your cuttings: In late spring or early summer, look for healthy, non-flowering stems. Using your clean shears, cut stems that are about 3-4 inches long. Try to take them from the tip of a new shoot.
- Prepare the cuttings: Gently remove the lower leaves, leaving just a few at the top. This prevents them from rotting in the soil. If you have rooting hormone, dip the cut end into it.
- Plant the cuttings: Fill your small pots with your prepared potting mix. Make a small hole in the center with your finger or a pencil. Insert the cuttings into the holes, making sure the nodes (where the leaves were) are just below the soil surface. Gently firm the soil around them.
- Water and cover: Water the soil gently so it’s moist but not waterlogged. Then, cover the pots with a plastic bag or a propagation dome to maintain humidity. You can secure the bag with a rubber band or by tucking it into the pot.
Division: The Simplest Solution
If you already have a mature Veronica agrestis plant, division is a breeze.
- Dig up the plant: In spring or fall, gently dig up the entire plant. Be careful not to damage the roots too much.
- Divide the root ball: Gently pull the root ball apart with your hands. You want to divide it into sections, each with both roots and shoots. If it’s a bit tough, you can use a clean trowel or even a sharp knife to help.
- Replant immediately: Plant the divided sections into their new homes, whether that’s back in the ground or in new pots. Water them well.
The “Secret Sauce” (Pro Tips)
Here are a couple of little tricks I’ve learned over the years:
- Don’t let leaves touch the water (if you try water propagation): While I prefer soil cuttings for Veronica, some folks like to try water. If you do, ensure no leaves are submerged. They’ll just rot and can infect the stem. Aim to have just the cut end in the water.
- Bottom heat is your friend: While not strictly necessary for this plant, if you’re trying to speed things up, placing your pots on a gentle heat mat can make a surprising difference. It encourages root growth from below.
Aftercare & Troubleshooting
Once your cuttings are planted, keep them in a bright spot out of direct sunlight. Mist them regularly to keep the humidity up. In a few weeks, you should start to see signs of new growth – tiny leaves appearing at the top – which is your cue that roots have formed! You can give them a gentle tug; if there’s resistance, they’ve rooted. Once they’re well-rooted, you can gradually introduce them to more light and remove the plastic covering.
The most common issue you might encounter is rot. If your cuttings look yellow, mushy, or just generally unhappy, it’s likely a sign of overwatering or poor drainage. Make sure your soil is airy and don’t let them sit in soggy conditions. If you see rot, it’s best to discard the affected cutting and try again, ensuring better ventilation and soil.
A Encouraging Closing
And there you have it! Propagating Veronica agrestis is such a satisfying way to fill your garden and share the beauty of these charming blooms. Be patient with yourself and your little plant babies. Some take longer than others, and that’s perfectly okay. Enjoy the process, learn as you go, and soon you’ll have a whole patch of lovely blue flowers to admire. Happy gardening!
Resource:
https://identify.plantnet.org/k-world-flora/species/Veronica%20agrestis%20L./data